Make videos with Enjoy Content Studio
Enjoy Content Studio isn’t a separate app. It’s what Enjoy’s conversations, docs, and tools add up to when your project is a video: you say what you want in plain words, an agent does the editing on your computer, and Enjoy shows you each script, cut, and take right under the agent’s reply, with the tools to judge it.
The steps below go from idea to upload: steps 1 to 5 are the script, 6 to 11 the cut, 12 and 13 the transcript, 14 to 18 the thumbnail, and 19 the upload. Each part works on its own, so start wherever you are.
How the work is split
- You keep your recordings in a project, say what you want, and give notes. You decide what’s good and what gets posted.
- The agent edits the way it does everything in Enjoy: by running programs on your computer. It can cut a recording down, take out pauses and retakes, add captions or music, and make thumbnails, and it saves each result as a new file in your project.
- Enjoy shows what the agent made under its reply: a timeline for a video or a sound, the changes in a doc, and numbered takes to compare.
Before you start
- Use the computer app, on the computer the project is on. That’s where cuts play with their timeline, where you leave notes at moments, and where posts go out. See On your phone and in a browser for the rest.
- Have an agent set up. See Set up your first AI agent. For it to build tools, its permission mode needs to let it change the project on its own, such as Claude Code’s Auto or Accept edits, or Codex’s Approve for me. See Choose what your agent can do without asking.
- To transcribe on your own computer, use a Mac with macOS 26 or later. Elsewhere, an agent can use a transcription service instead.
- To post, connect your YouTube channel in Connected accounts. See Post videos to YouTube.
Steps
Ask for openings to pick from
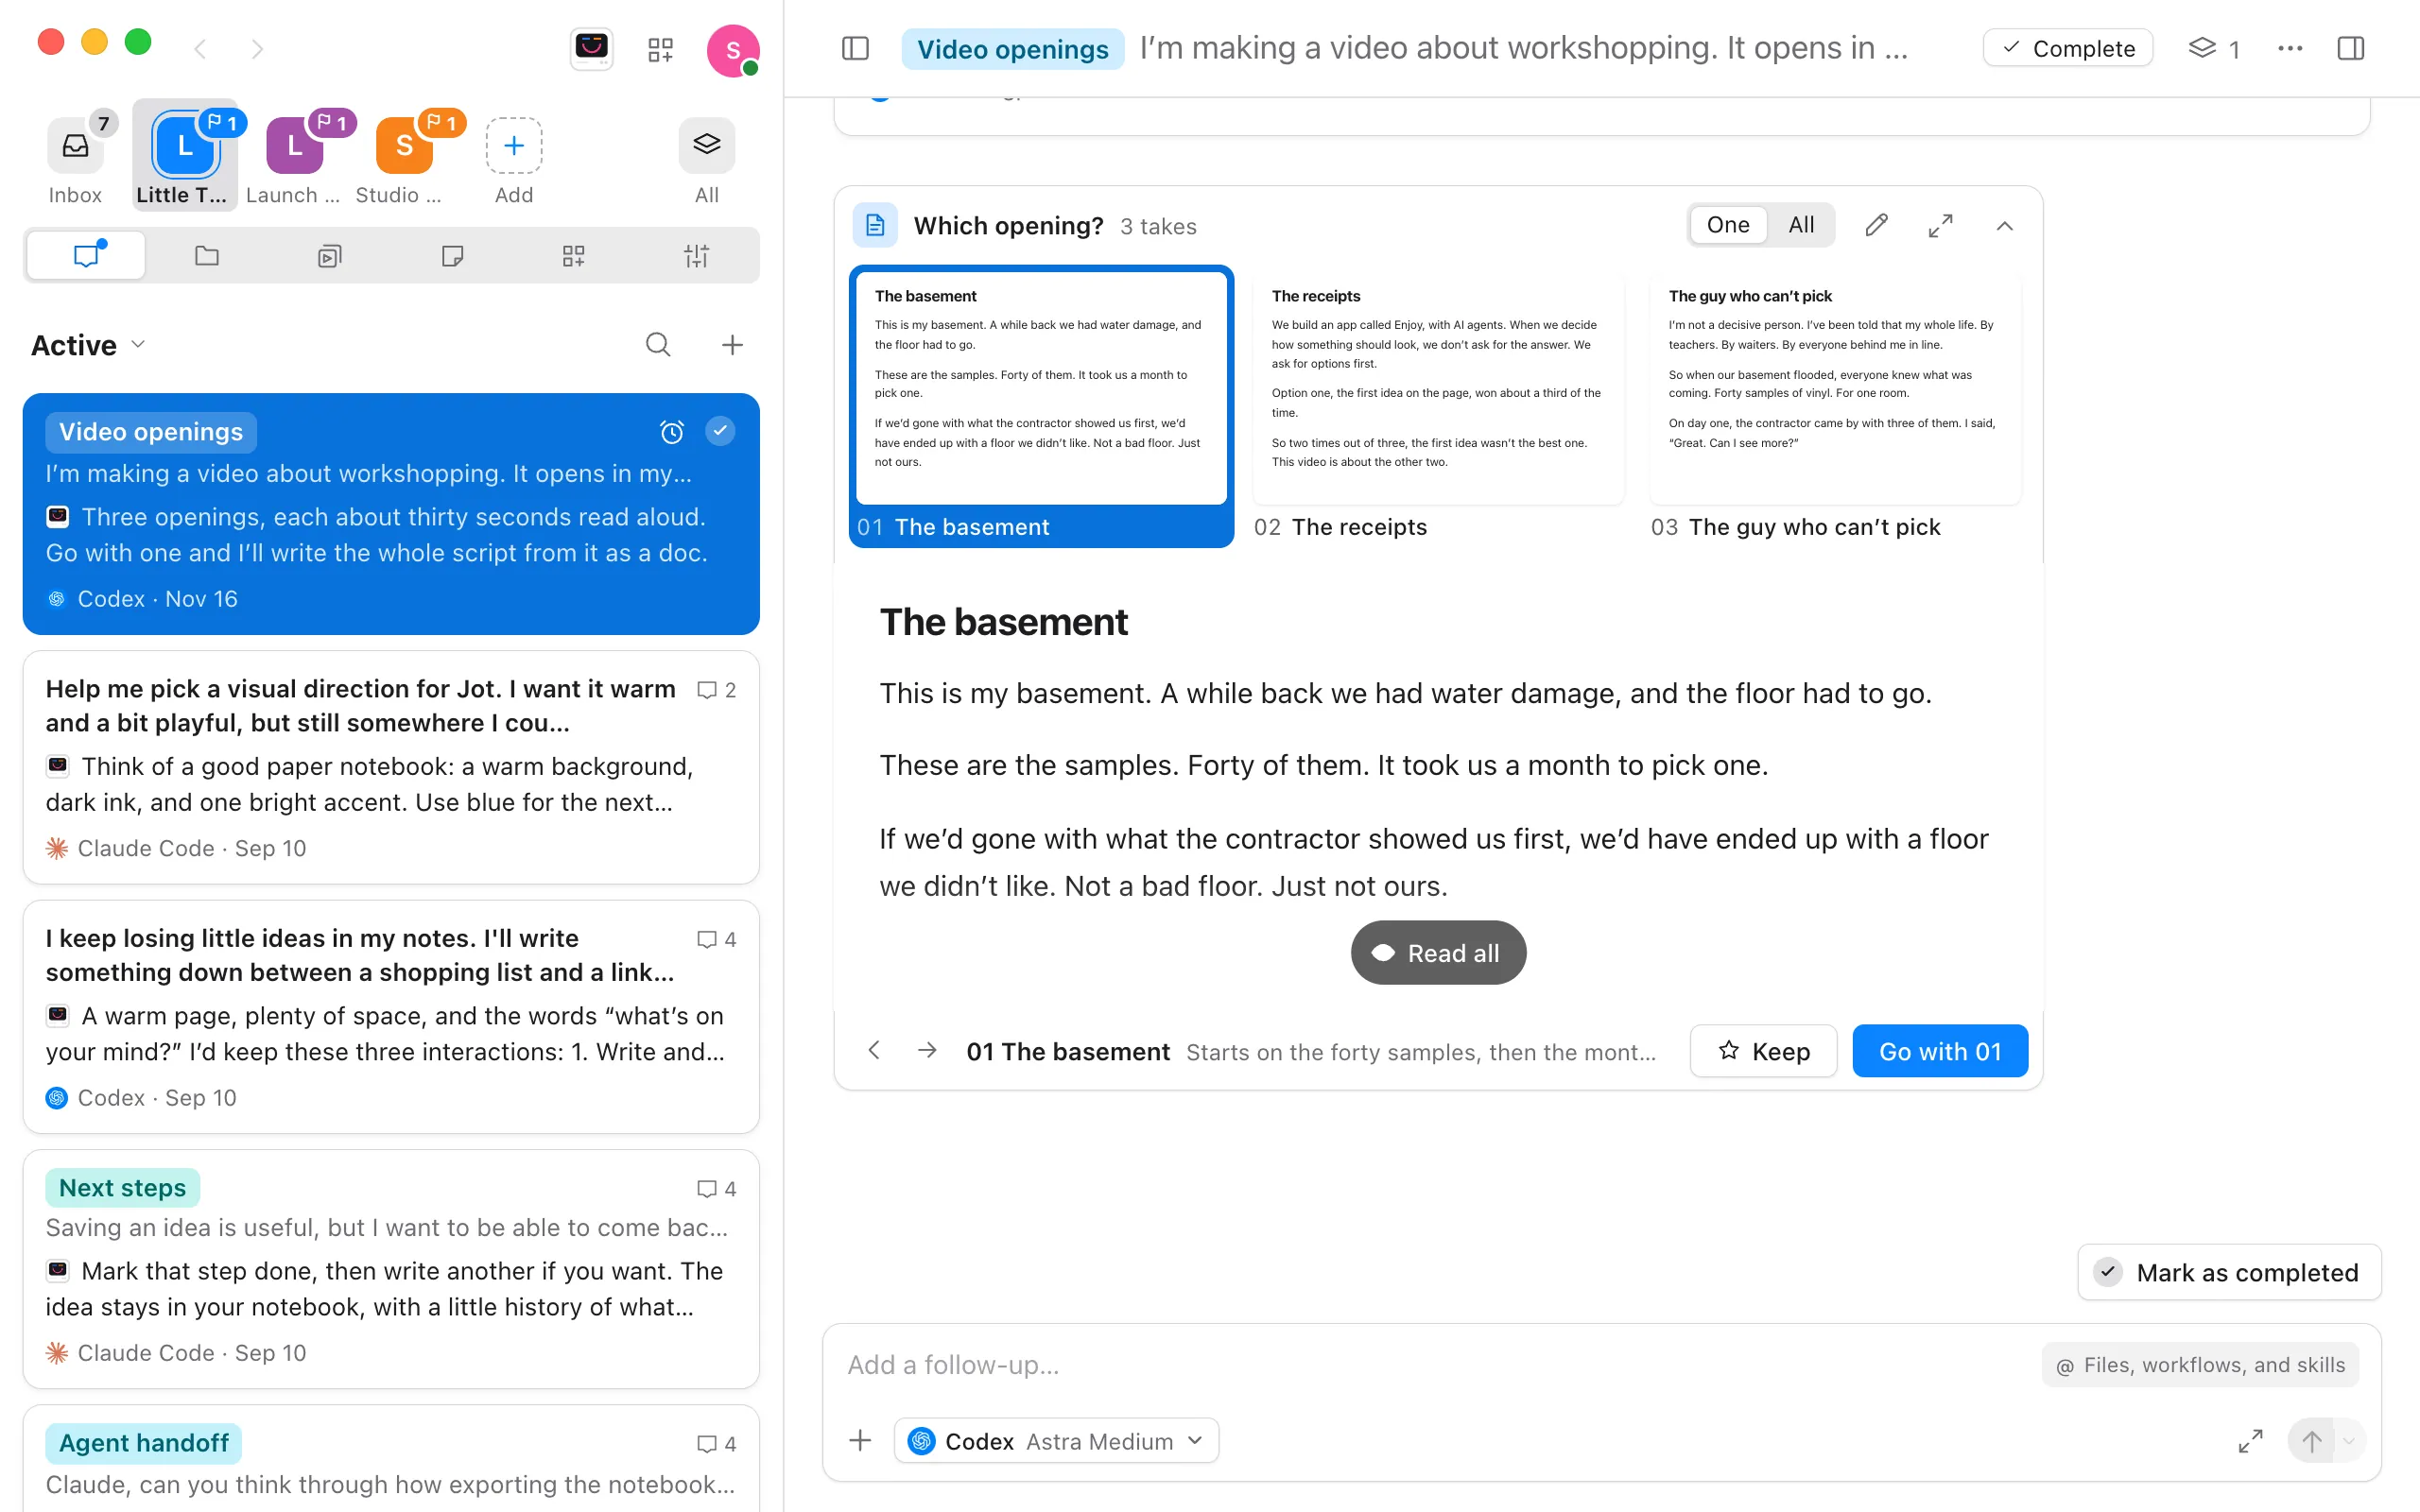
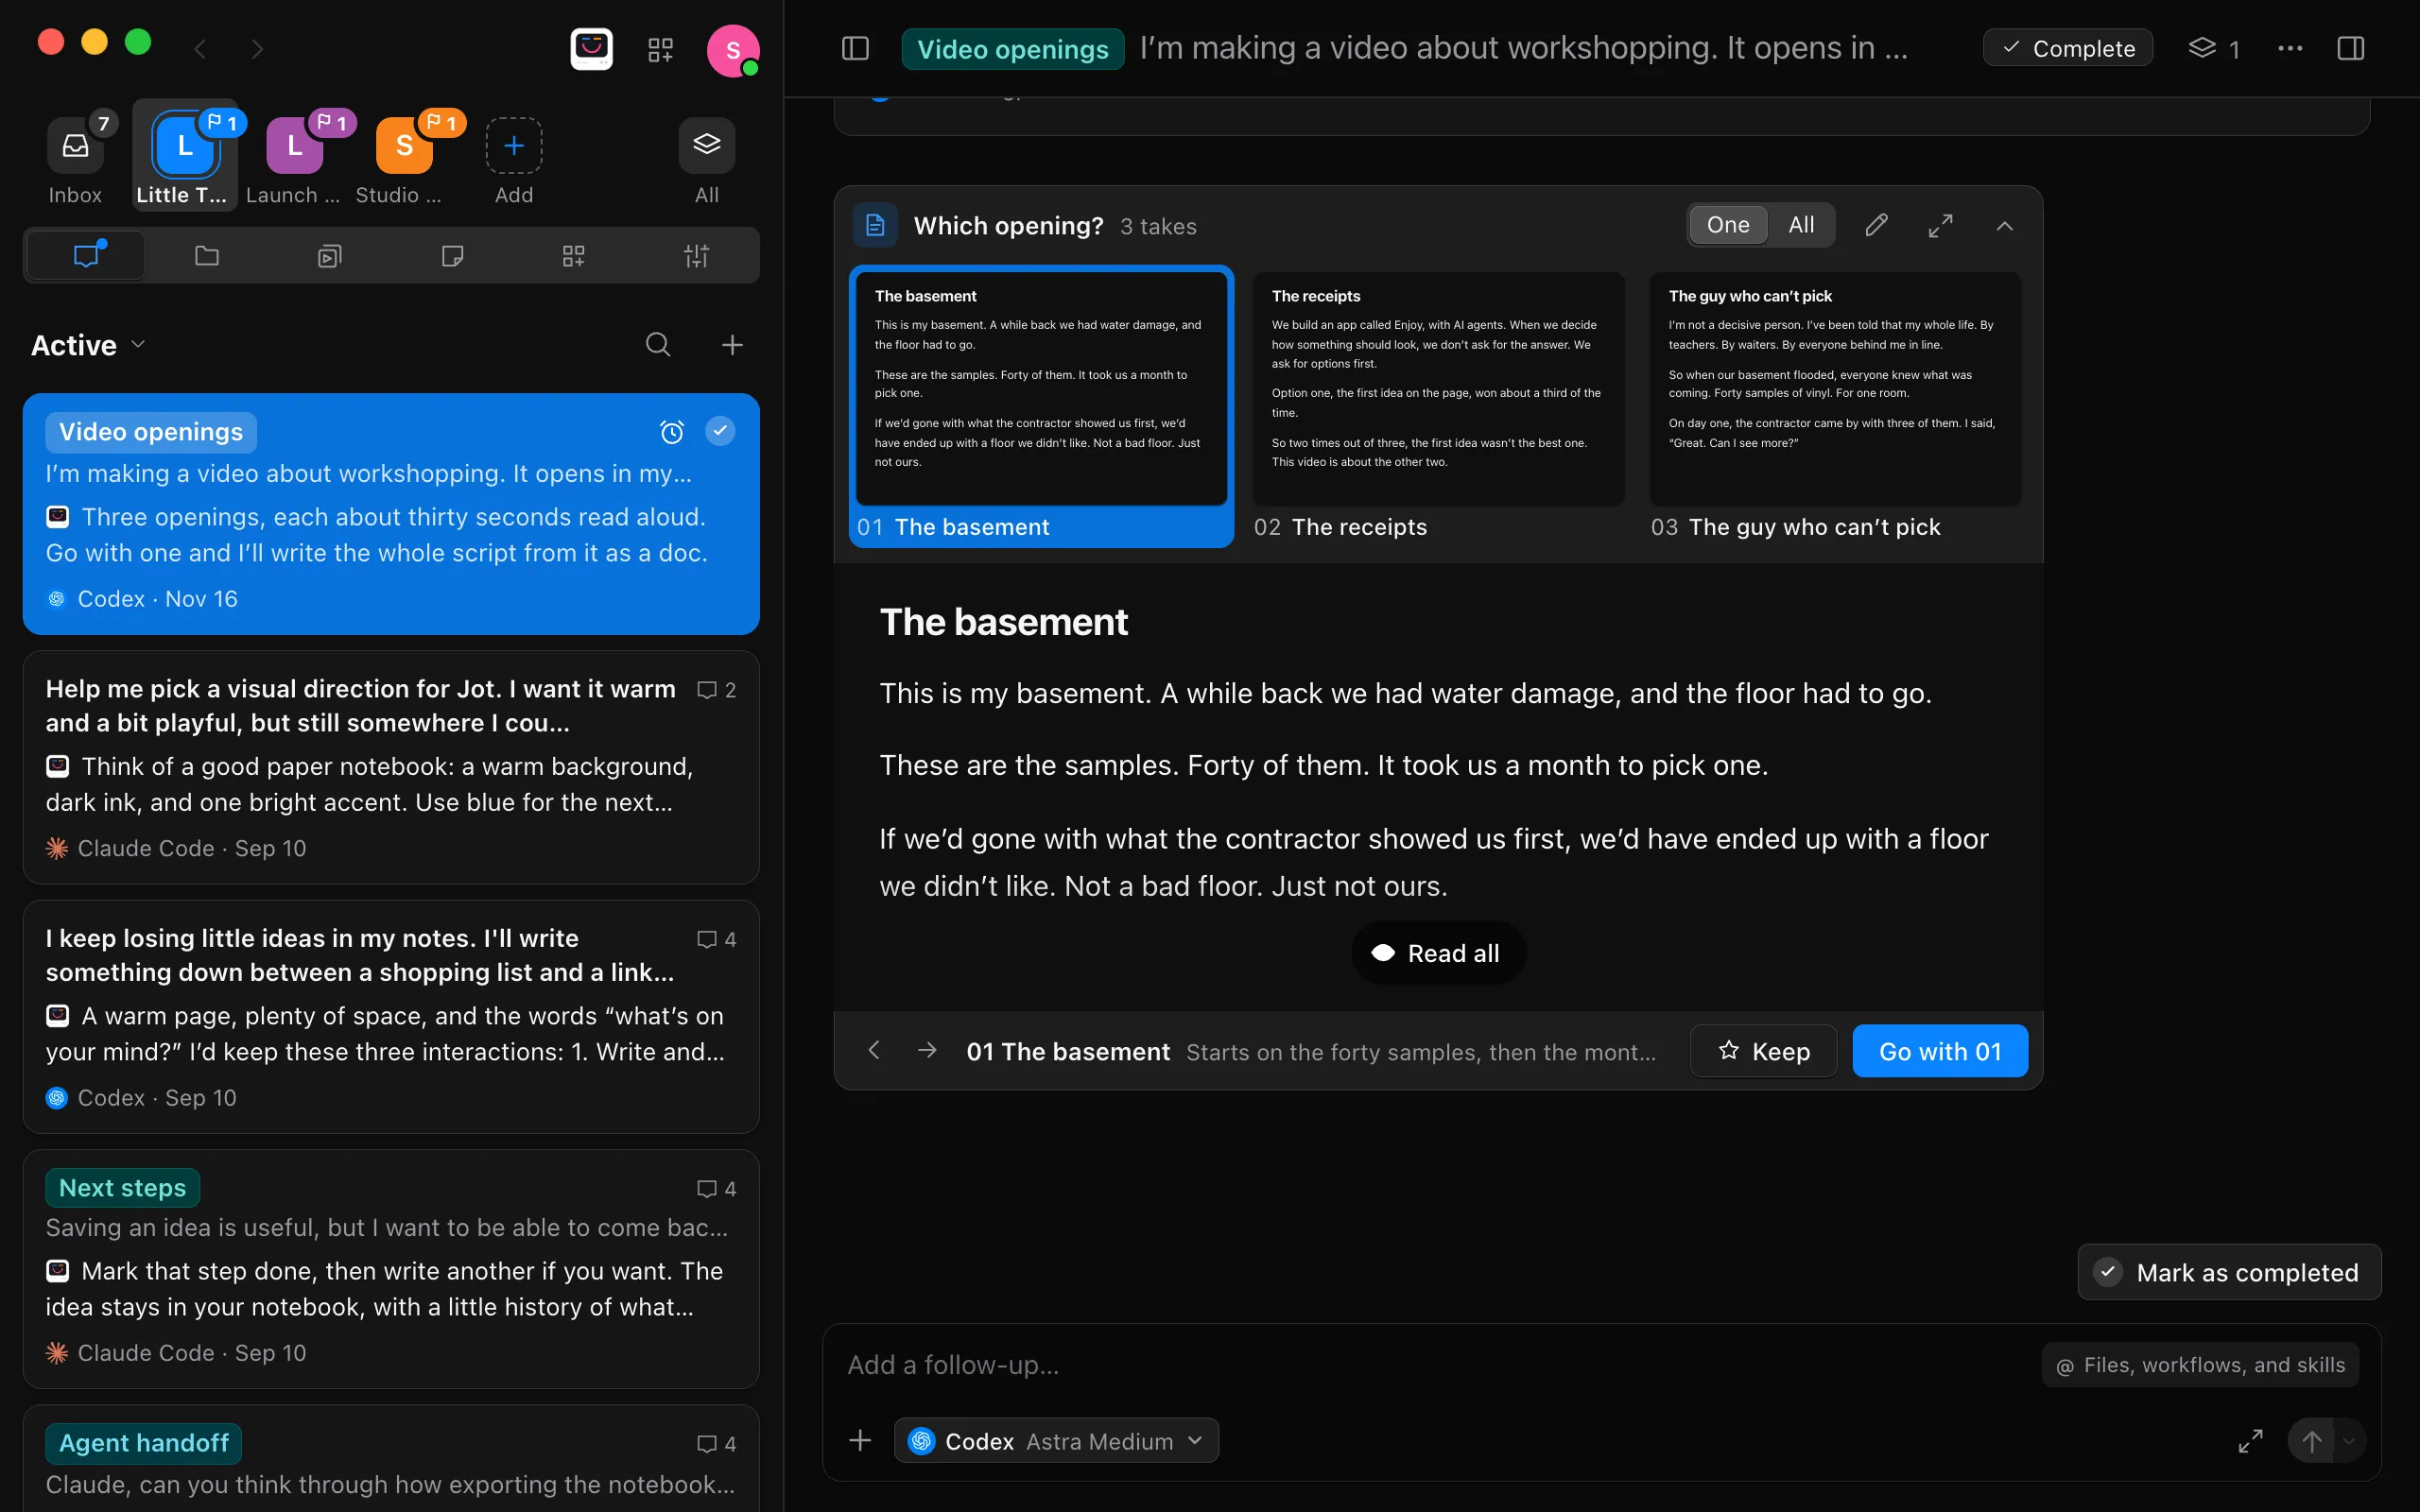
Describe the video and ask for a few directions, such as “I’m making a video about workshopping. It opens in my basement with forty floor samples. Write three different openings so I can pick one.” The agent writes each as a draft and shows them under its reply as numbered pages. Select one to read it, and Read all to read it whole in the card.
Go with one, or keep parts of several
Select Go with and the opening’s number to tell the agent which one to build on. To mix them, select Keep on each one you like instead. Each goes in your message as a numbered chip, so you can say what to take from it, such as “[1] the first line, [2] the ending,” and send it. The openings you didn’t choose stay files in your project.
Get the whole script as a doc, and ask for changes
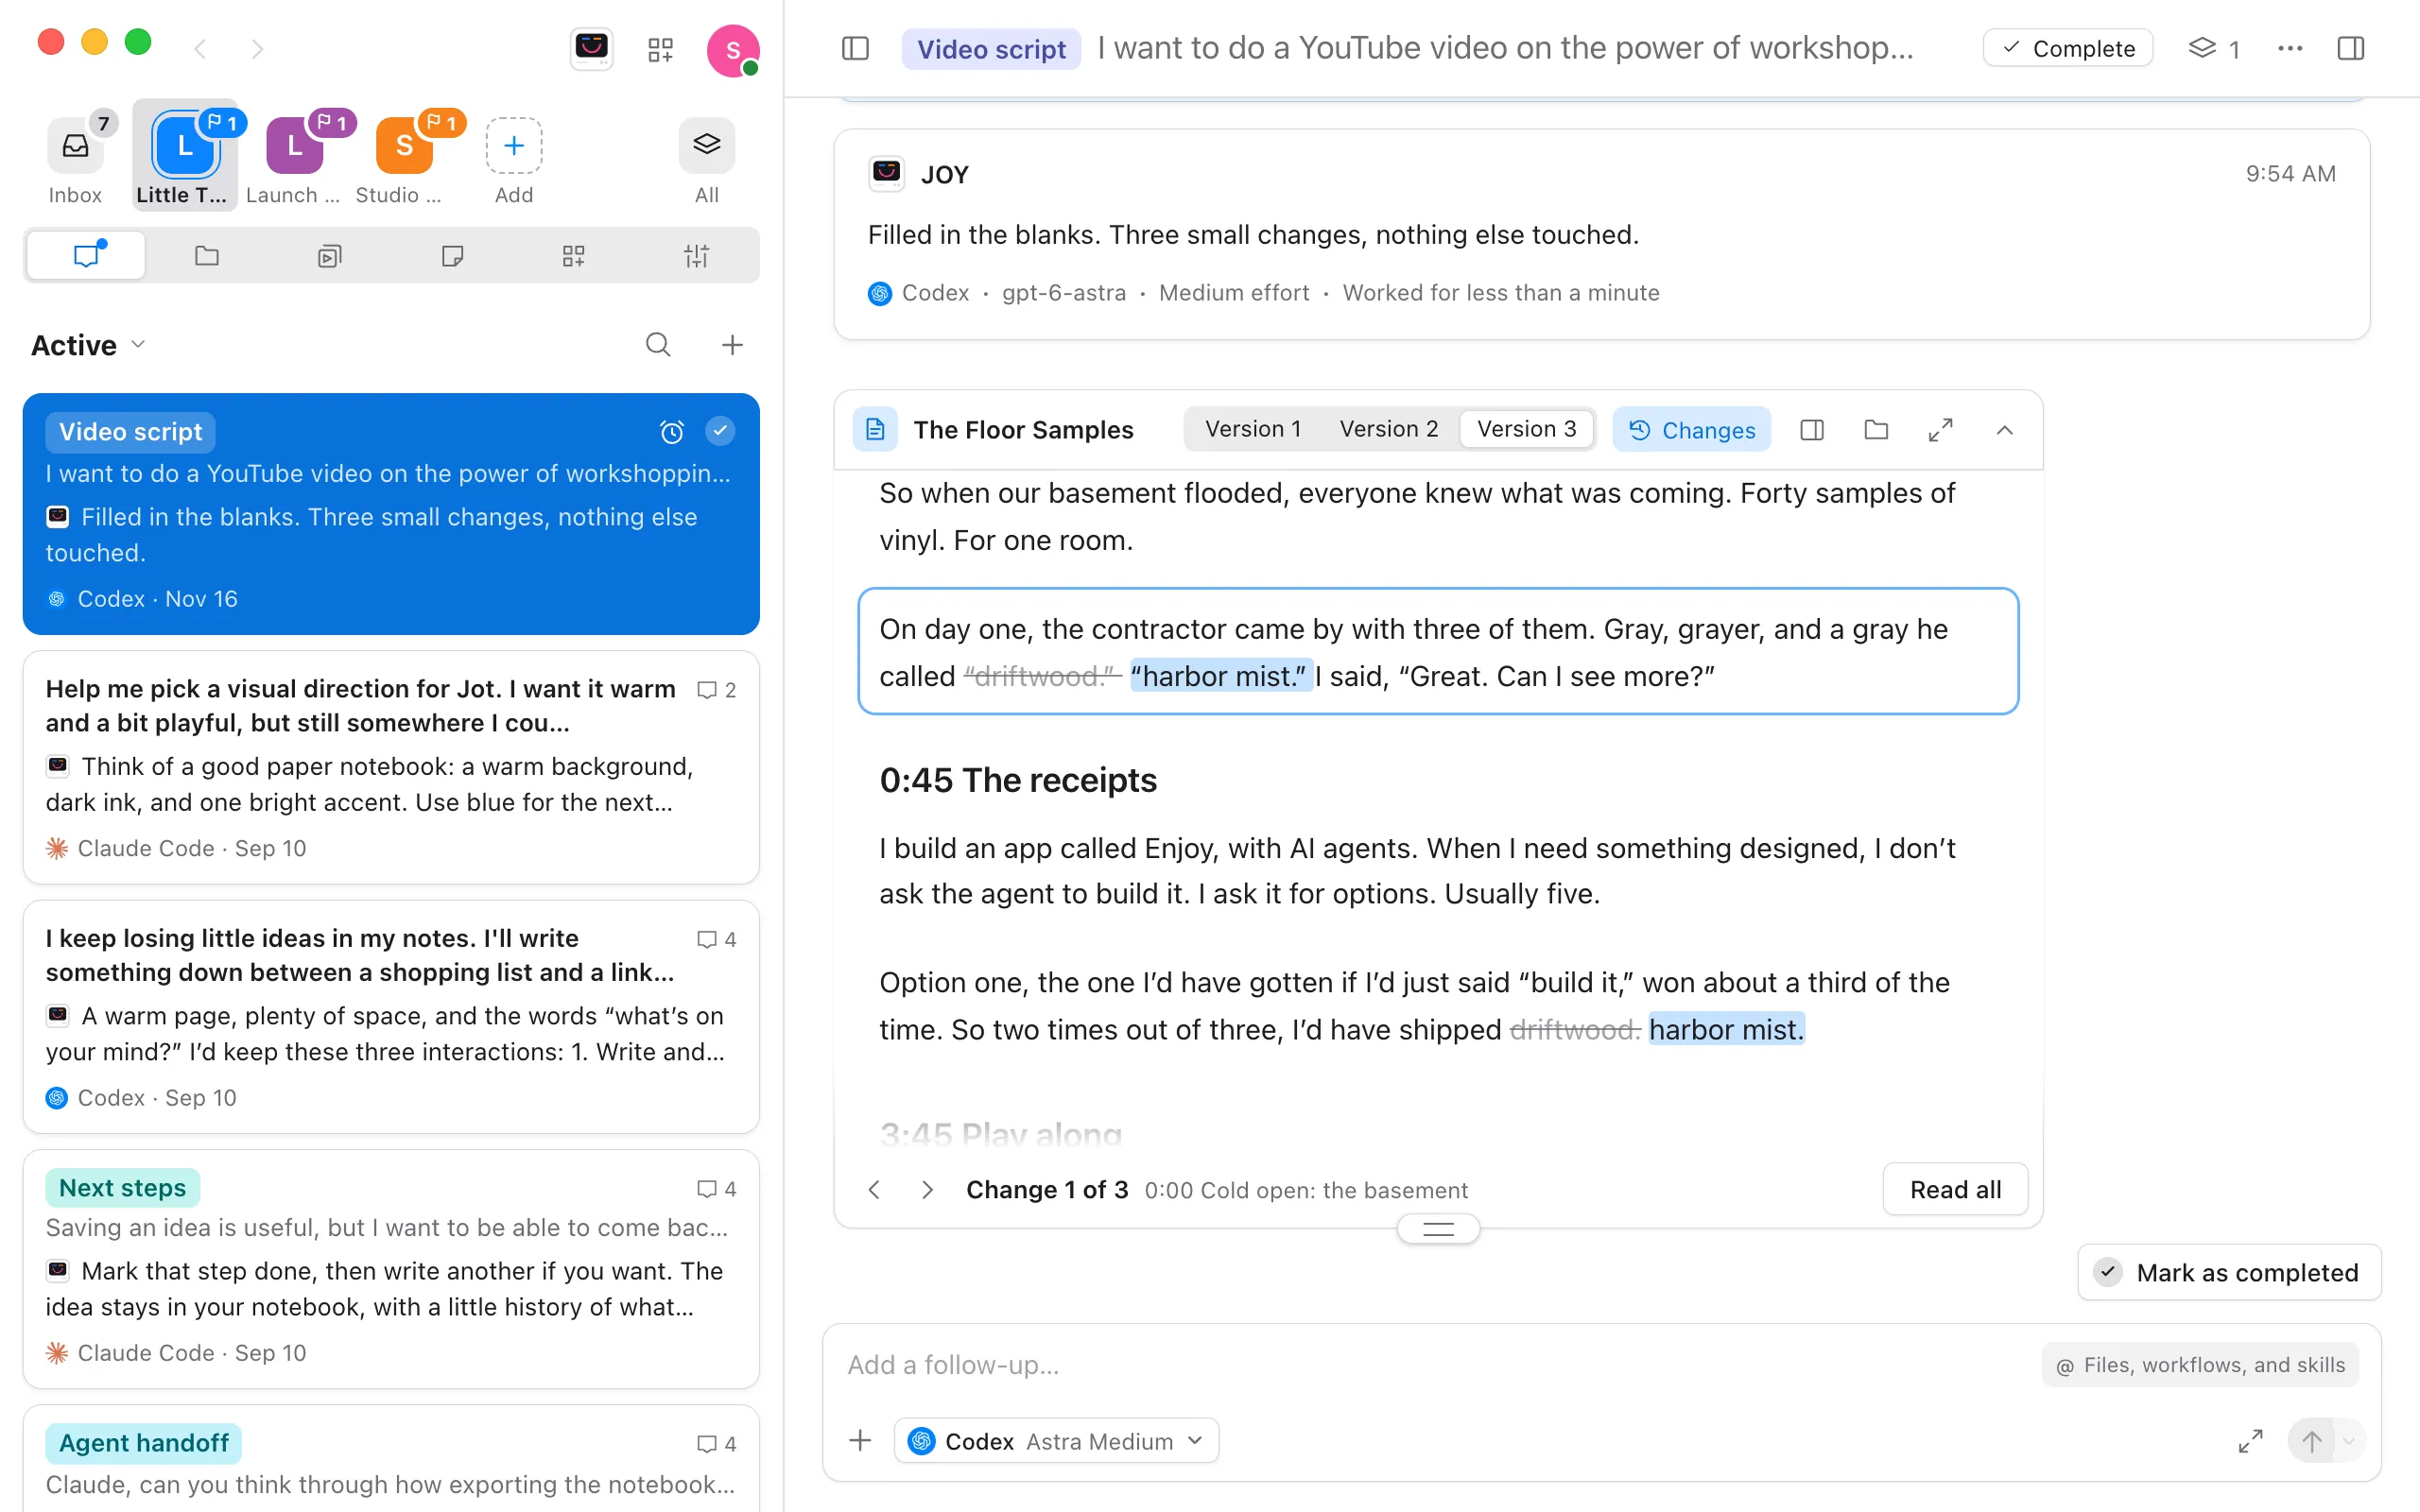
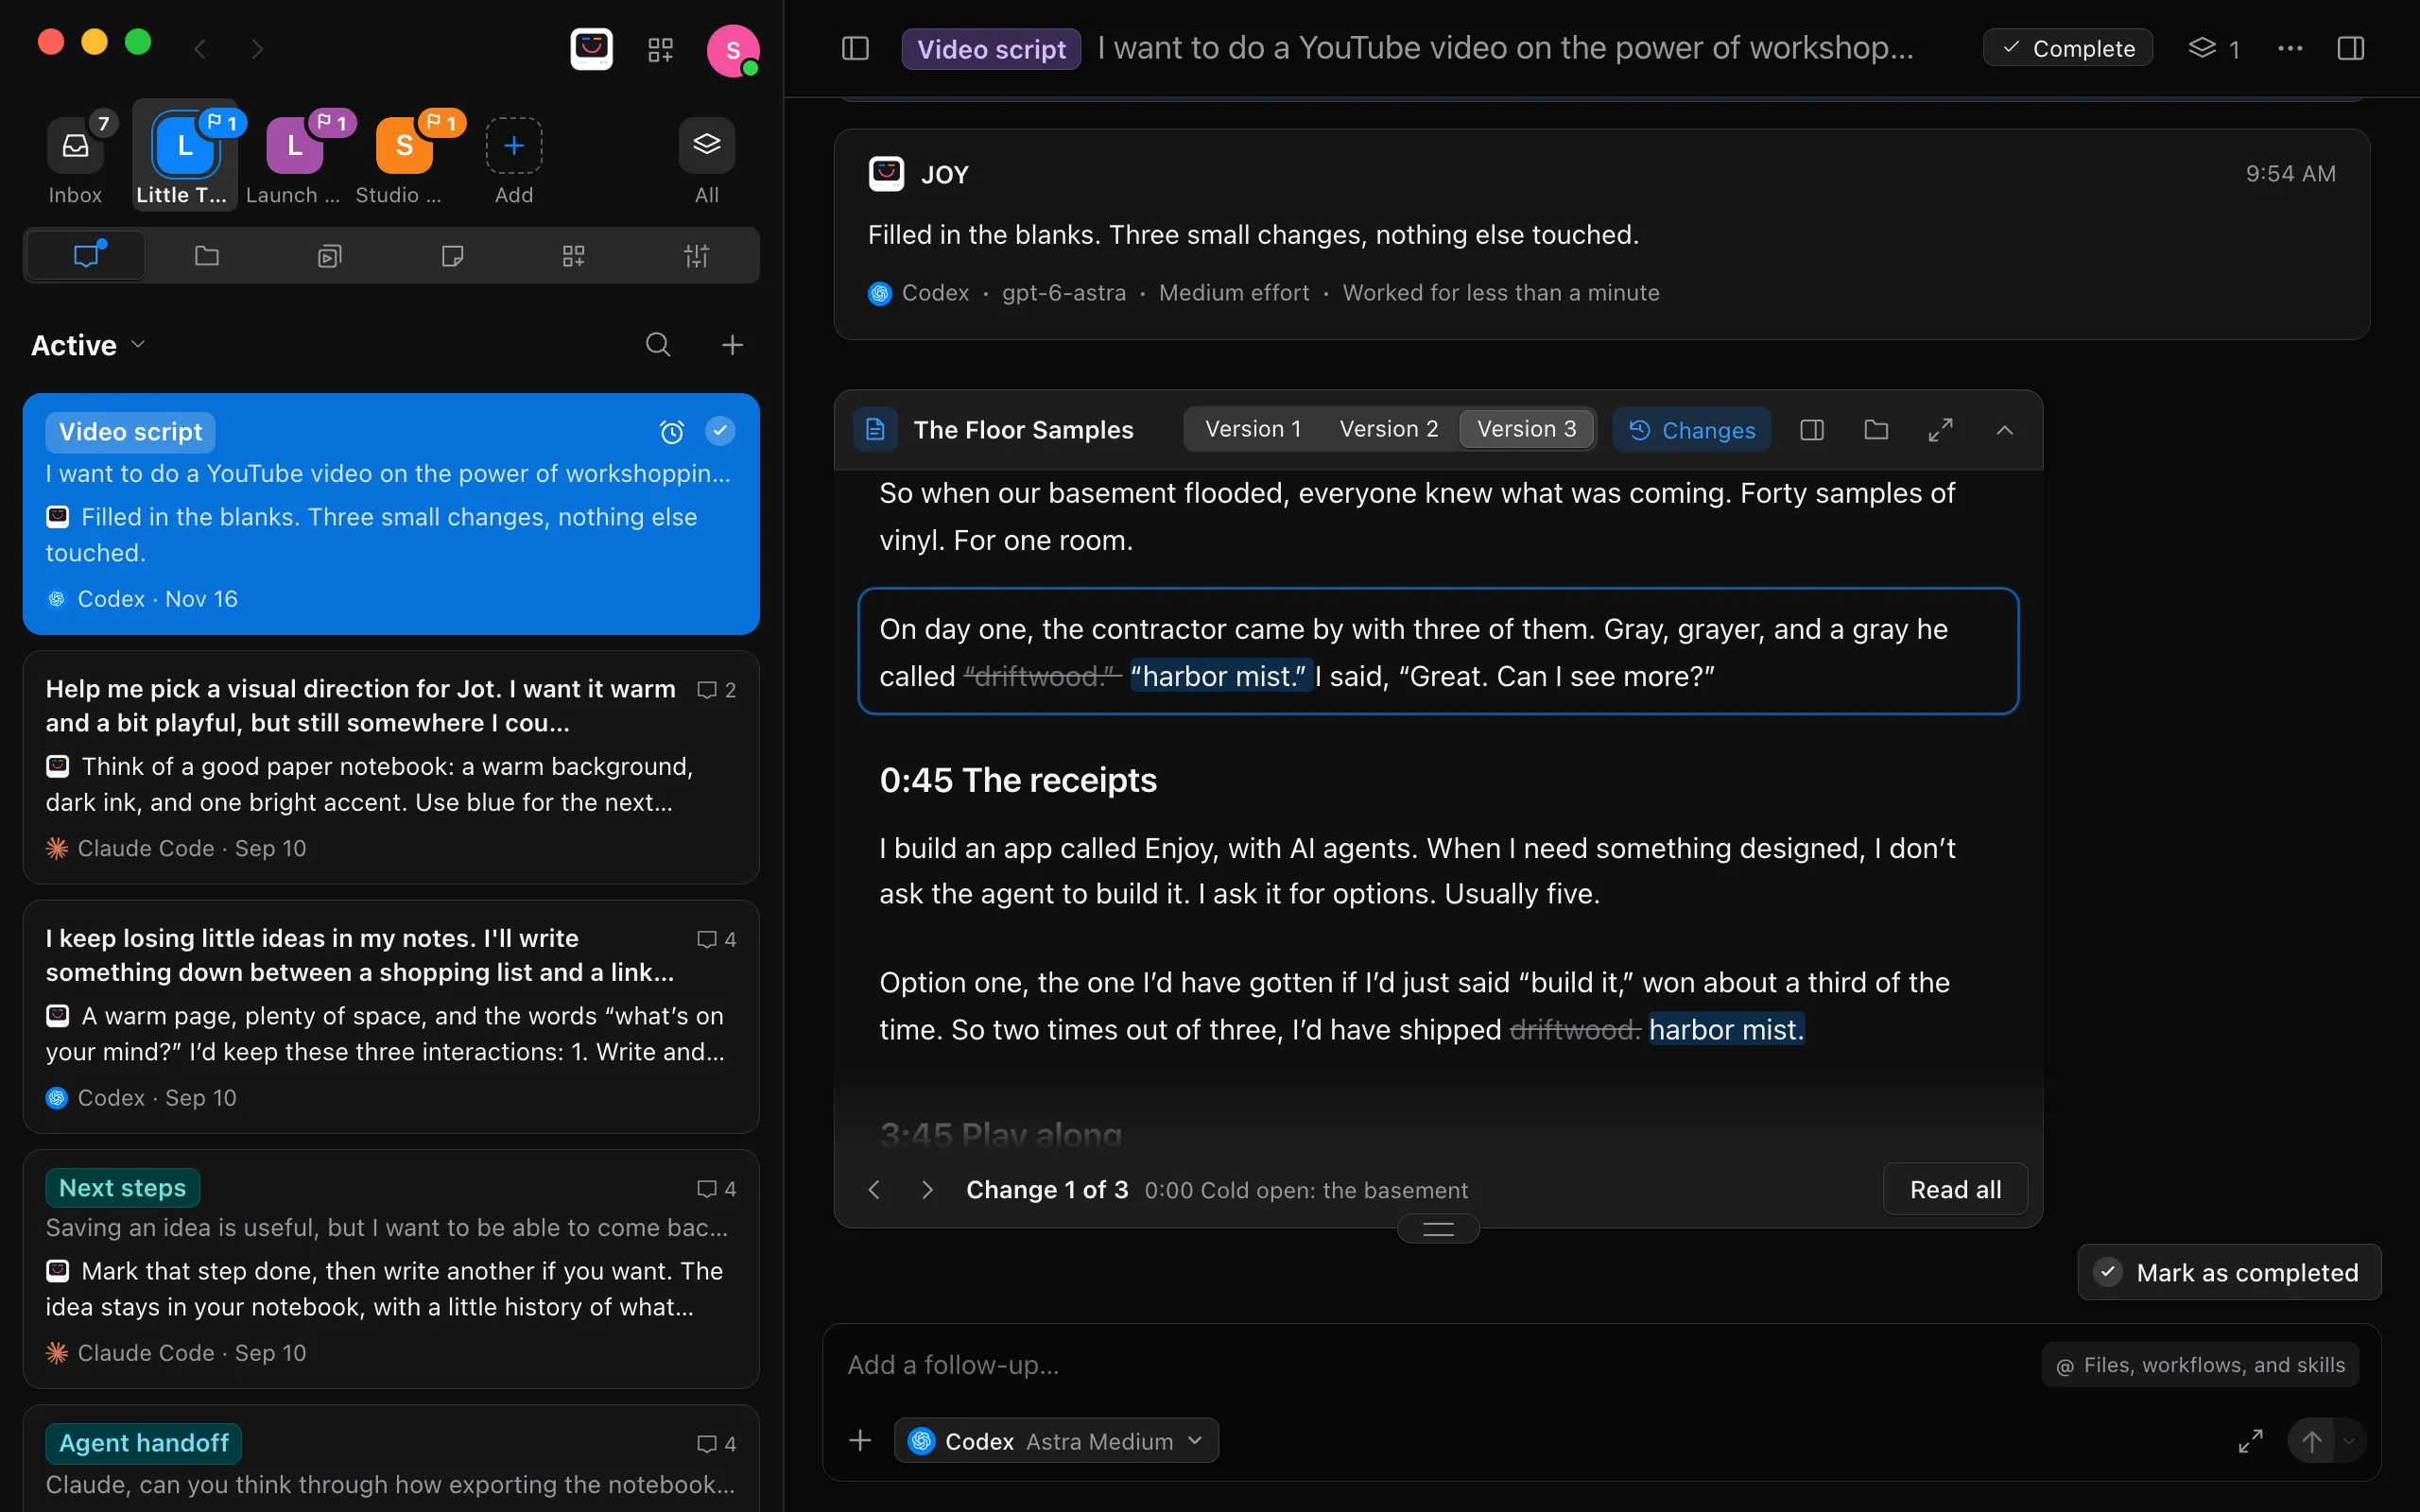
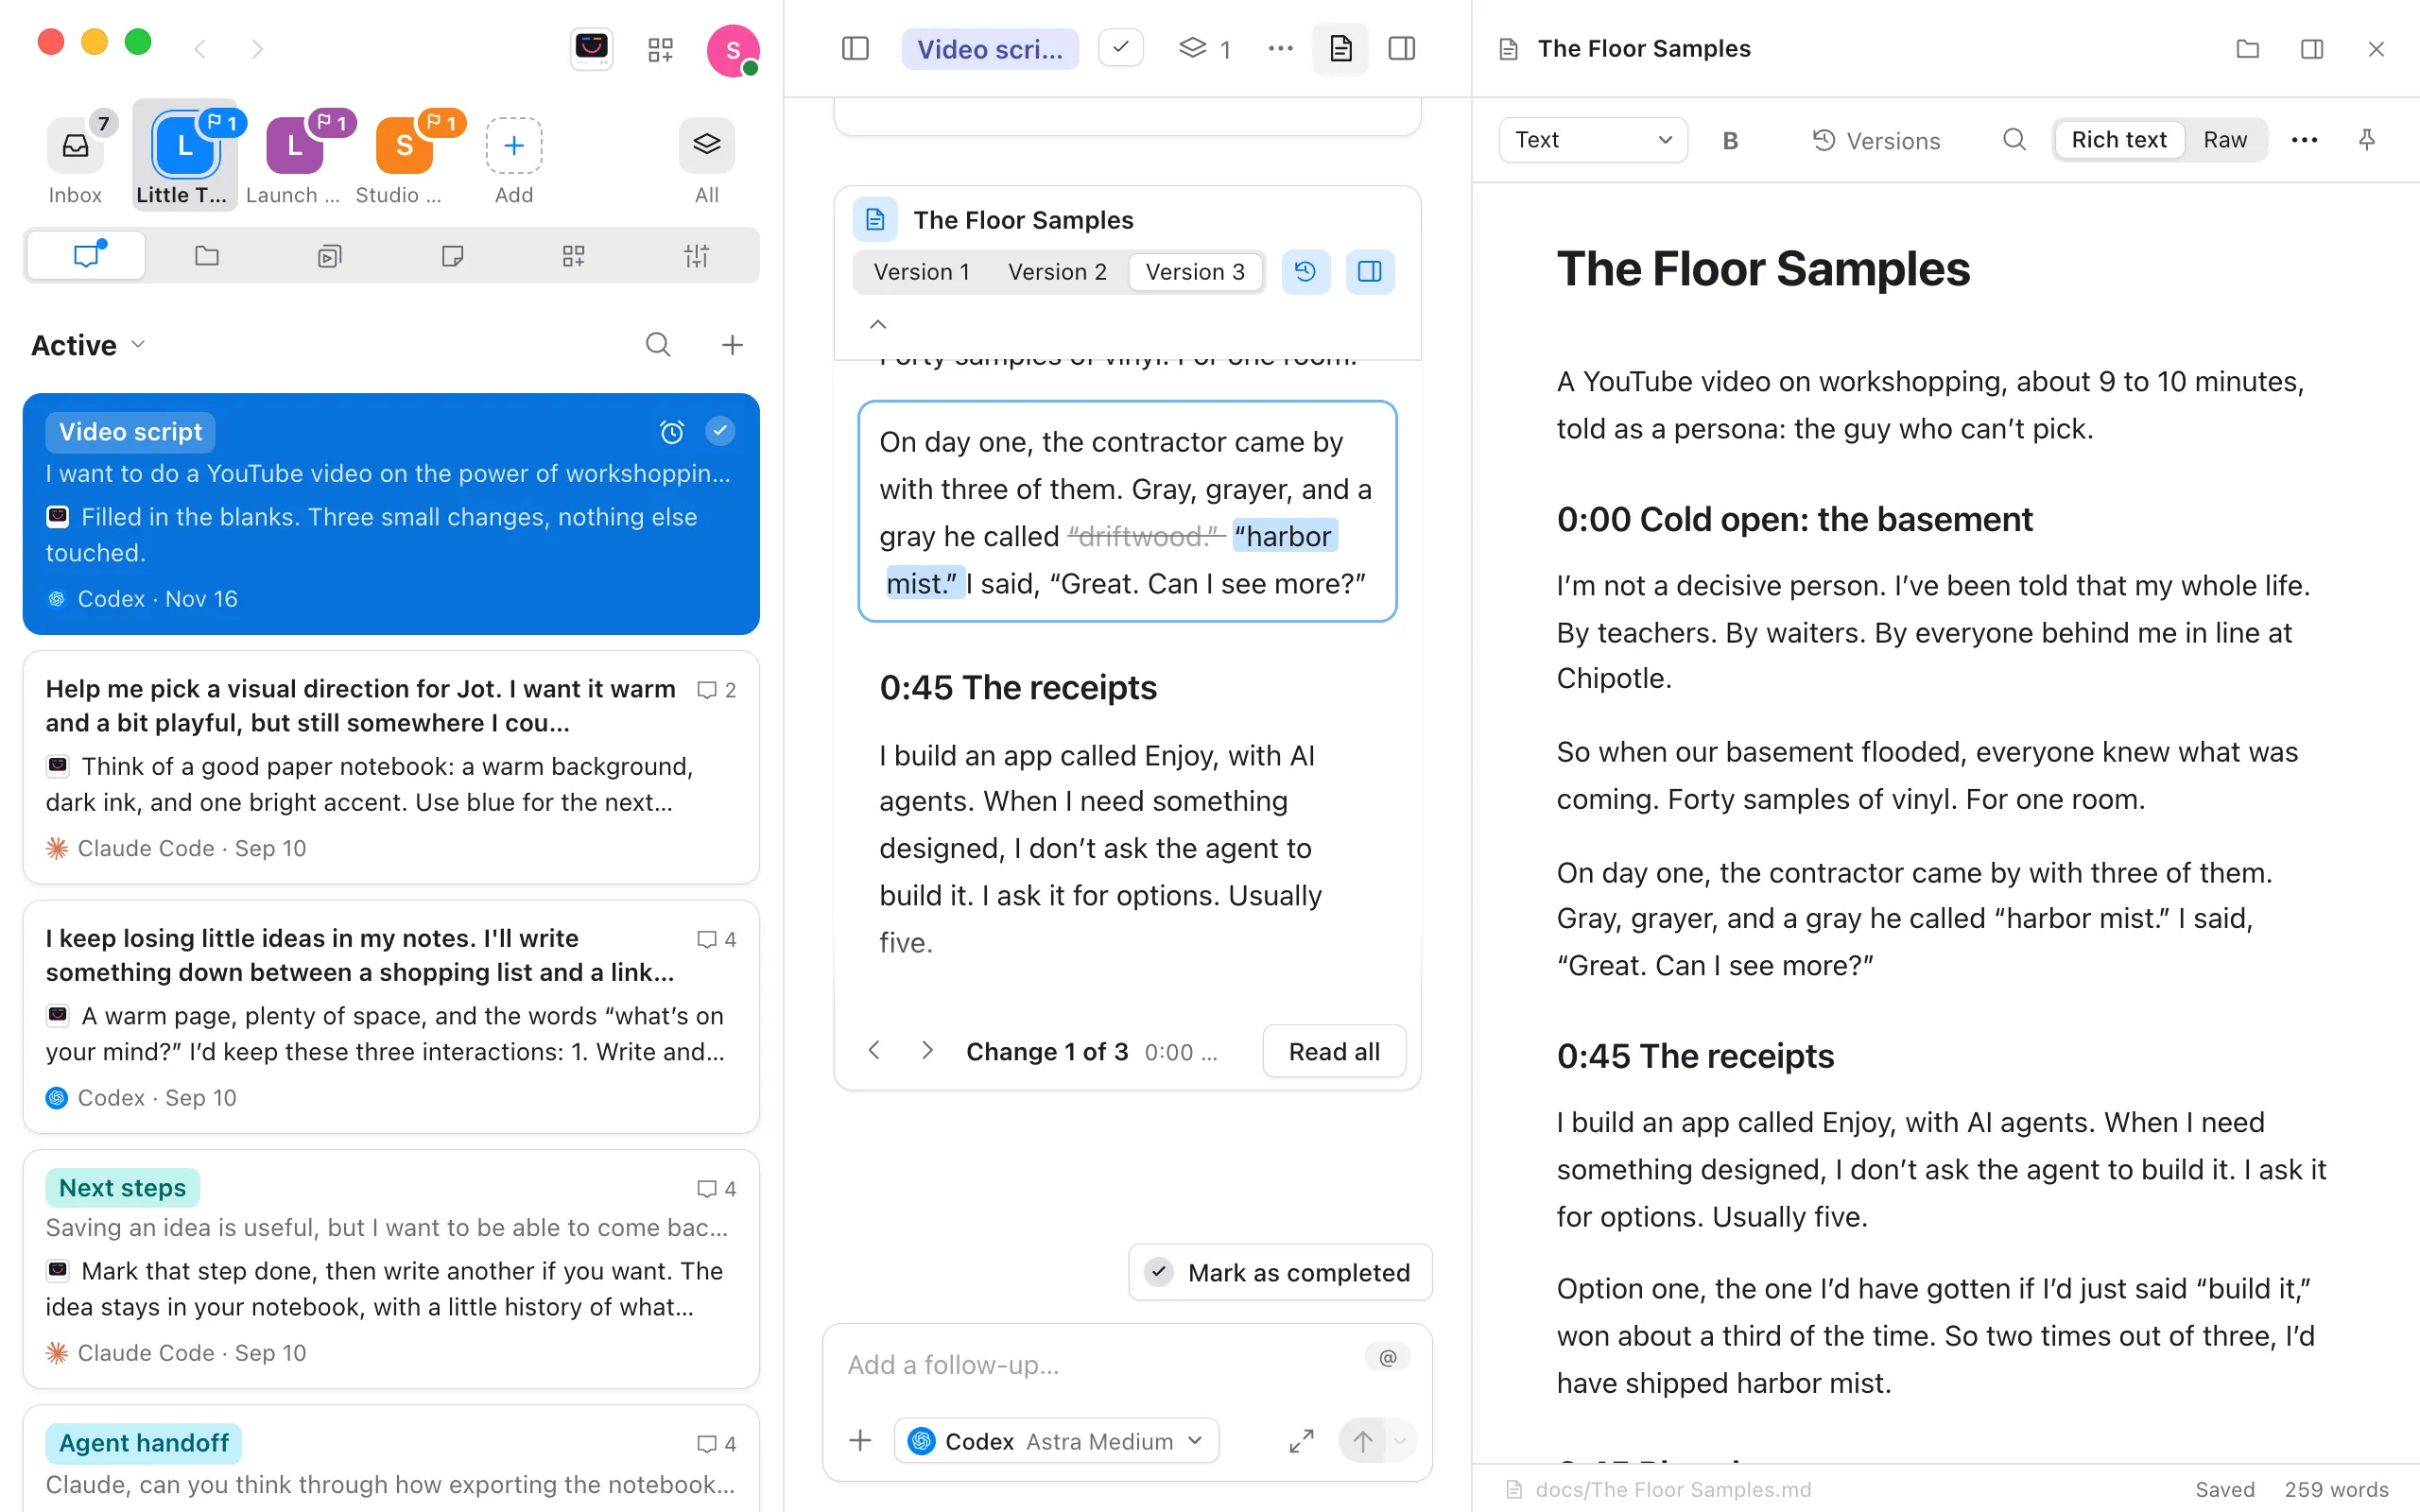
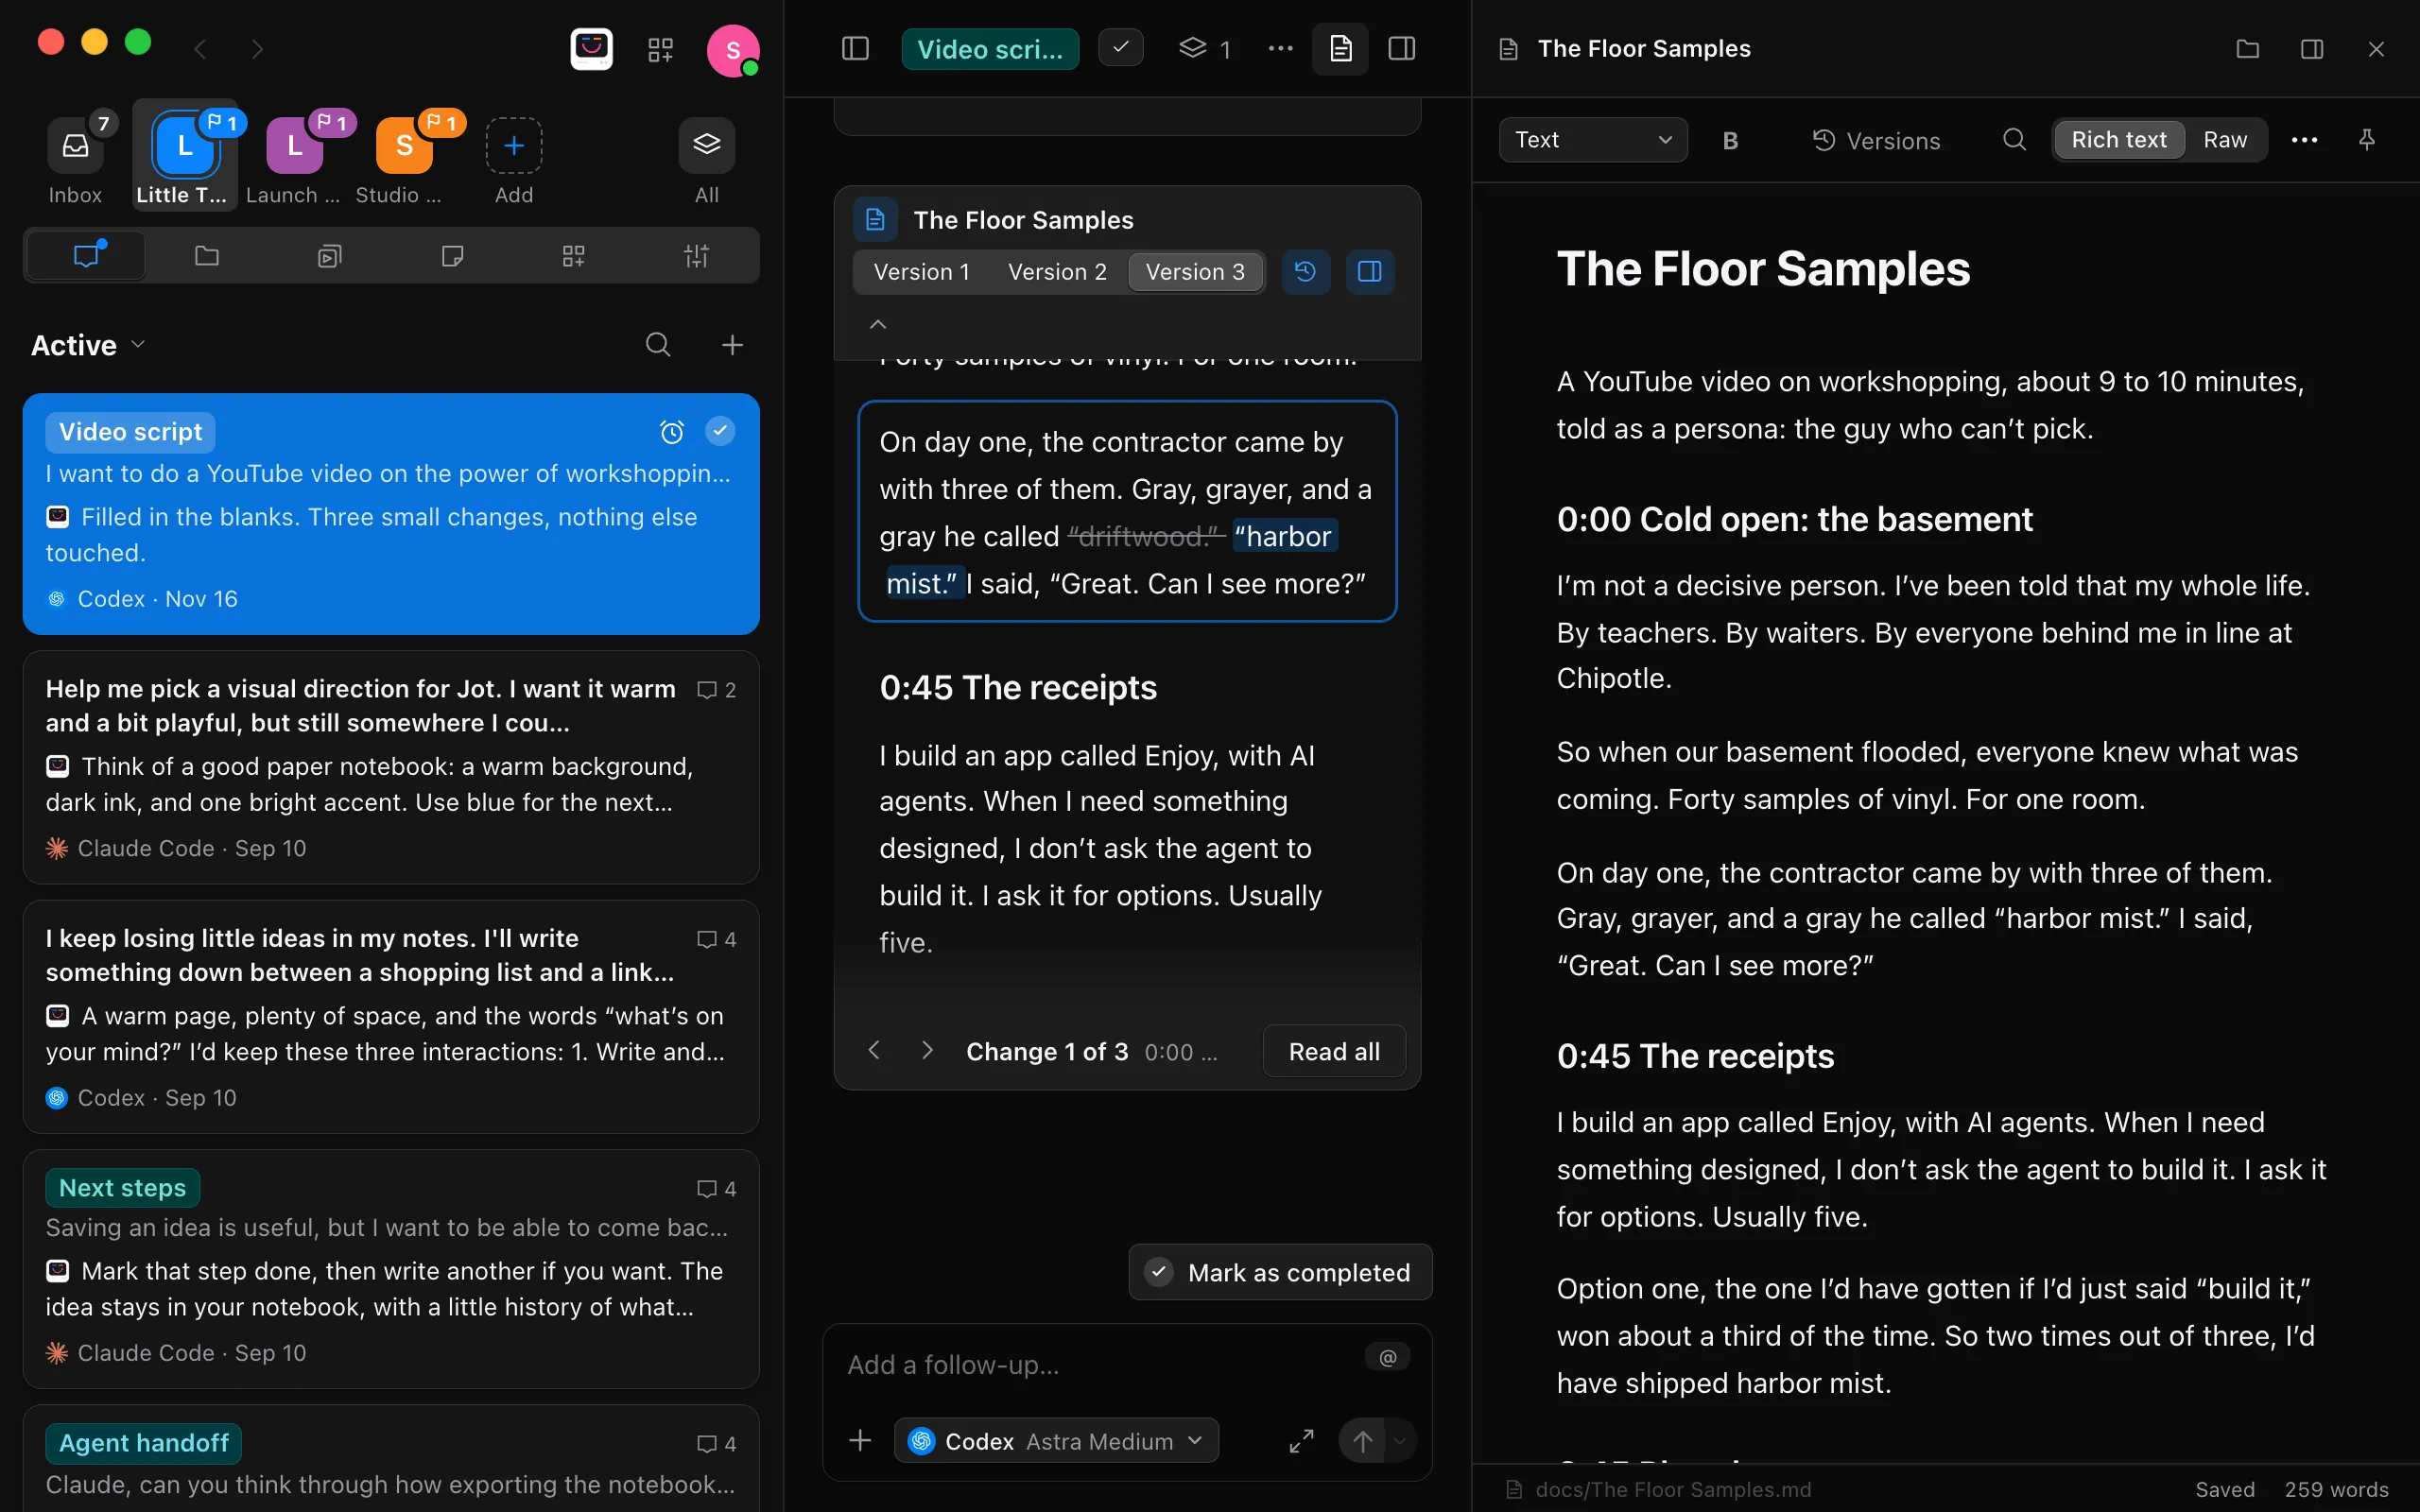
Ask for it, such as “Write the whole script from that opening, about nine minutes.” The agent saves it as a doc, a page in Files under Your documents, and its card shows under the reply. Then say what to change, such as “The studies are boring. Tell it as stories about me.” On the card, words the agent added are highlighted and words it removed are struck through. The change you’re on is outlined, and the arrows at the bottom of the card step through the rest.
Flip between versions, and edit it yourself
Select Version 1, Version 2, and so on at the top of the card. Each shows what it changed from the one before, and Changes turns the marks off. To write in the script yourself, select Open beside, the panel button at the top of the card. It opens on the right in the same editor as in Files, while you keep talking to the agent, and your changes save on their own.
Go back to an earlier version
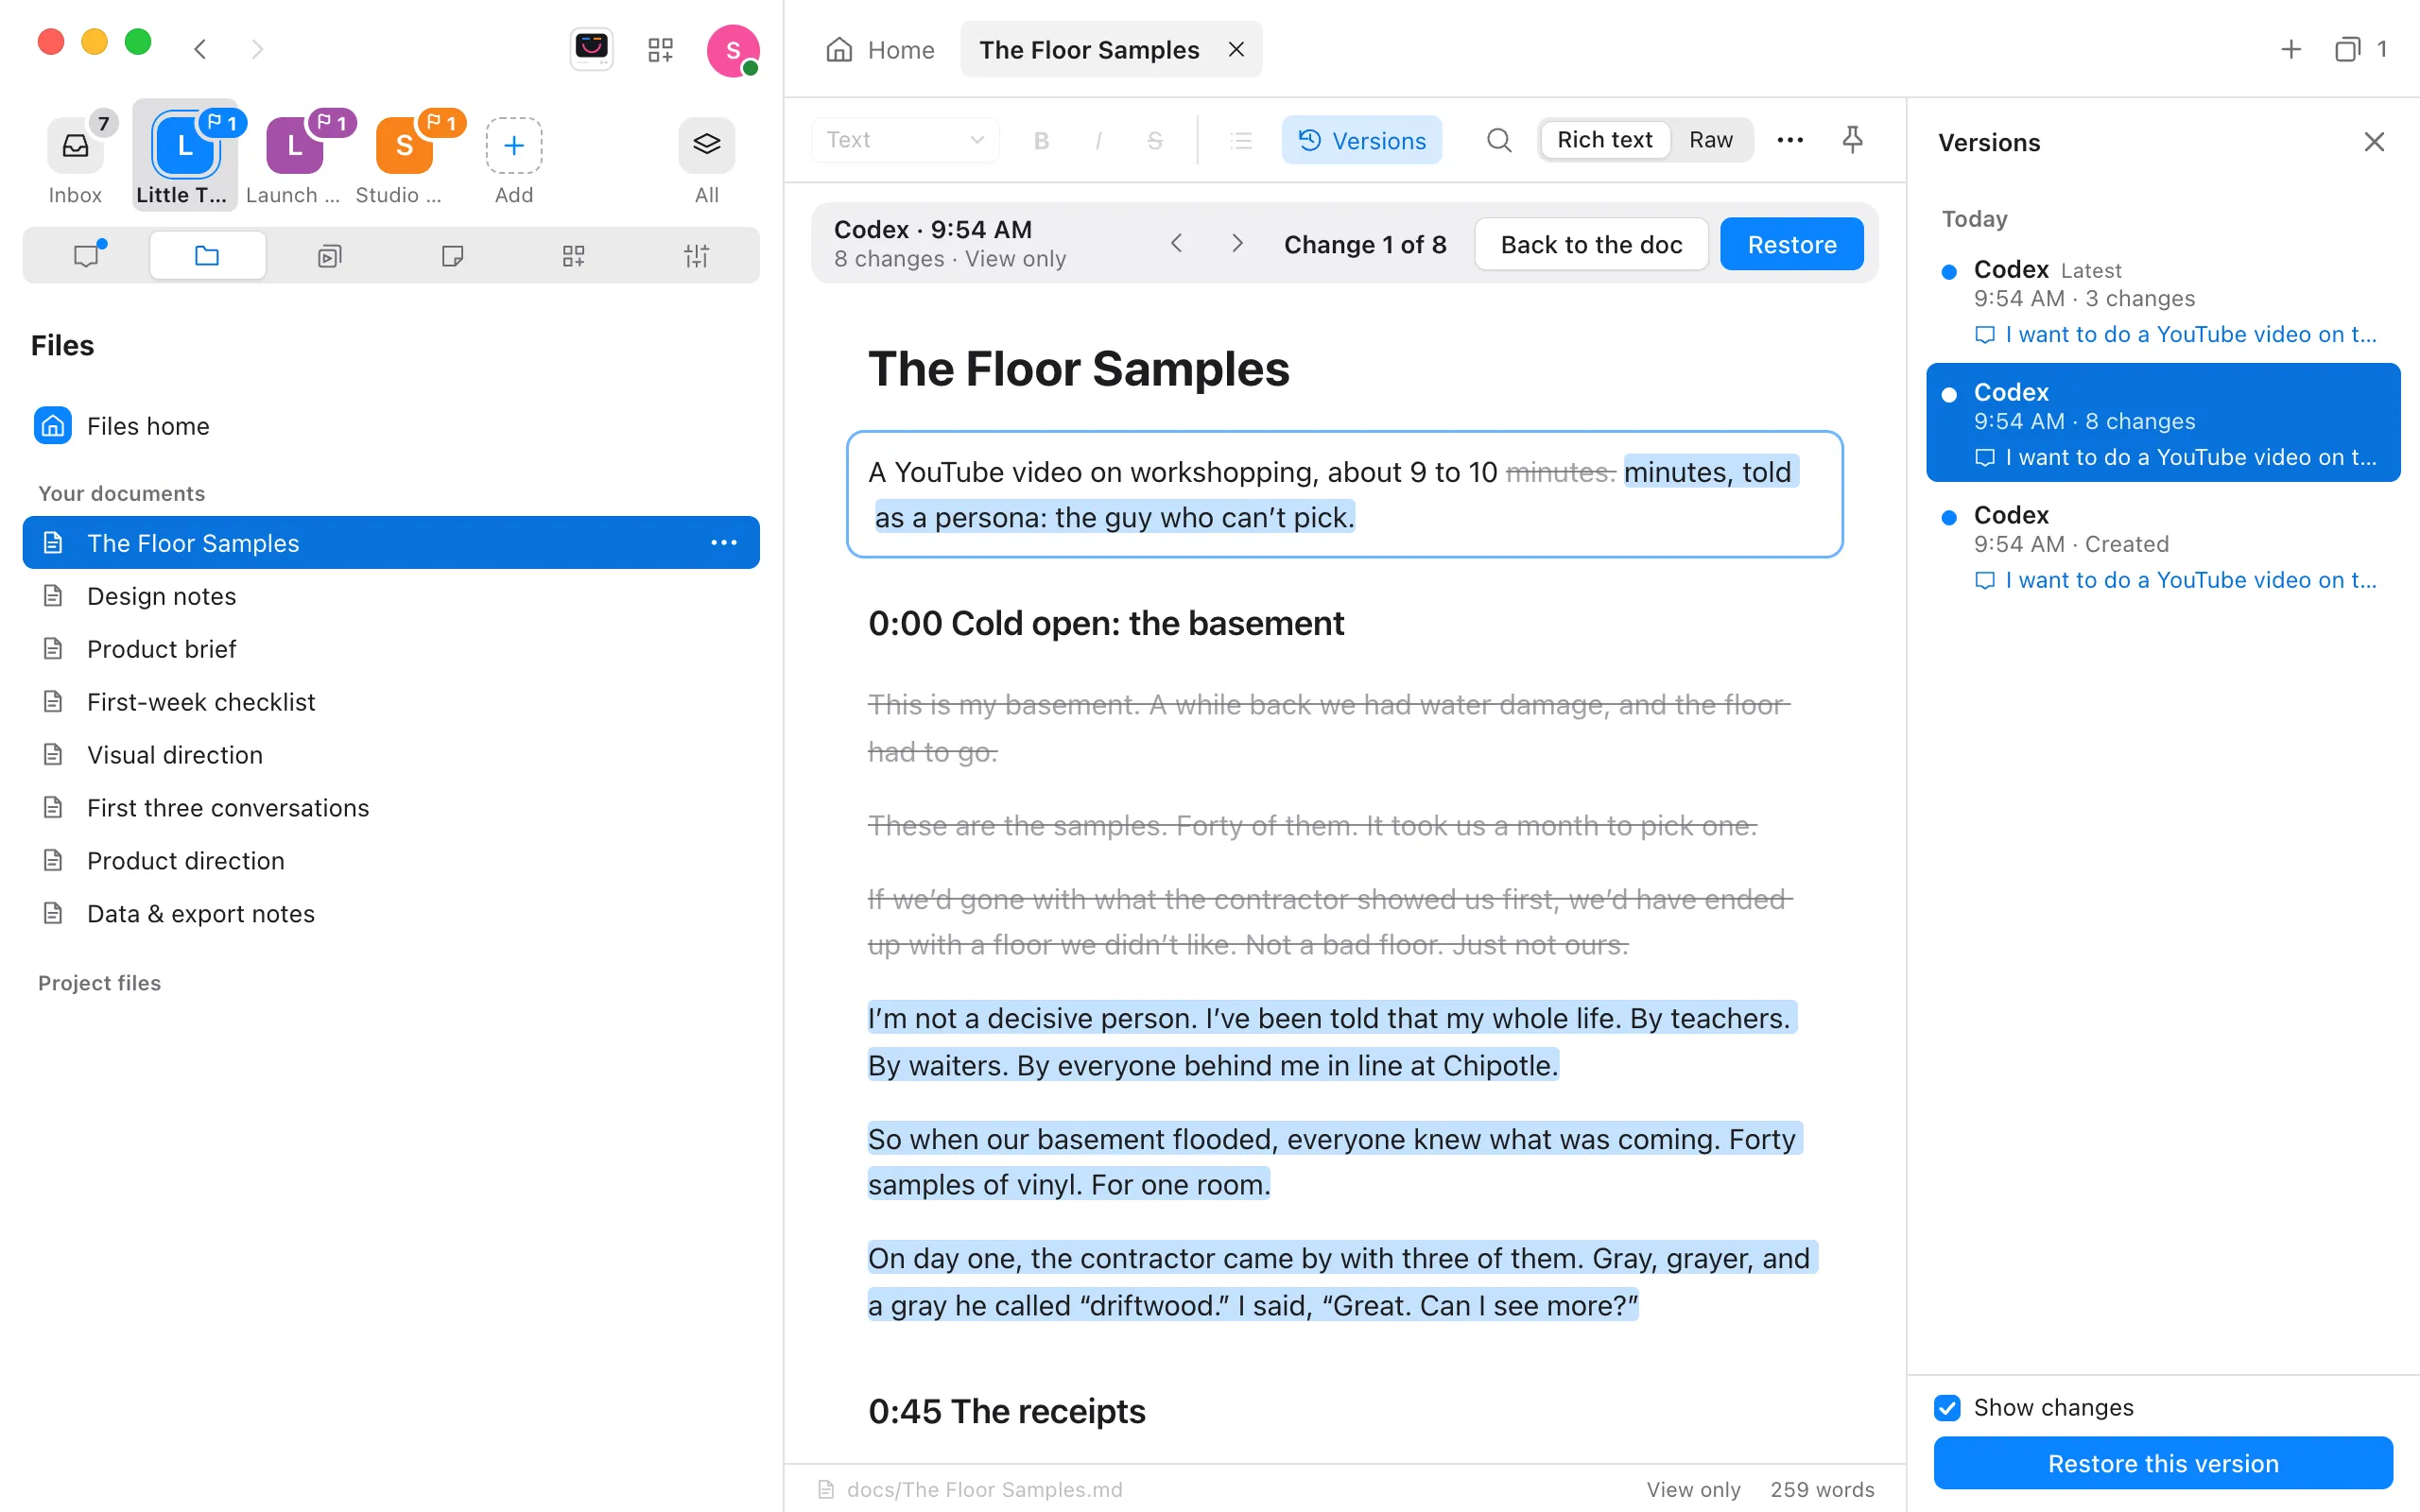
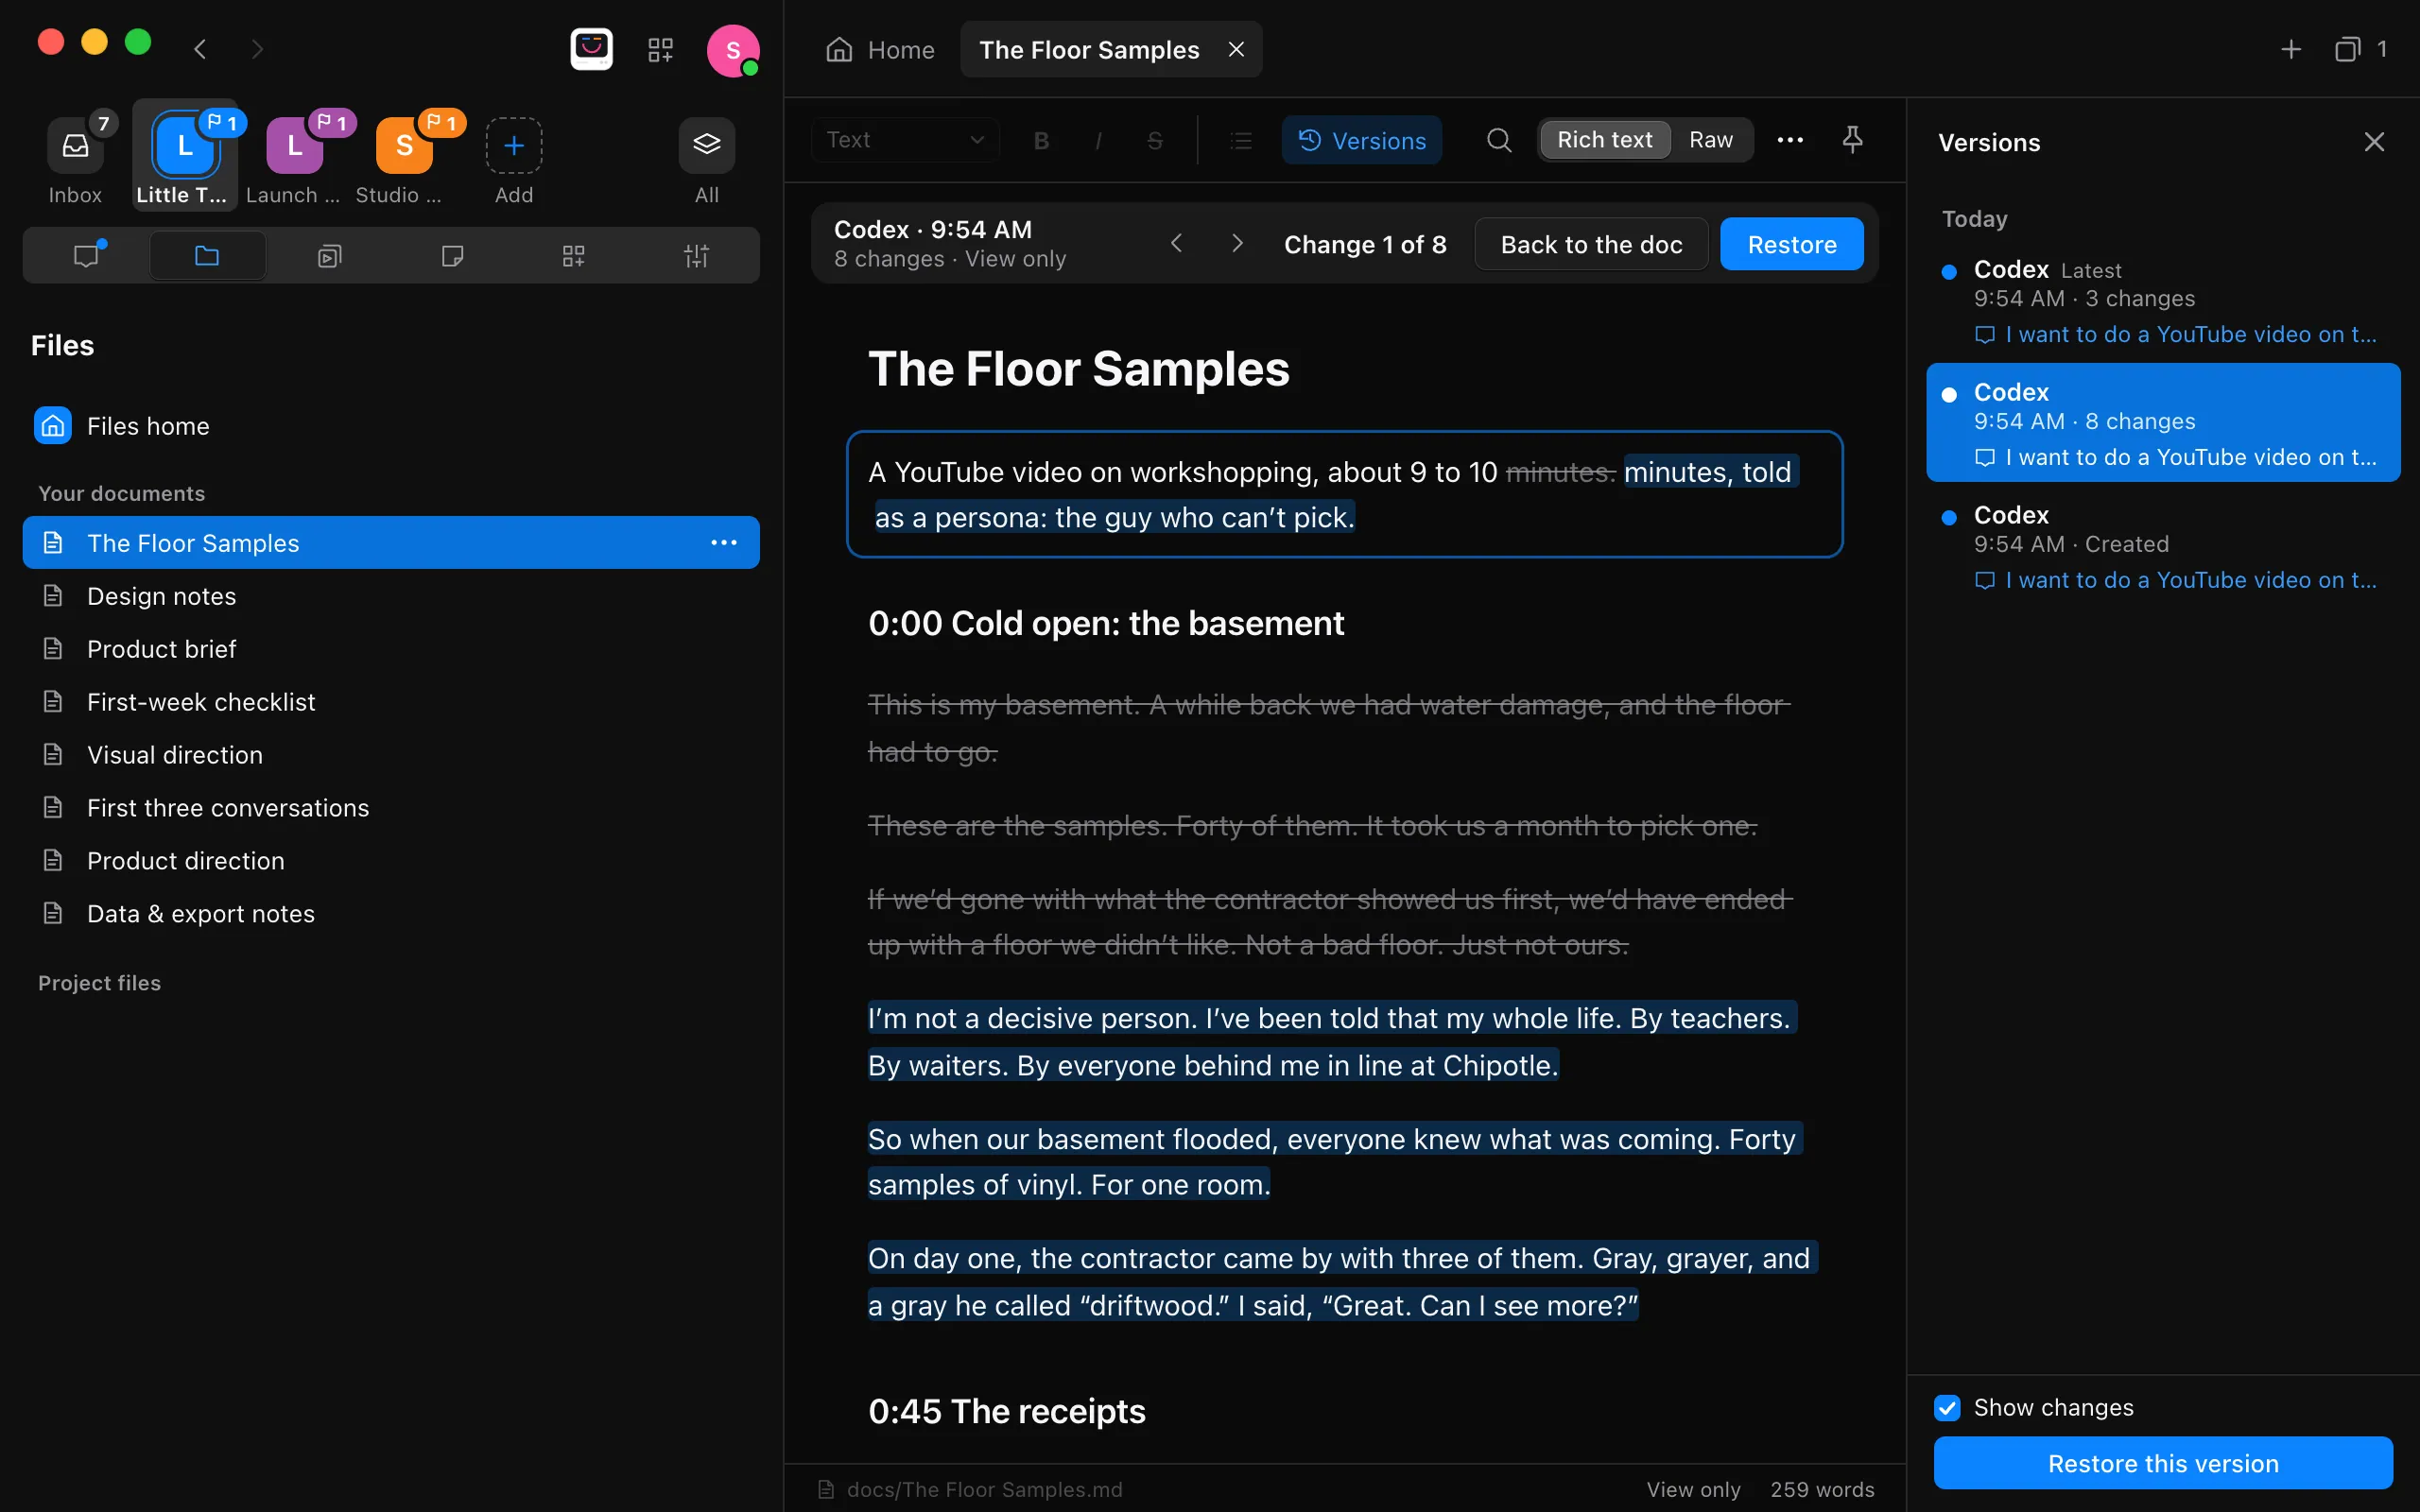
In the doc, select Versions in its toolbar and choose a version. It shows with what it changed marked. Select Restore this version at the bottom of the column. What the script said before stays in the list, so restoring never loses anything.
Record, and bring the recording in
Record with your camera or screen recorder, as you do now. Then, in Files, drag the recording from Finder or File Explorer onto a folder in your project, such as
footage. Or drag it straight into the message box: a file over 20 MB, such as a video, goes into your message as its full path, so the agent opens it where it is.Ask for the cut
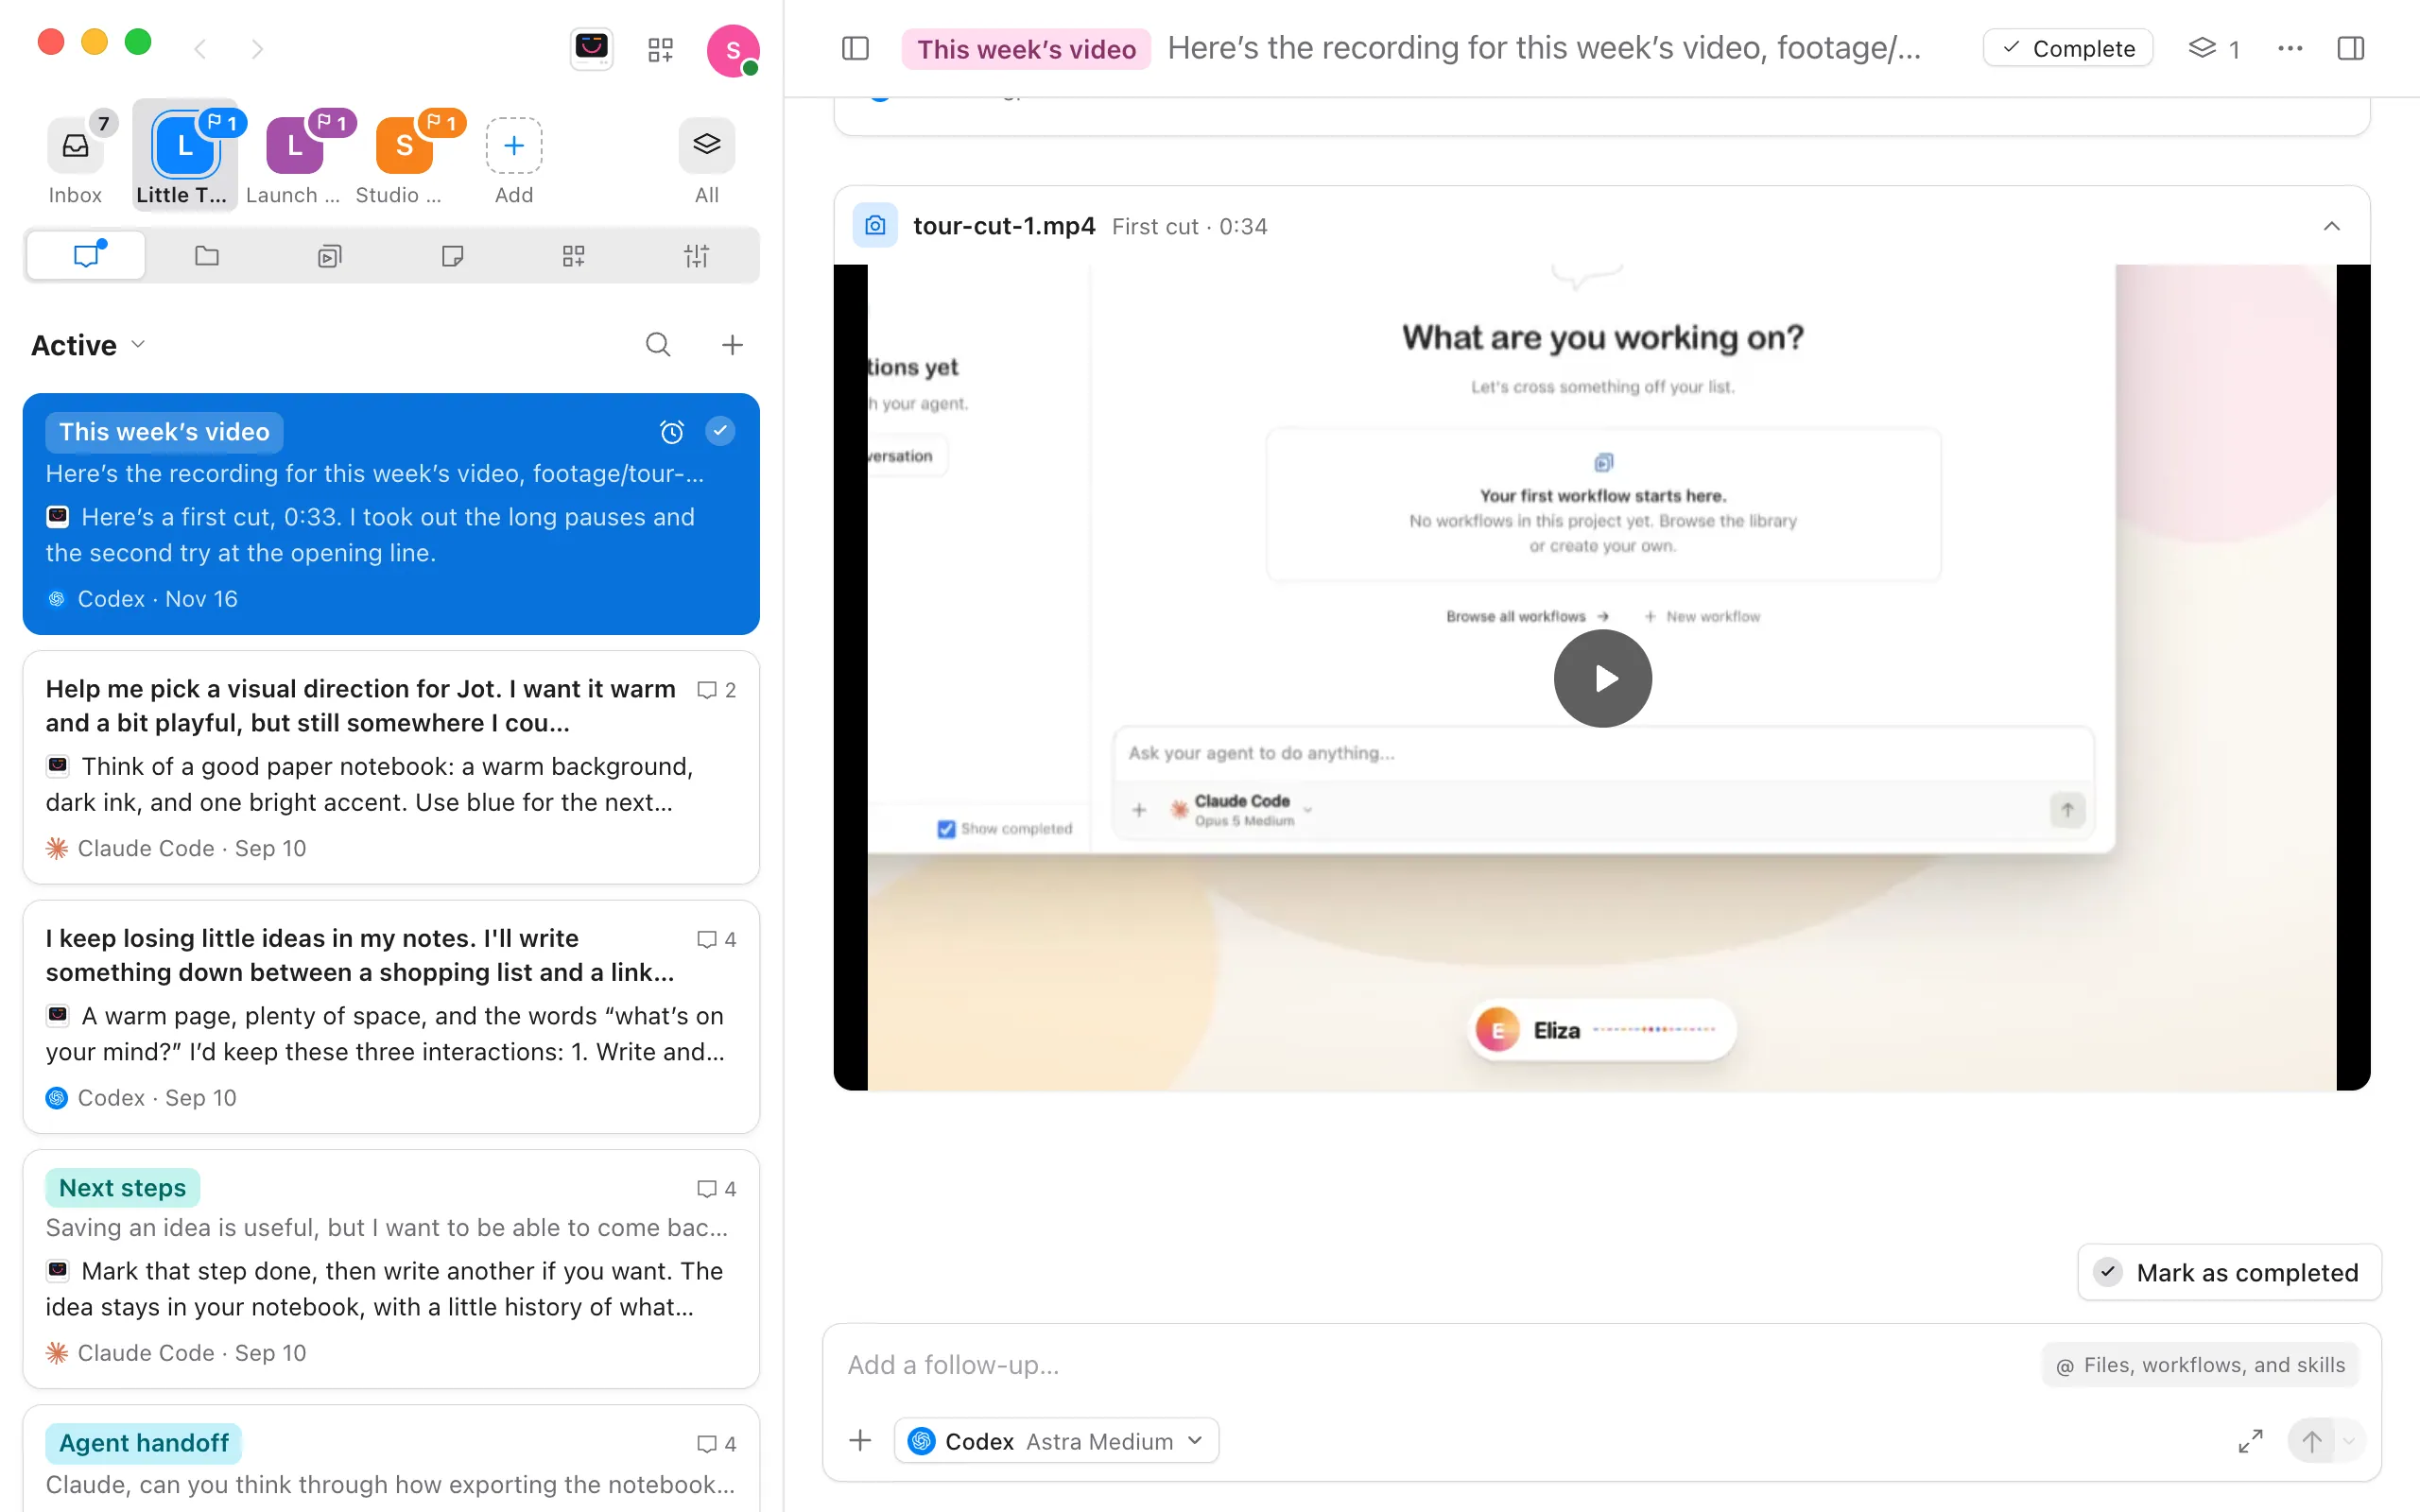
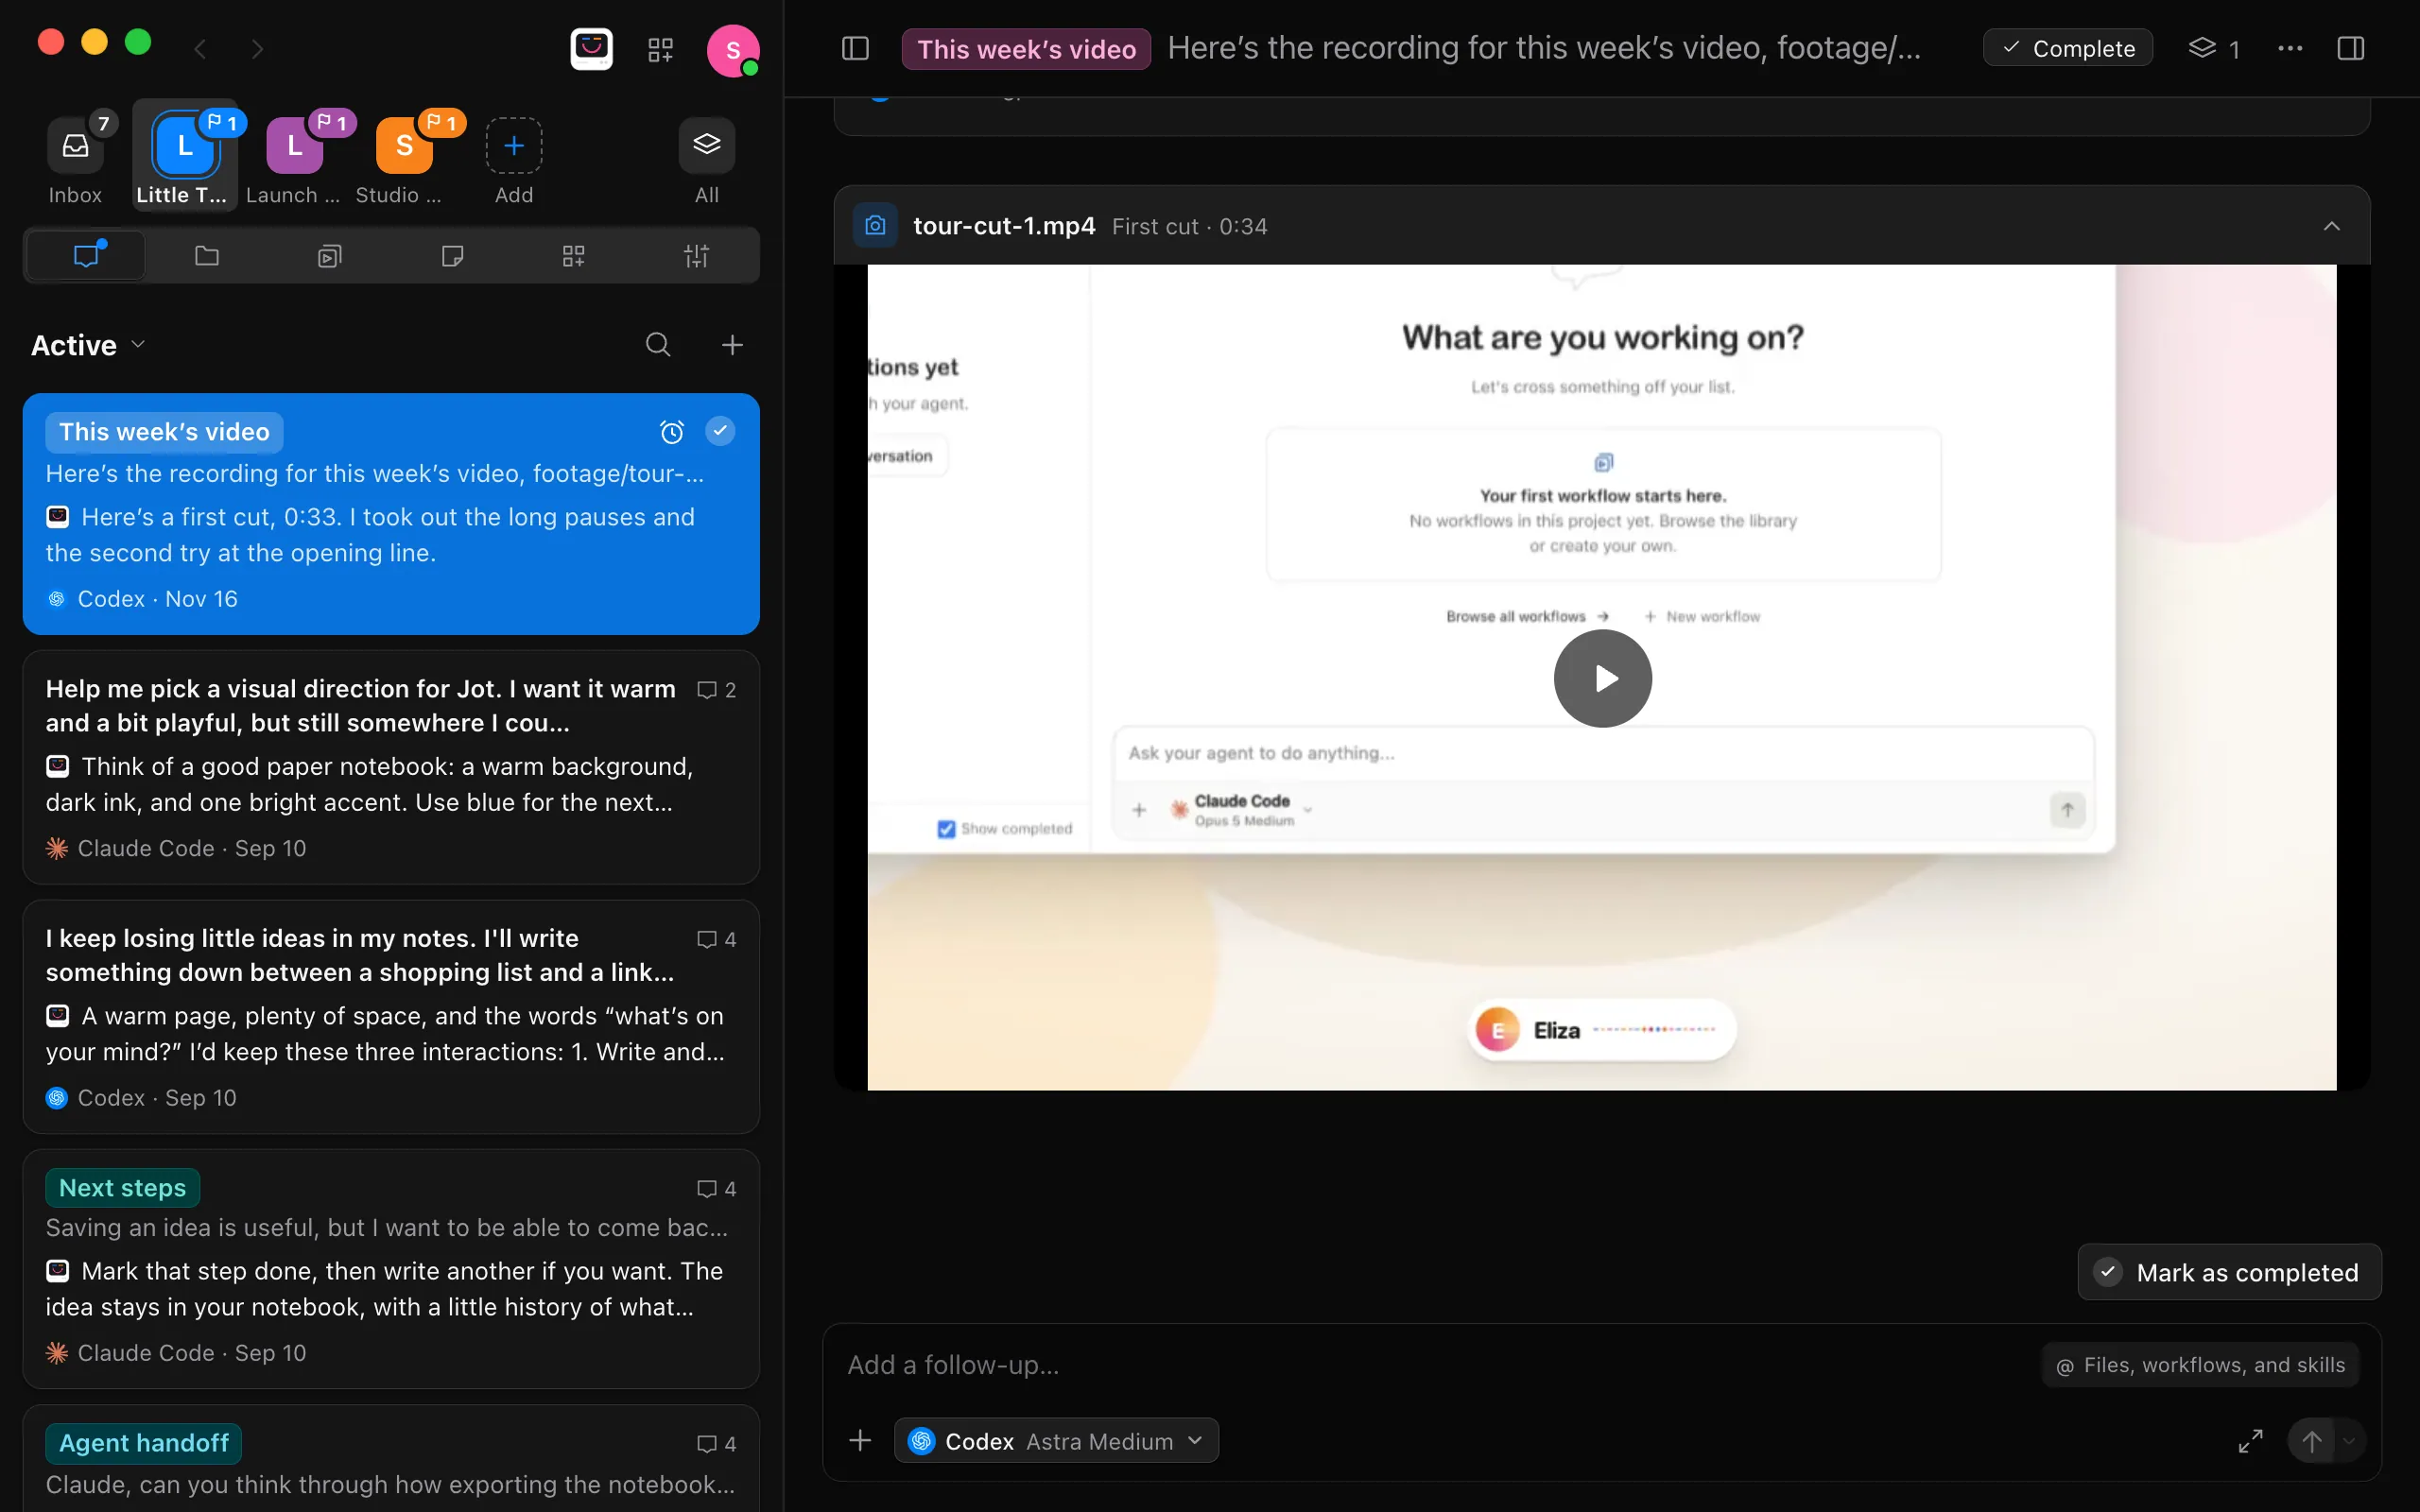
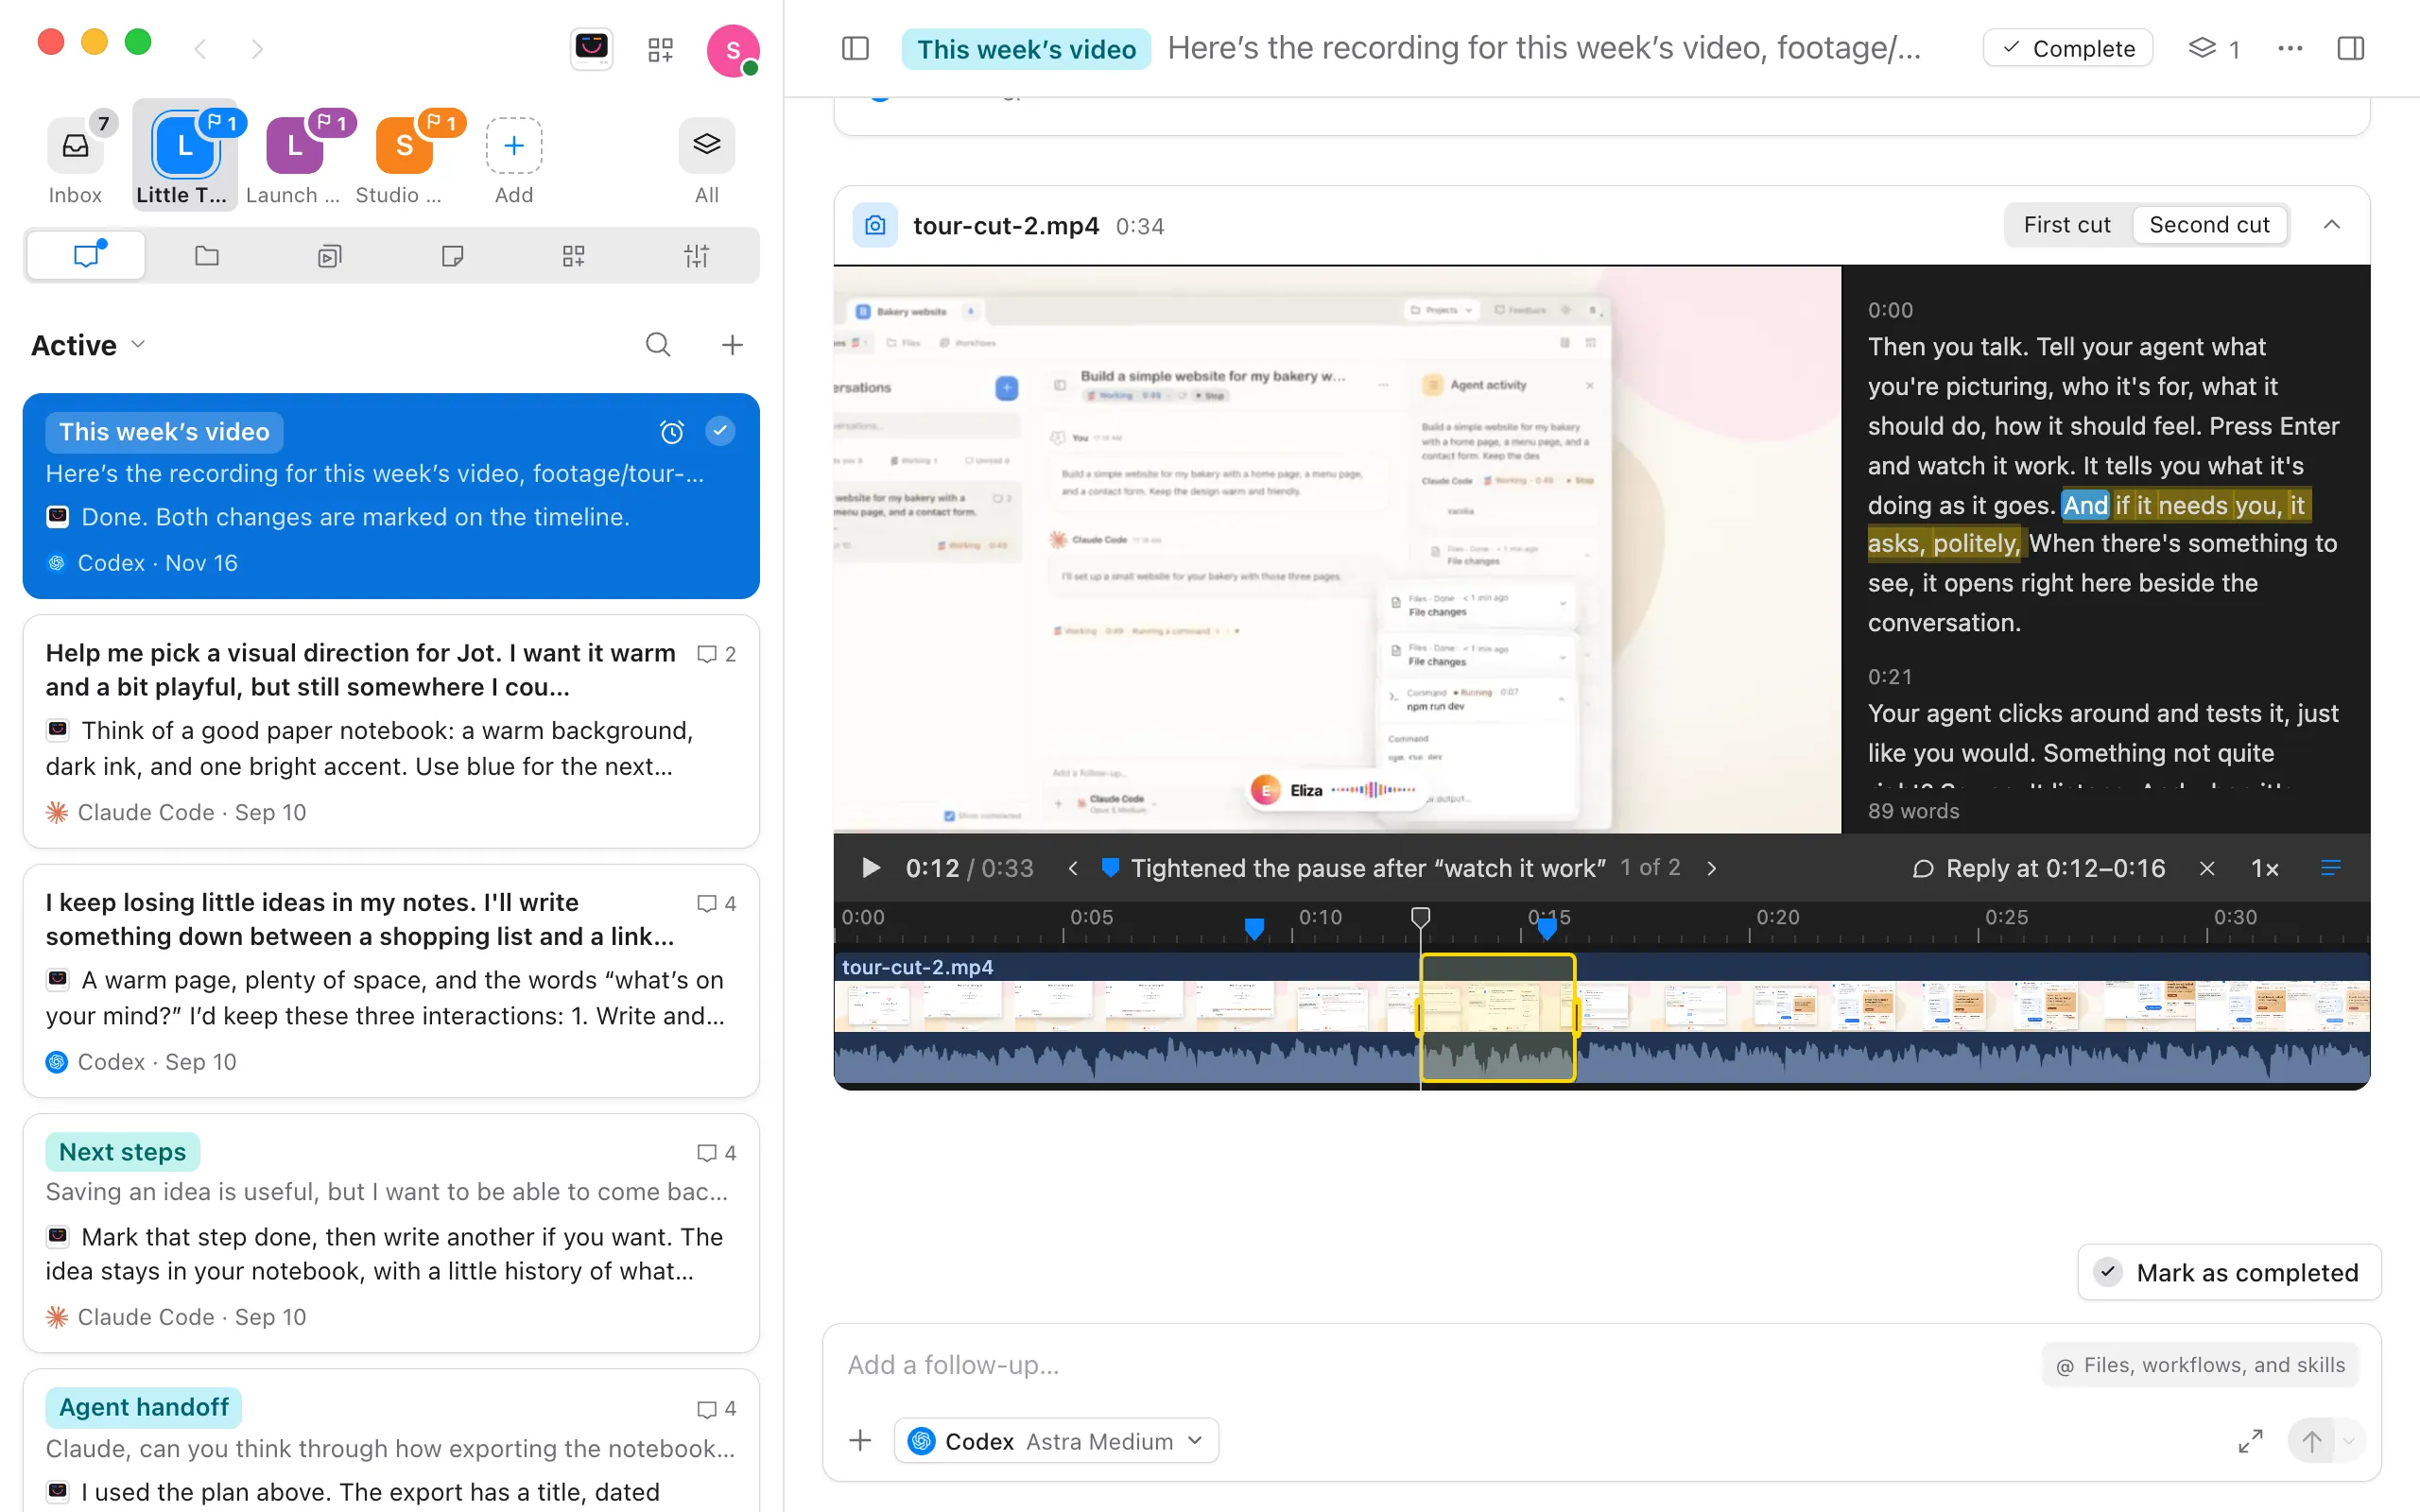
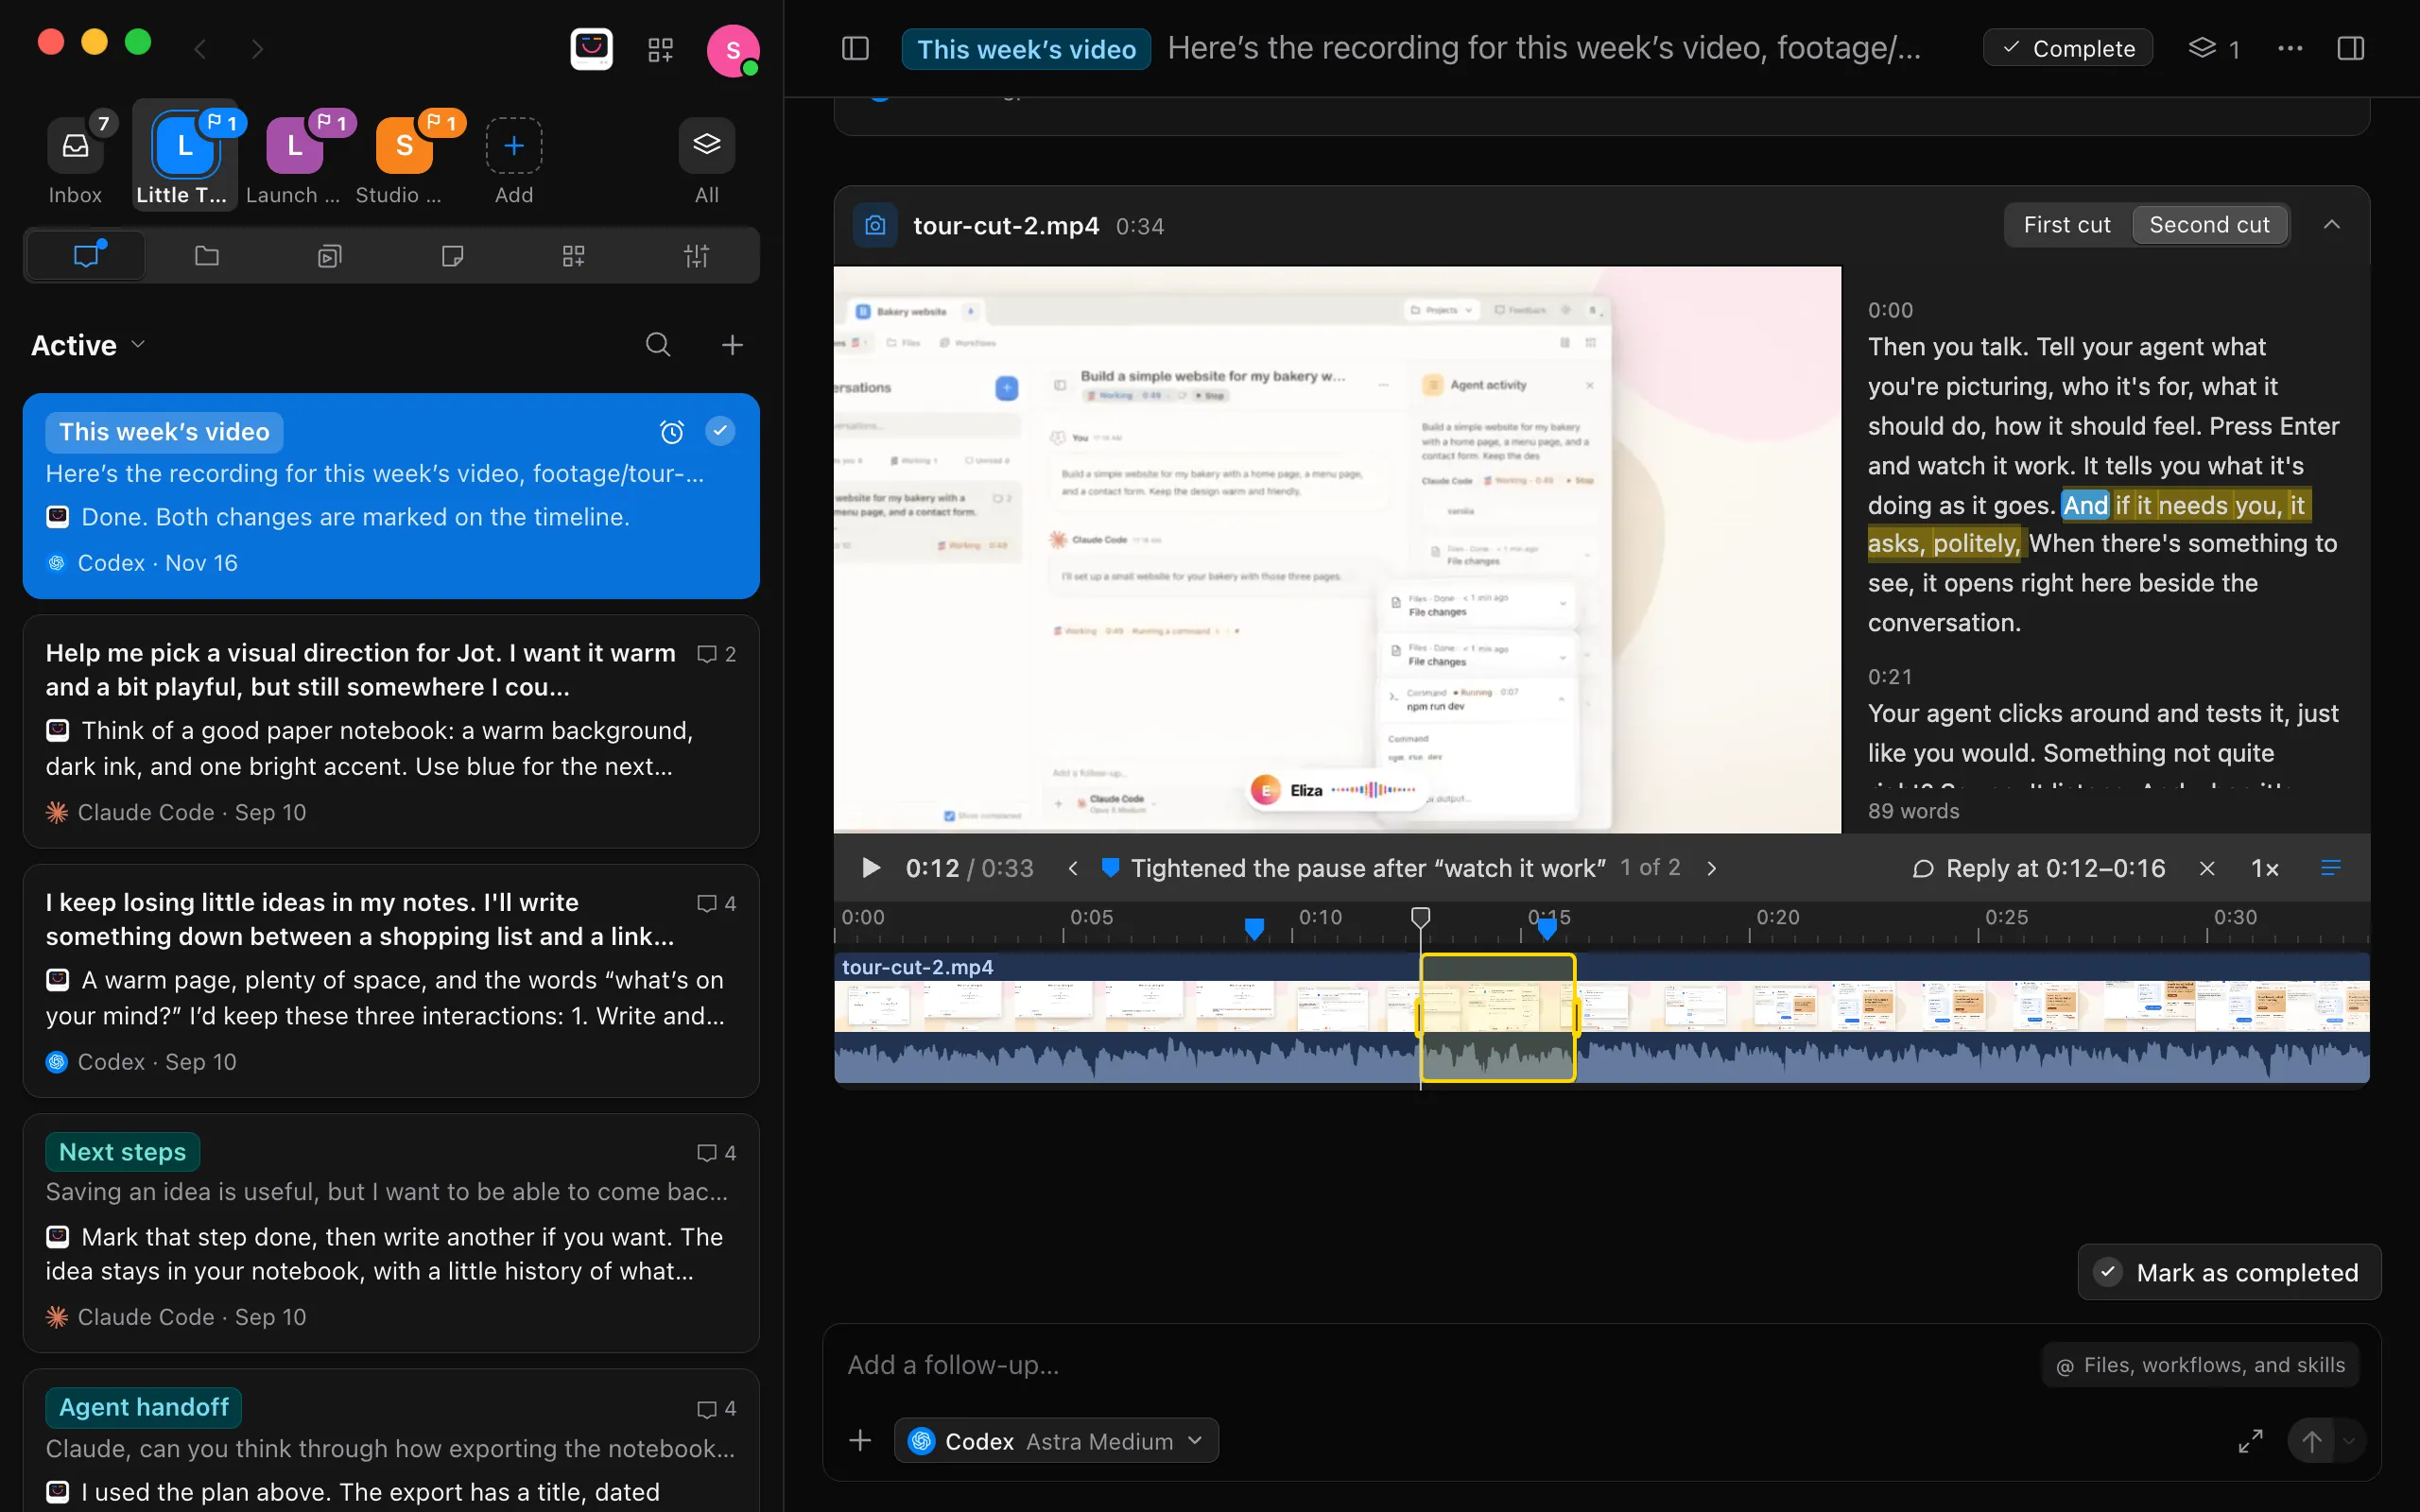
Name the file and say how long it should be, what to take out, and what to keep: “Here’s the recording for this week’s video, footage/take-3.mov. Cut the long pauses and the retakes, keep it under eight minutes, and show me.” The agent cuts it, saves the cut as a new file, and shows it as a card under its reply, in Enjoy Video. Select play. A long recording can take a while, and you can follow the agent’s work in the conversation meanwhile.
Leave a note at a moment
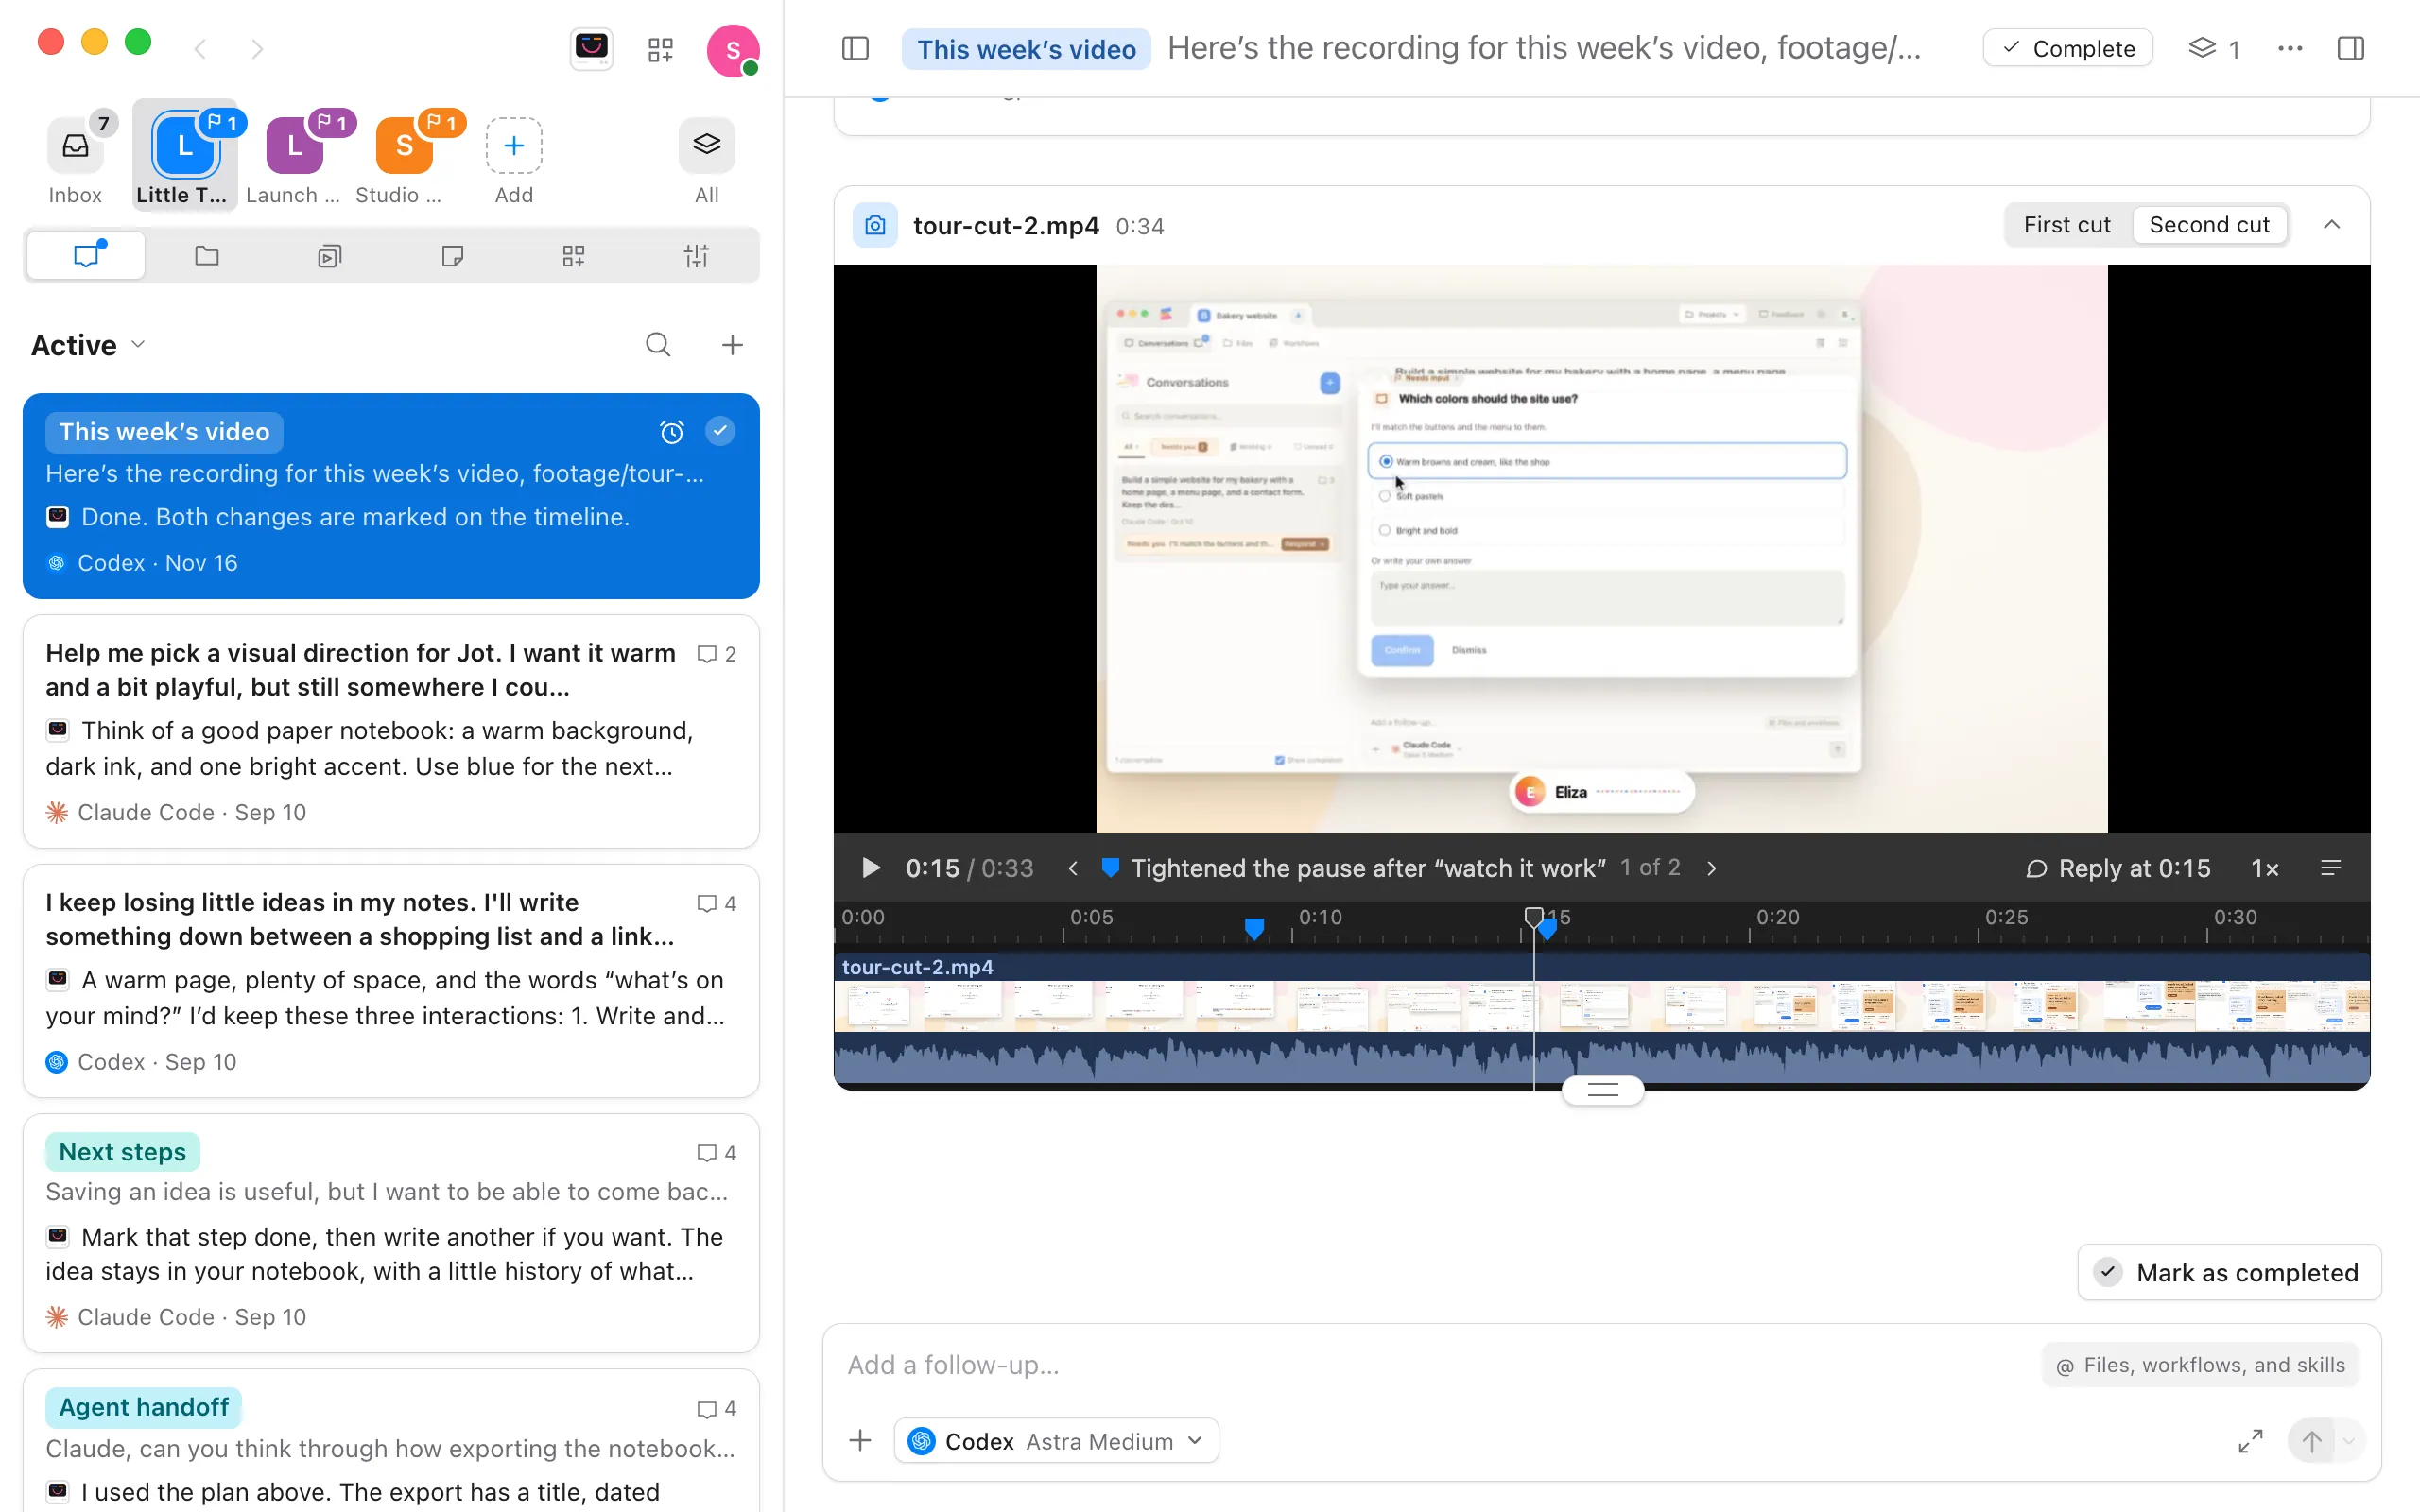
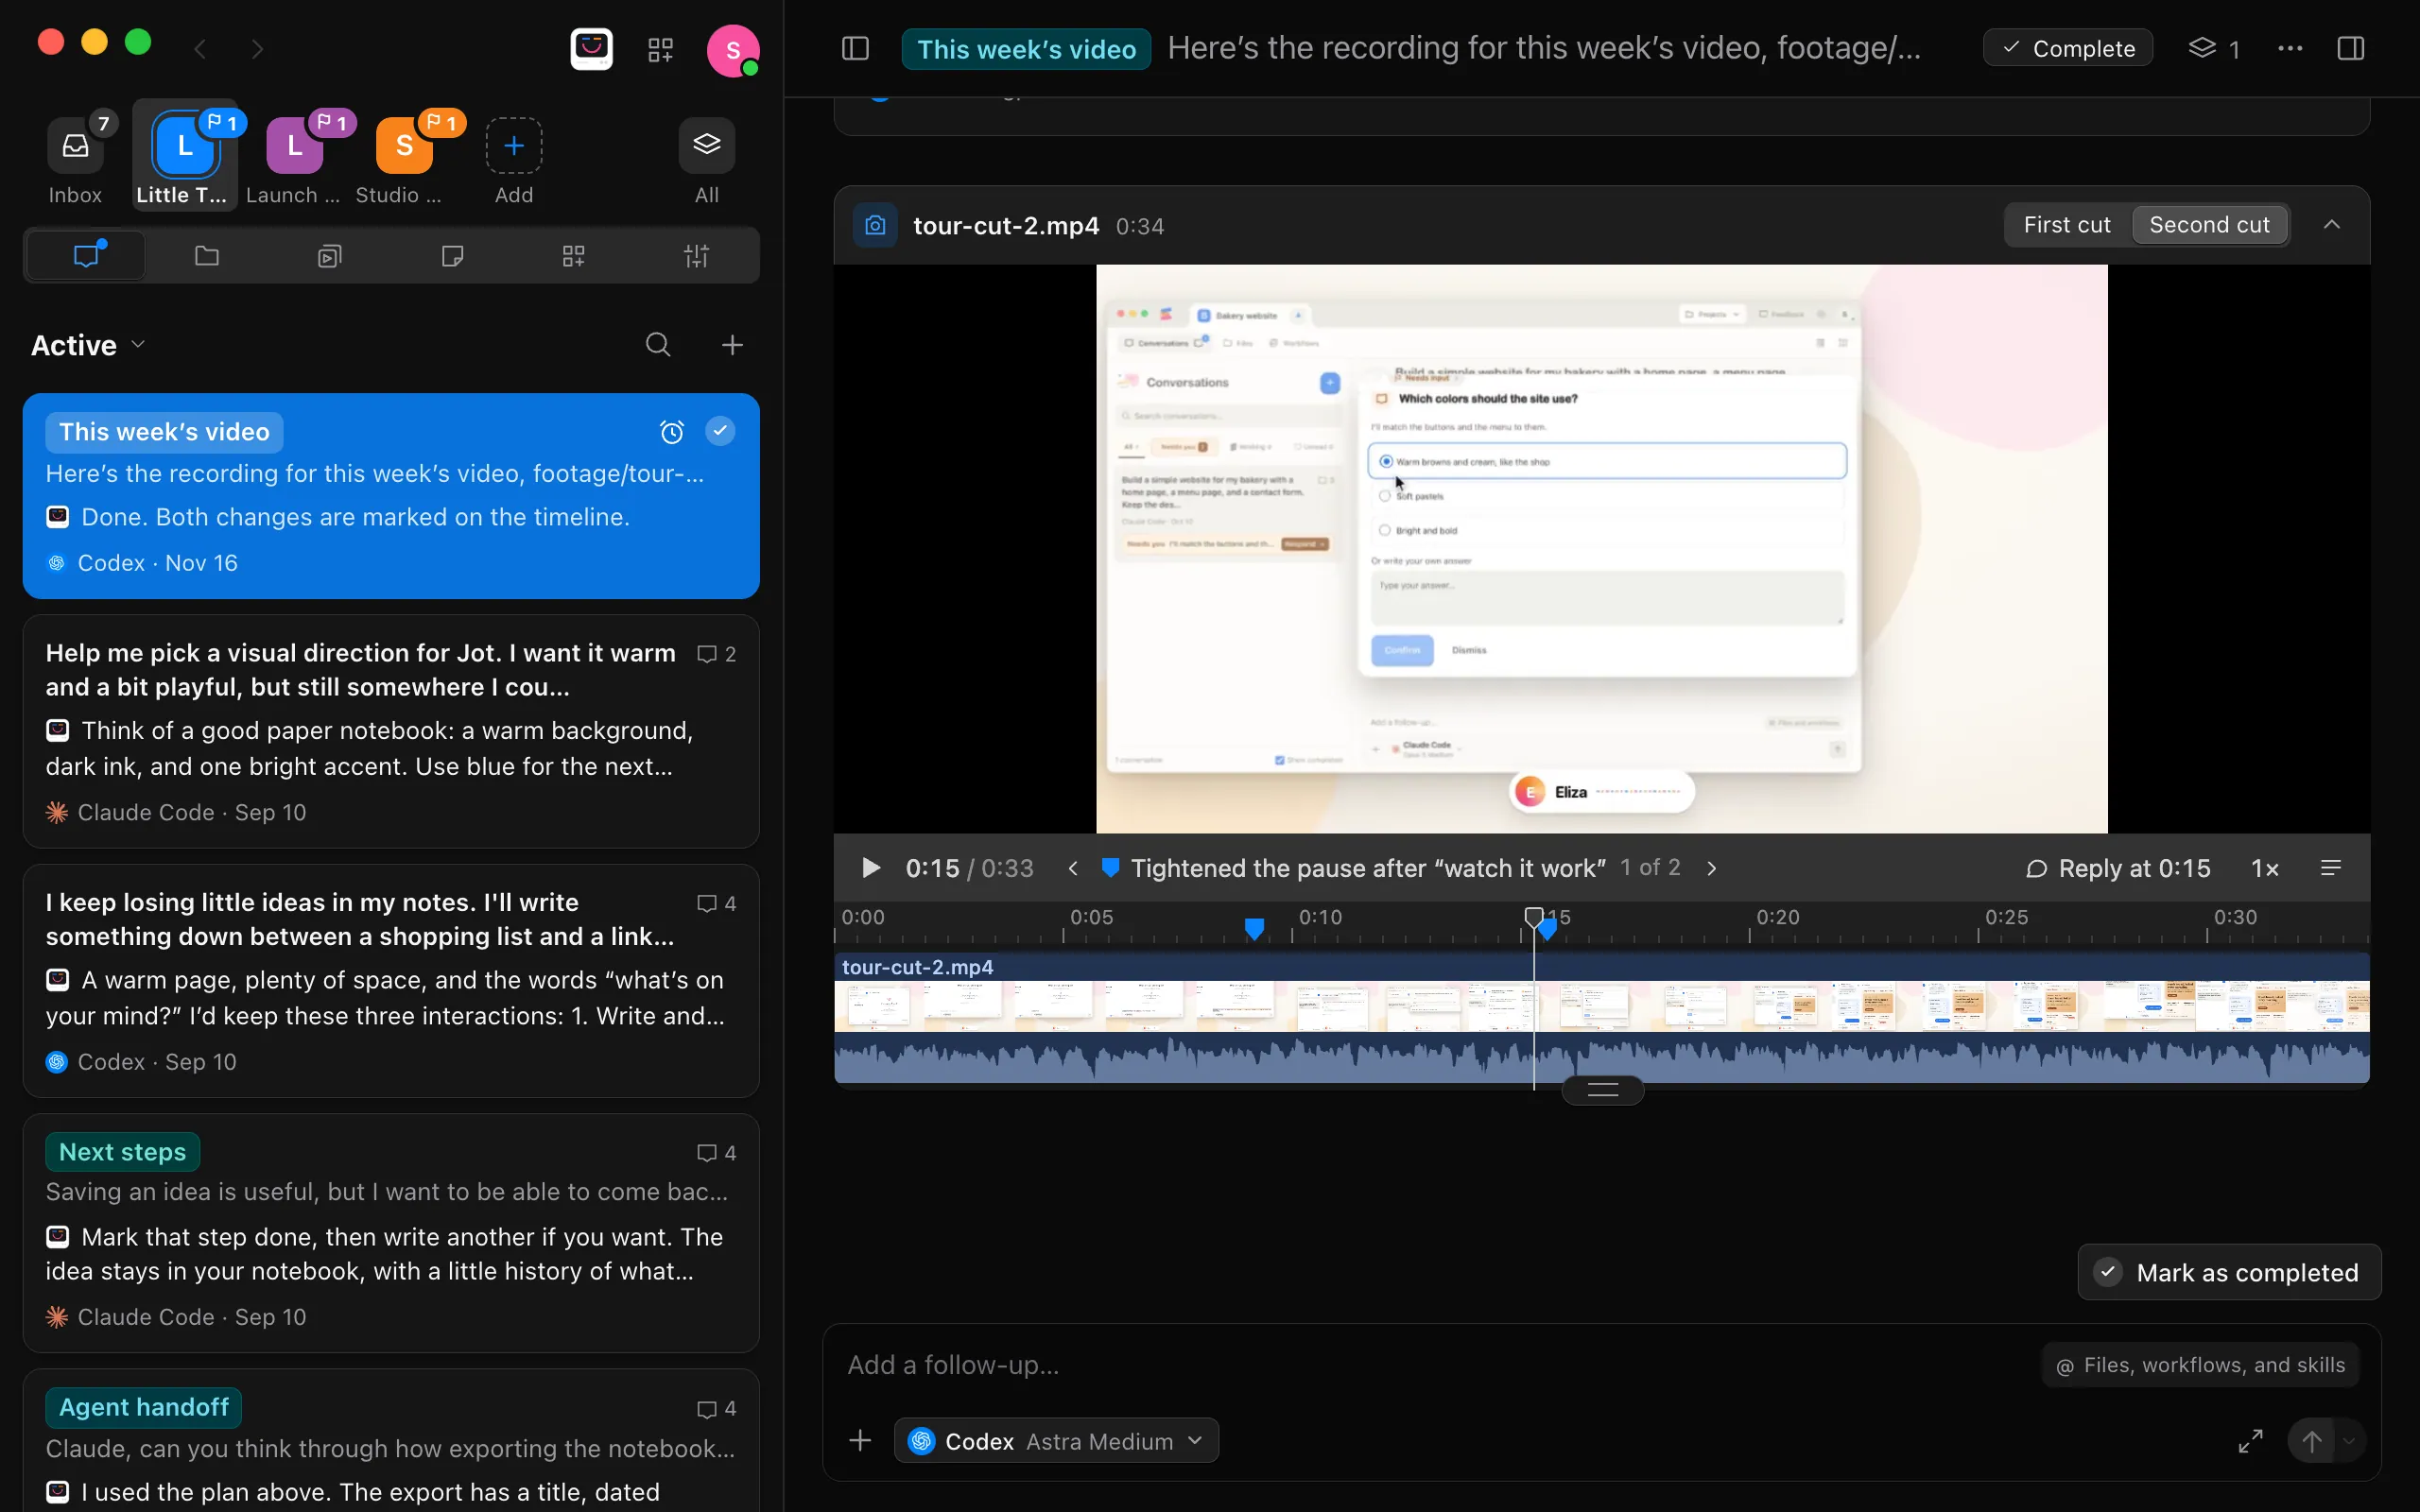
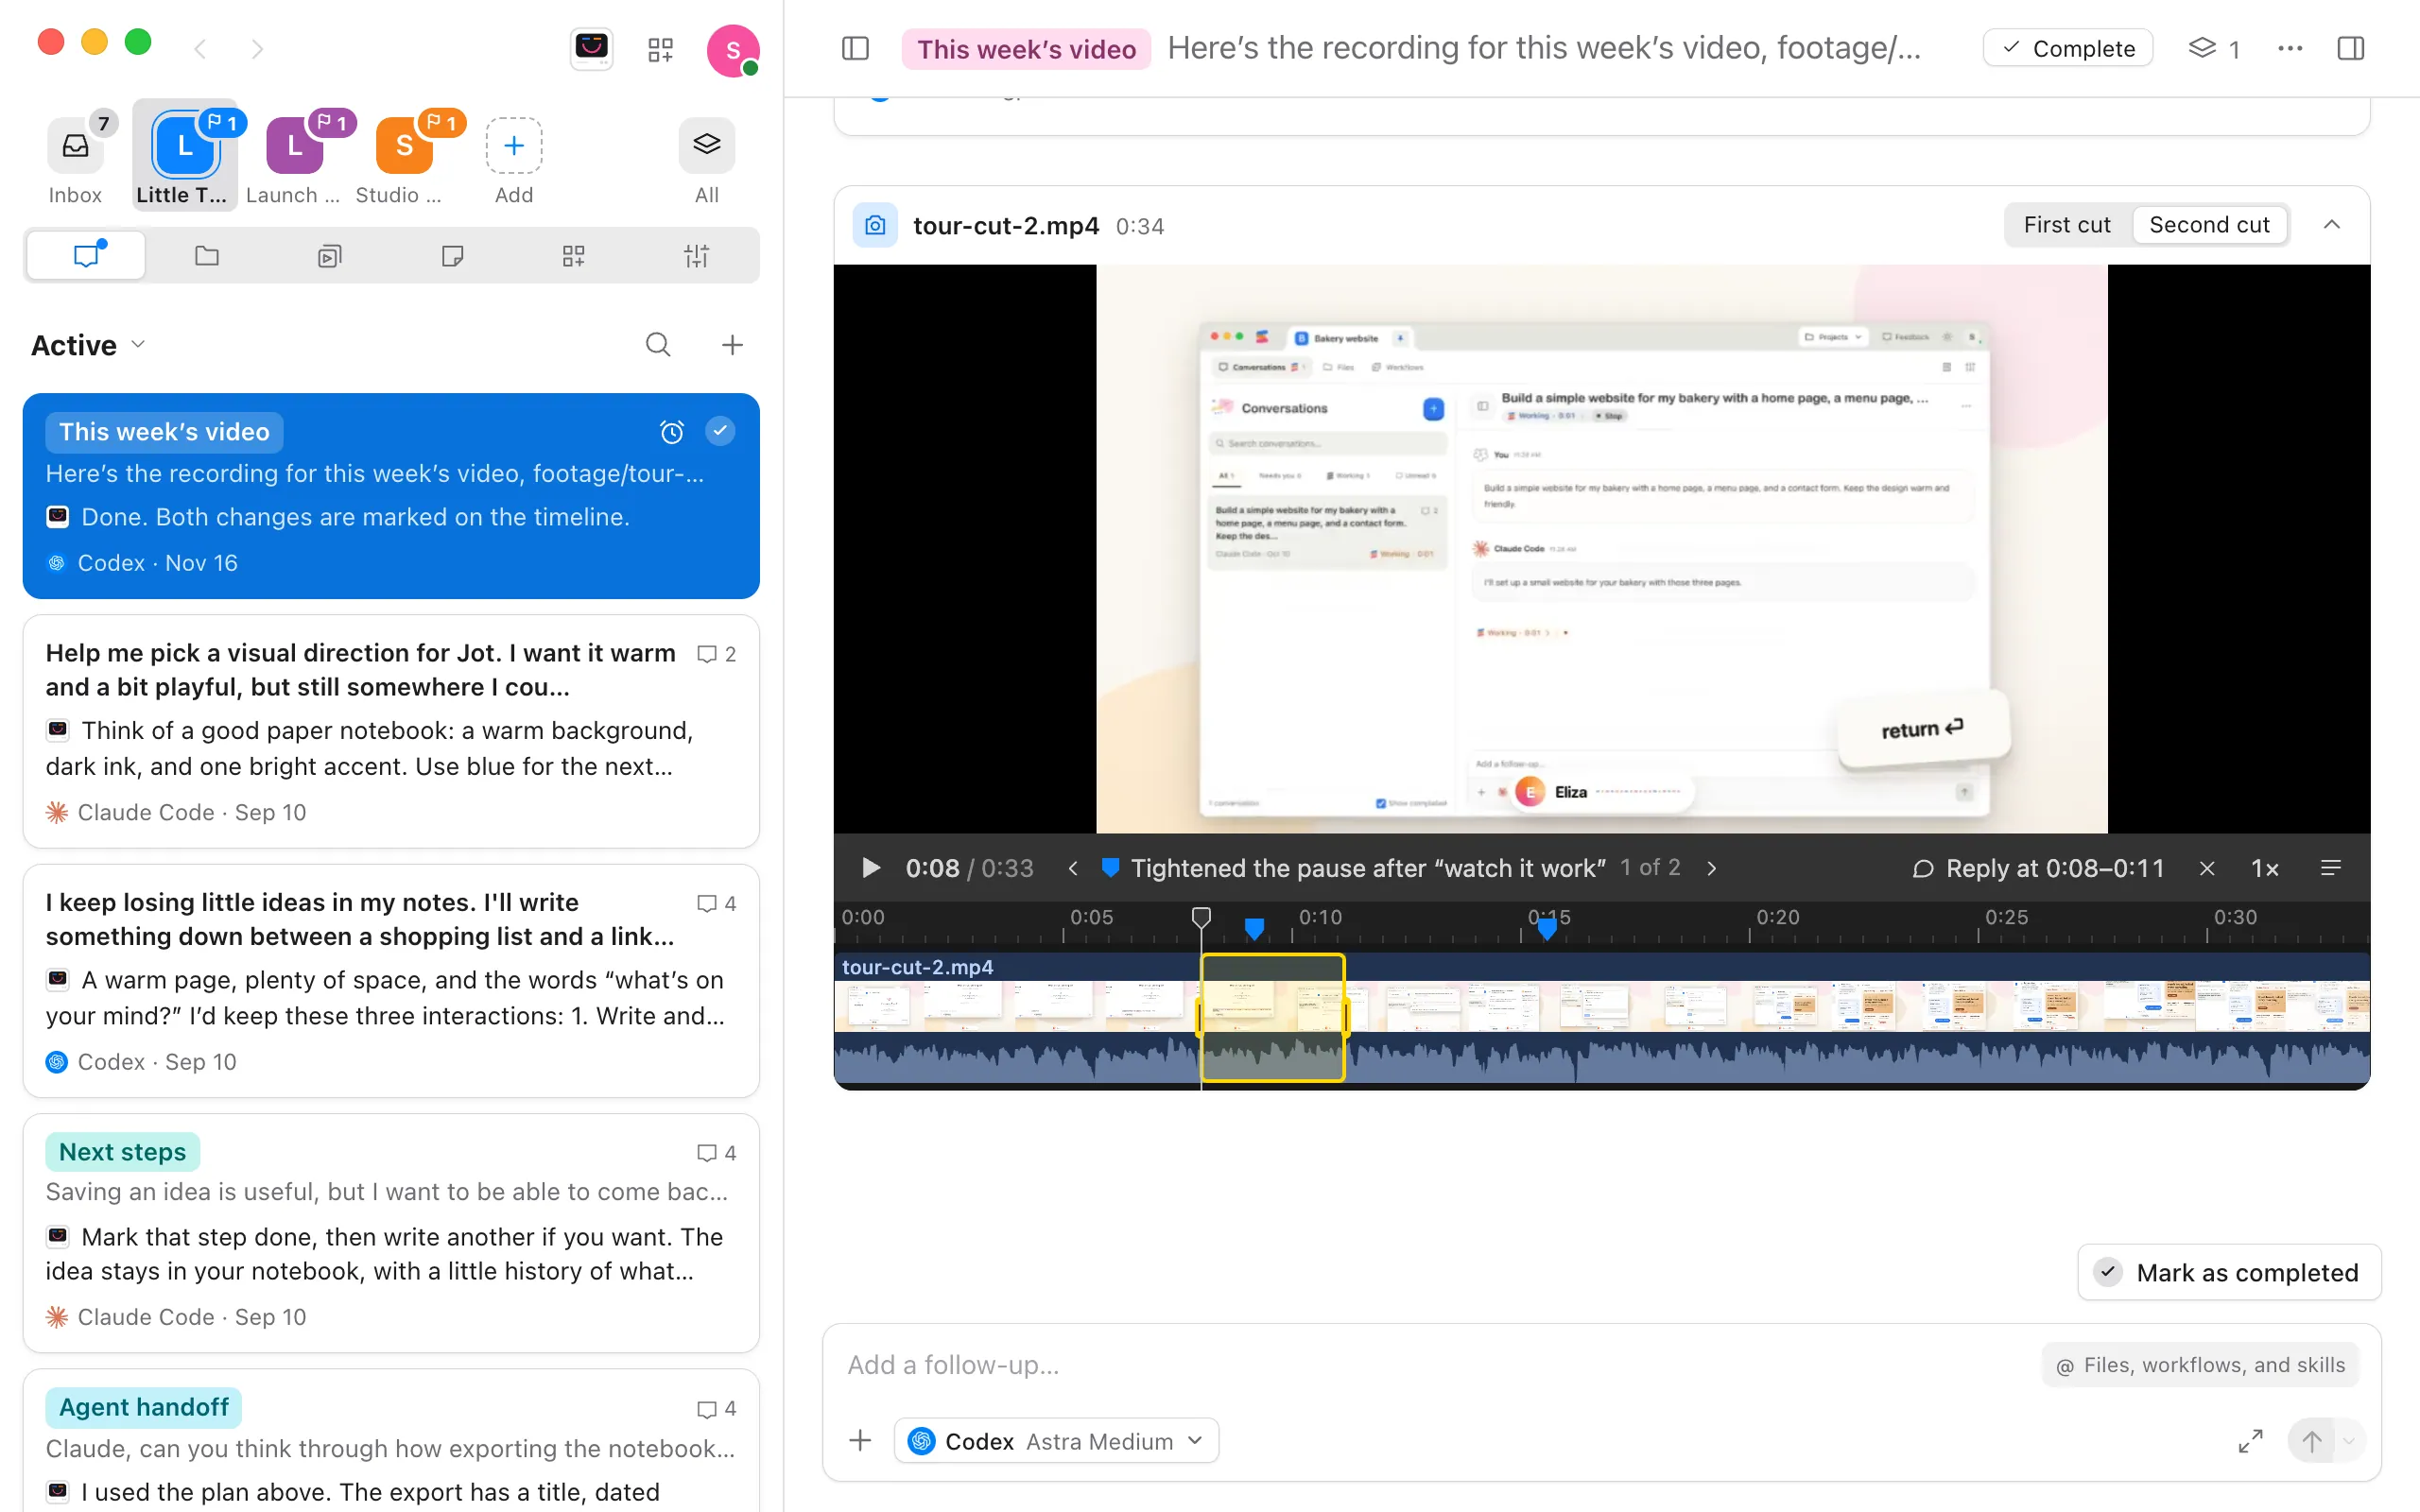
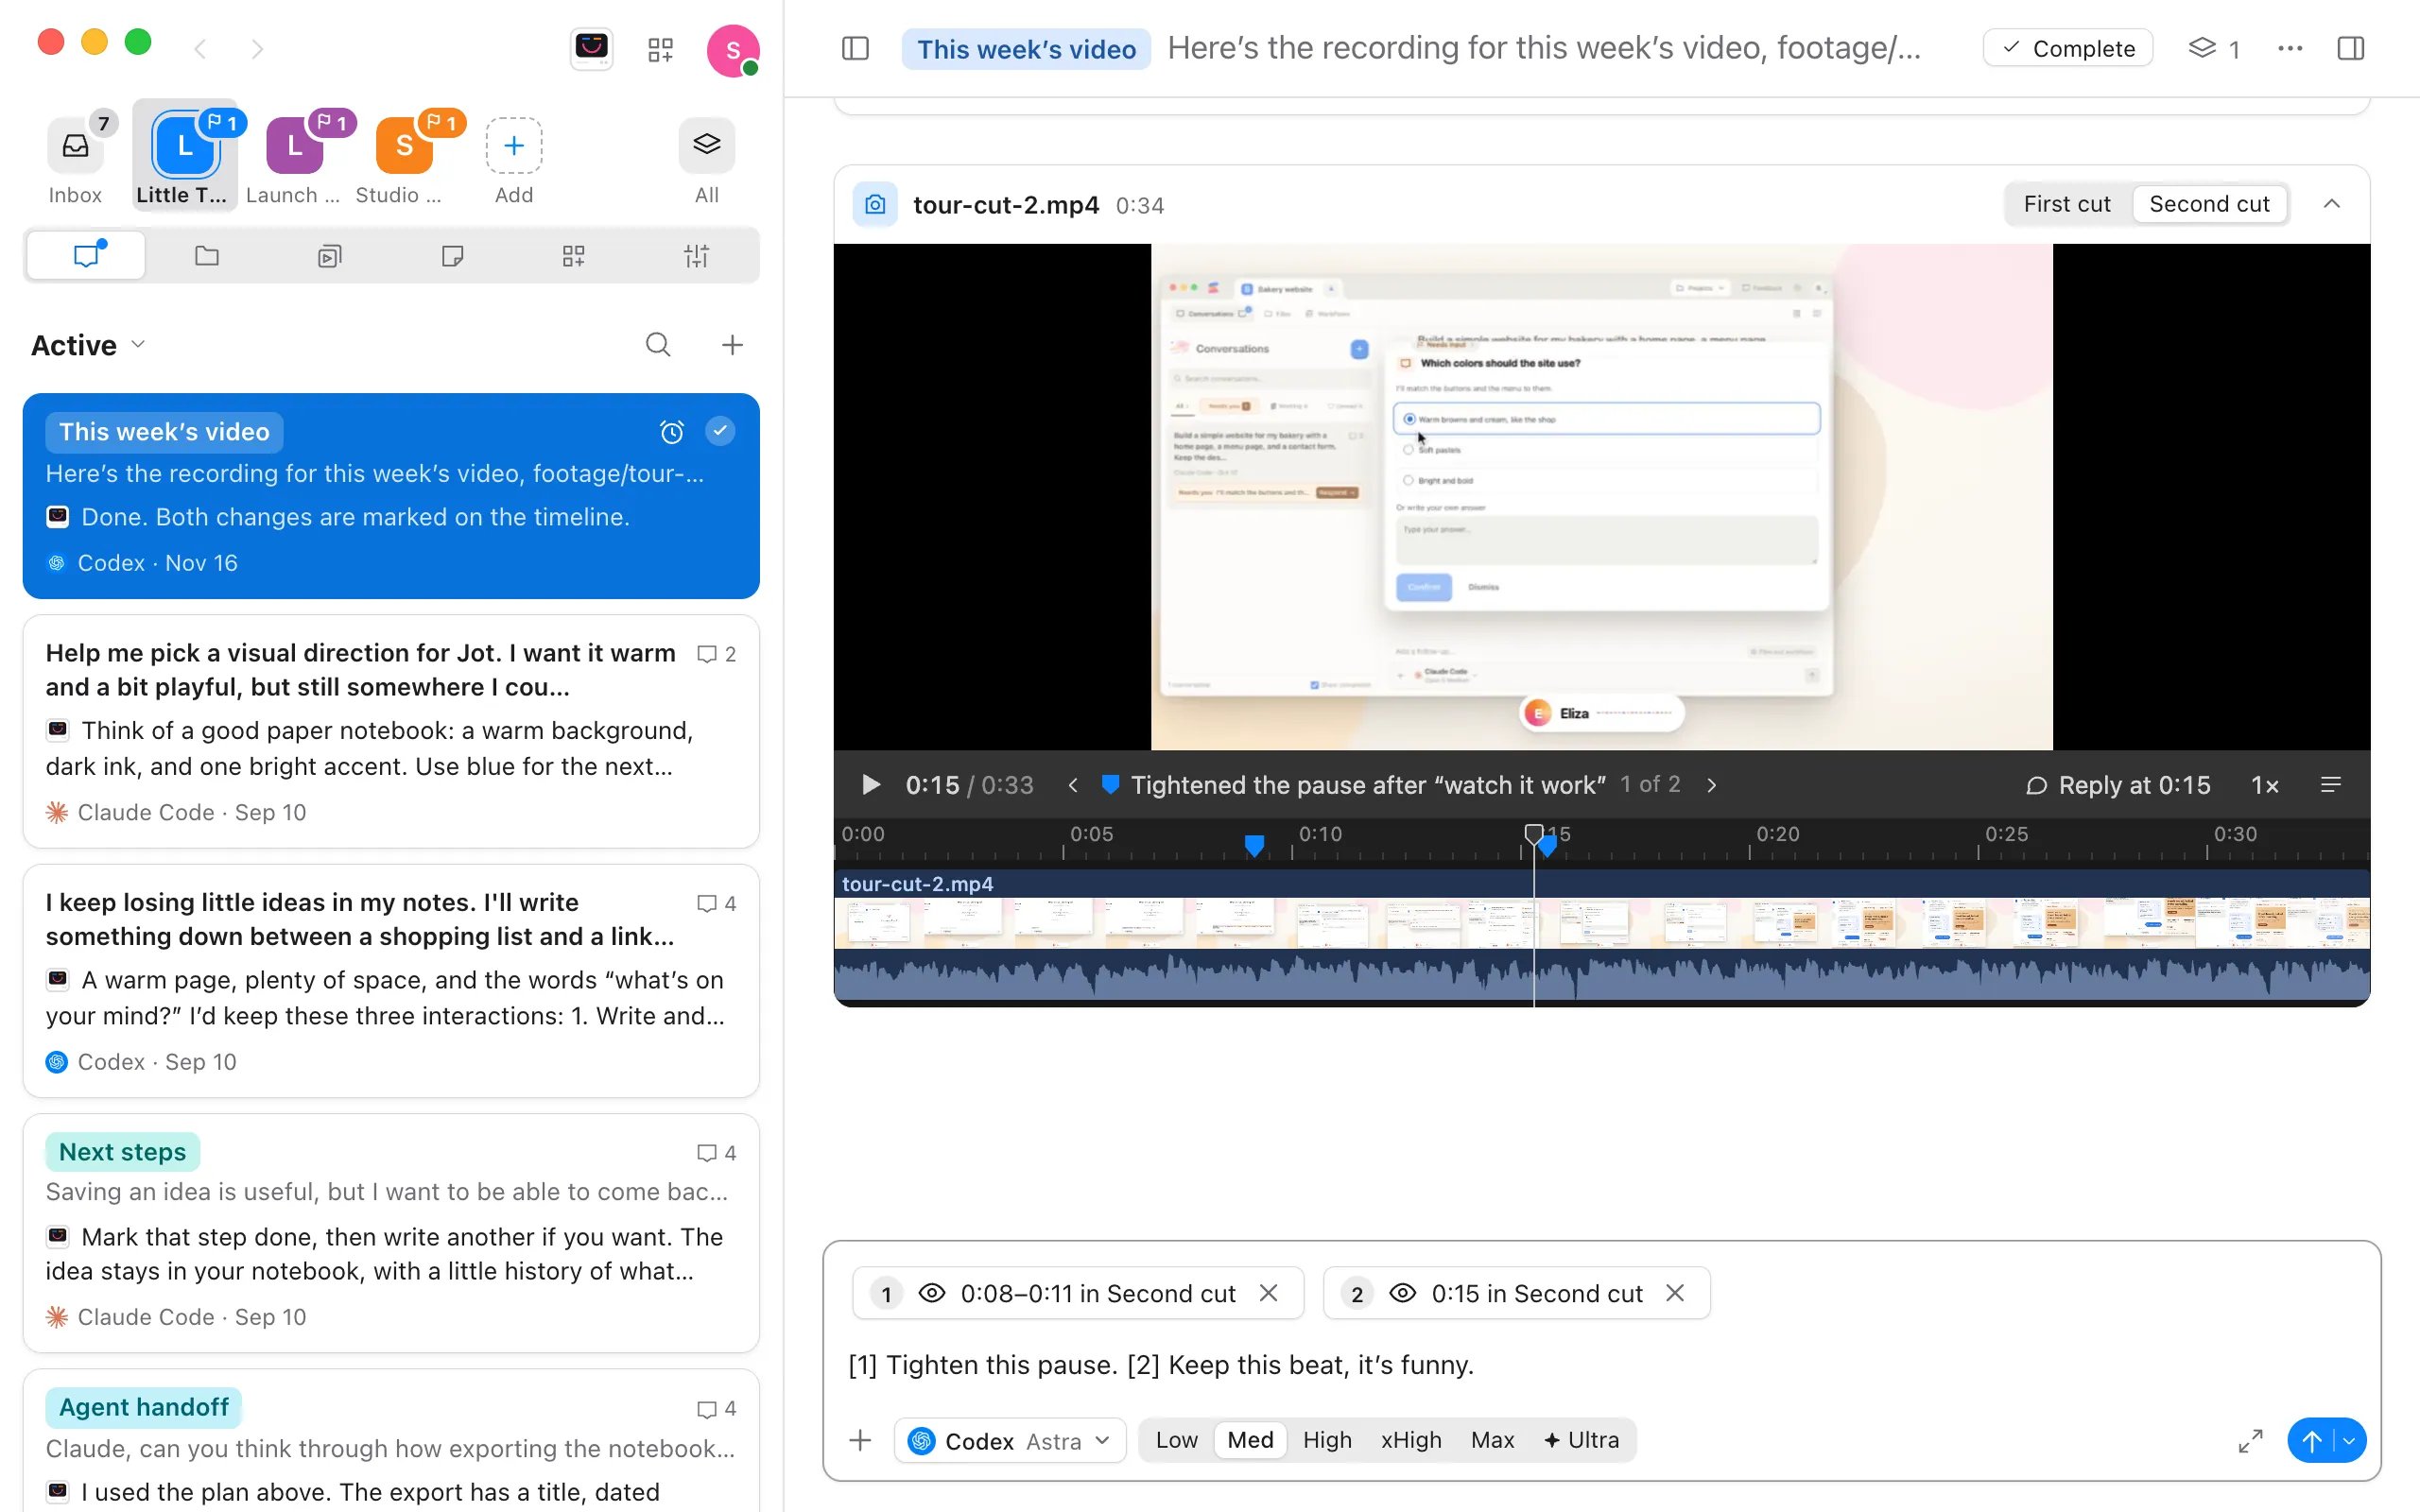
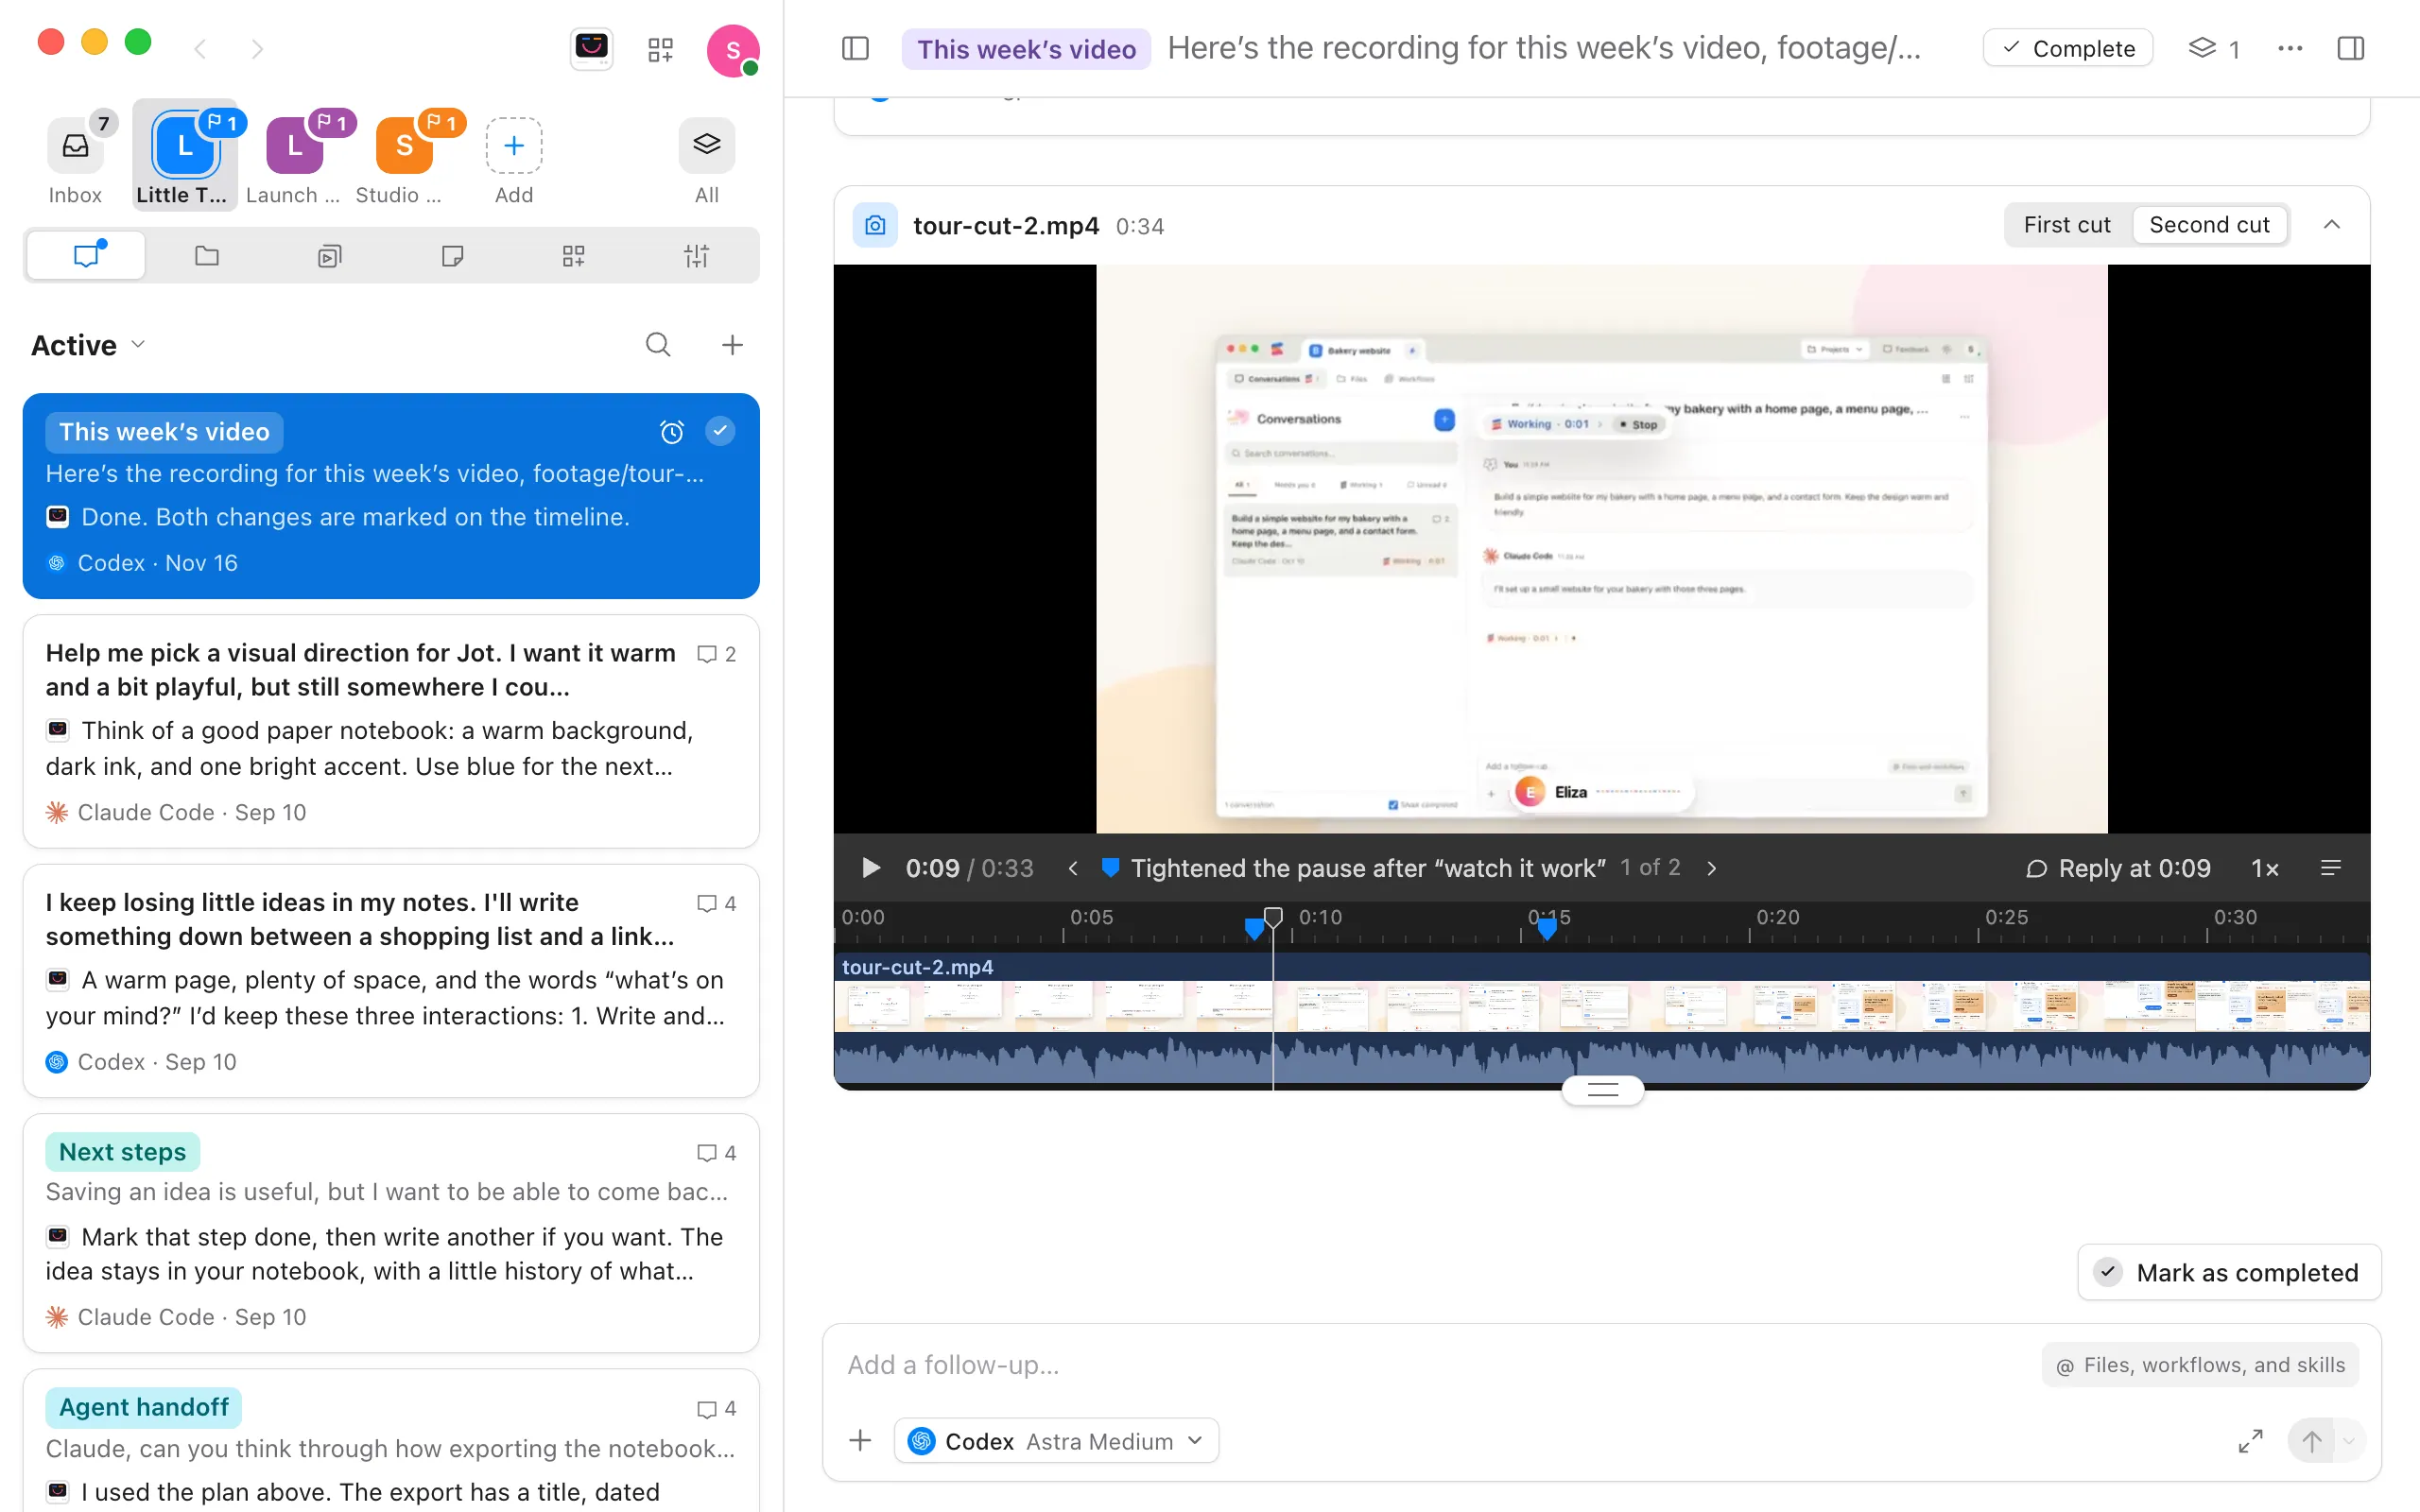
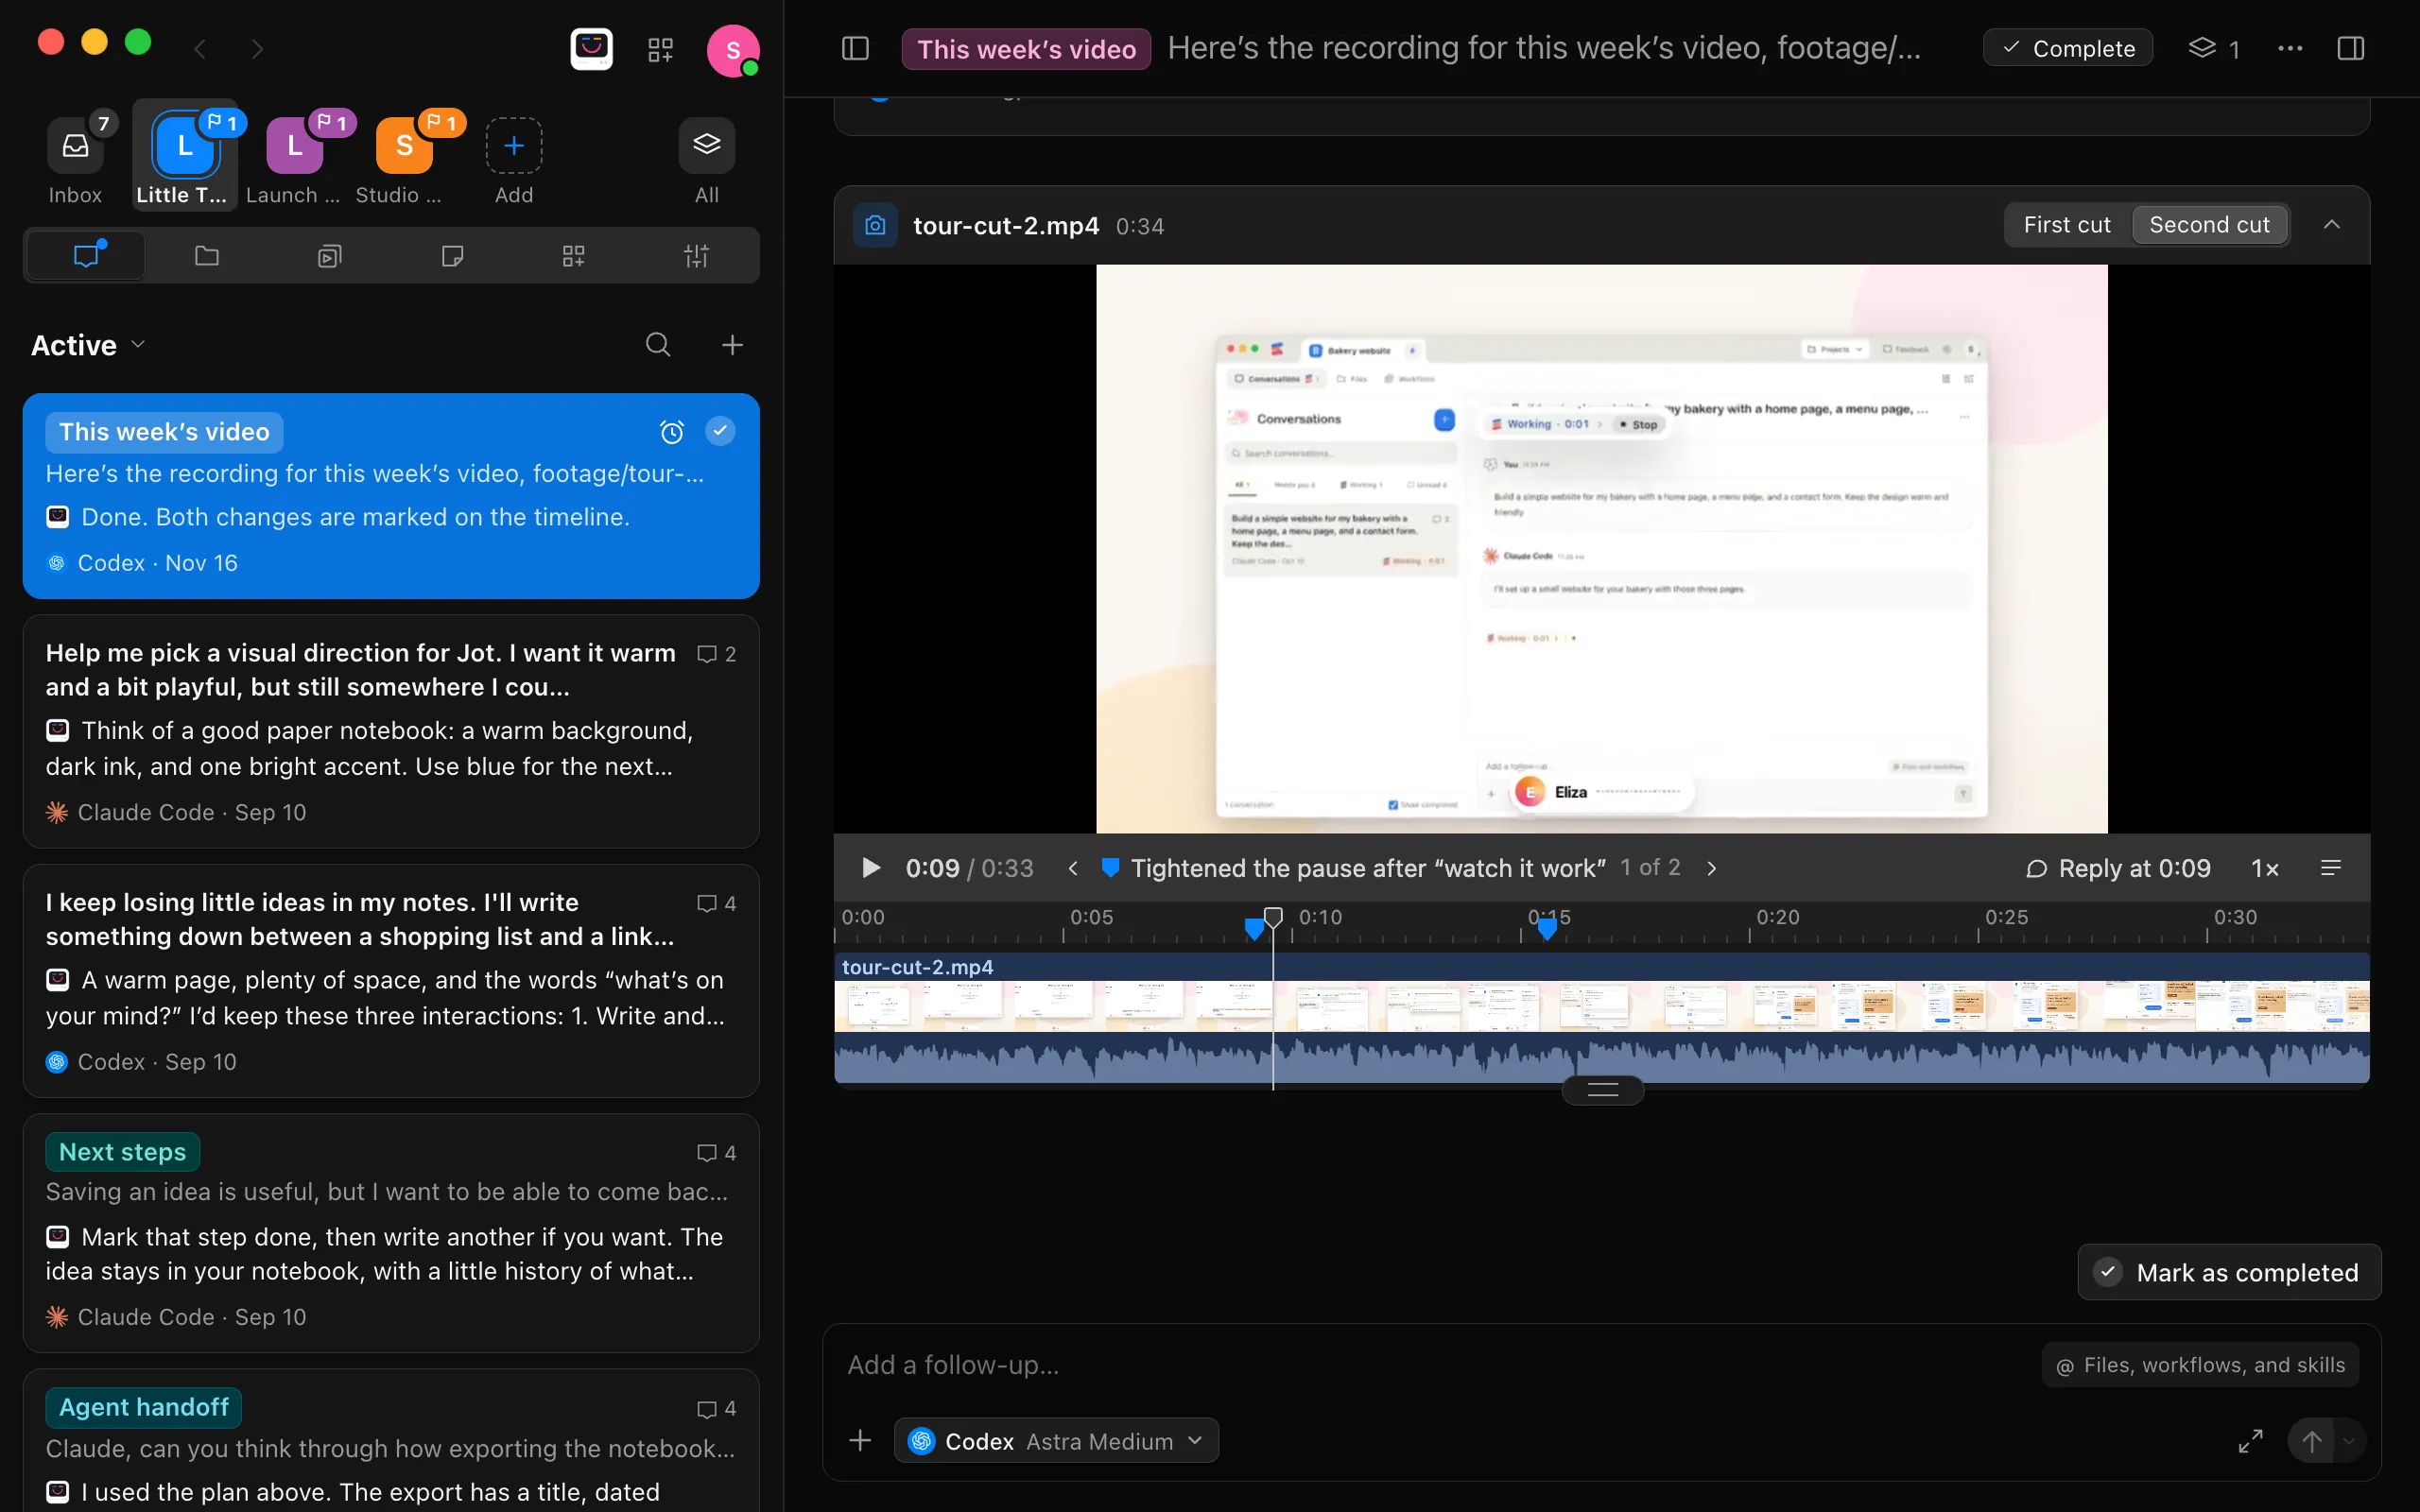
Pause where you want to comment, or select a point on the timeline below its row of times. The arrow keys move a frame at a time, and a second with Shift. The button under the picture says Reply at with the time, such as Reply at 0:15. Select it, and the moment goes into your message as a numbered chip, with a matching number, such as [1], where your cursor was. Type your note right after it.
Or select a stretch
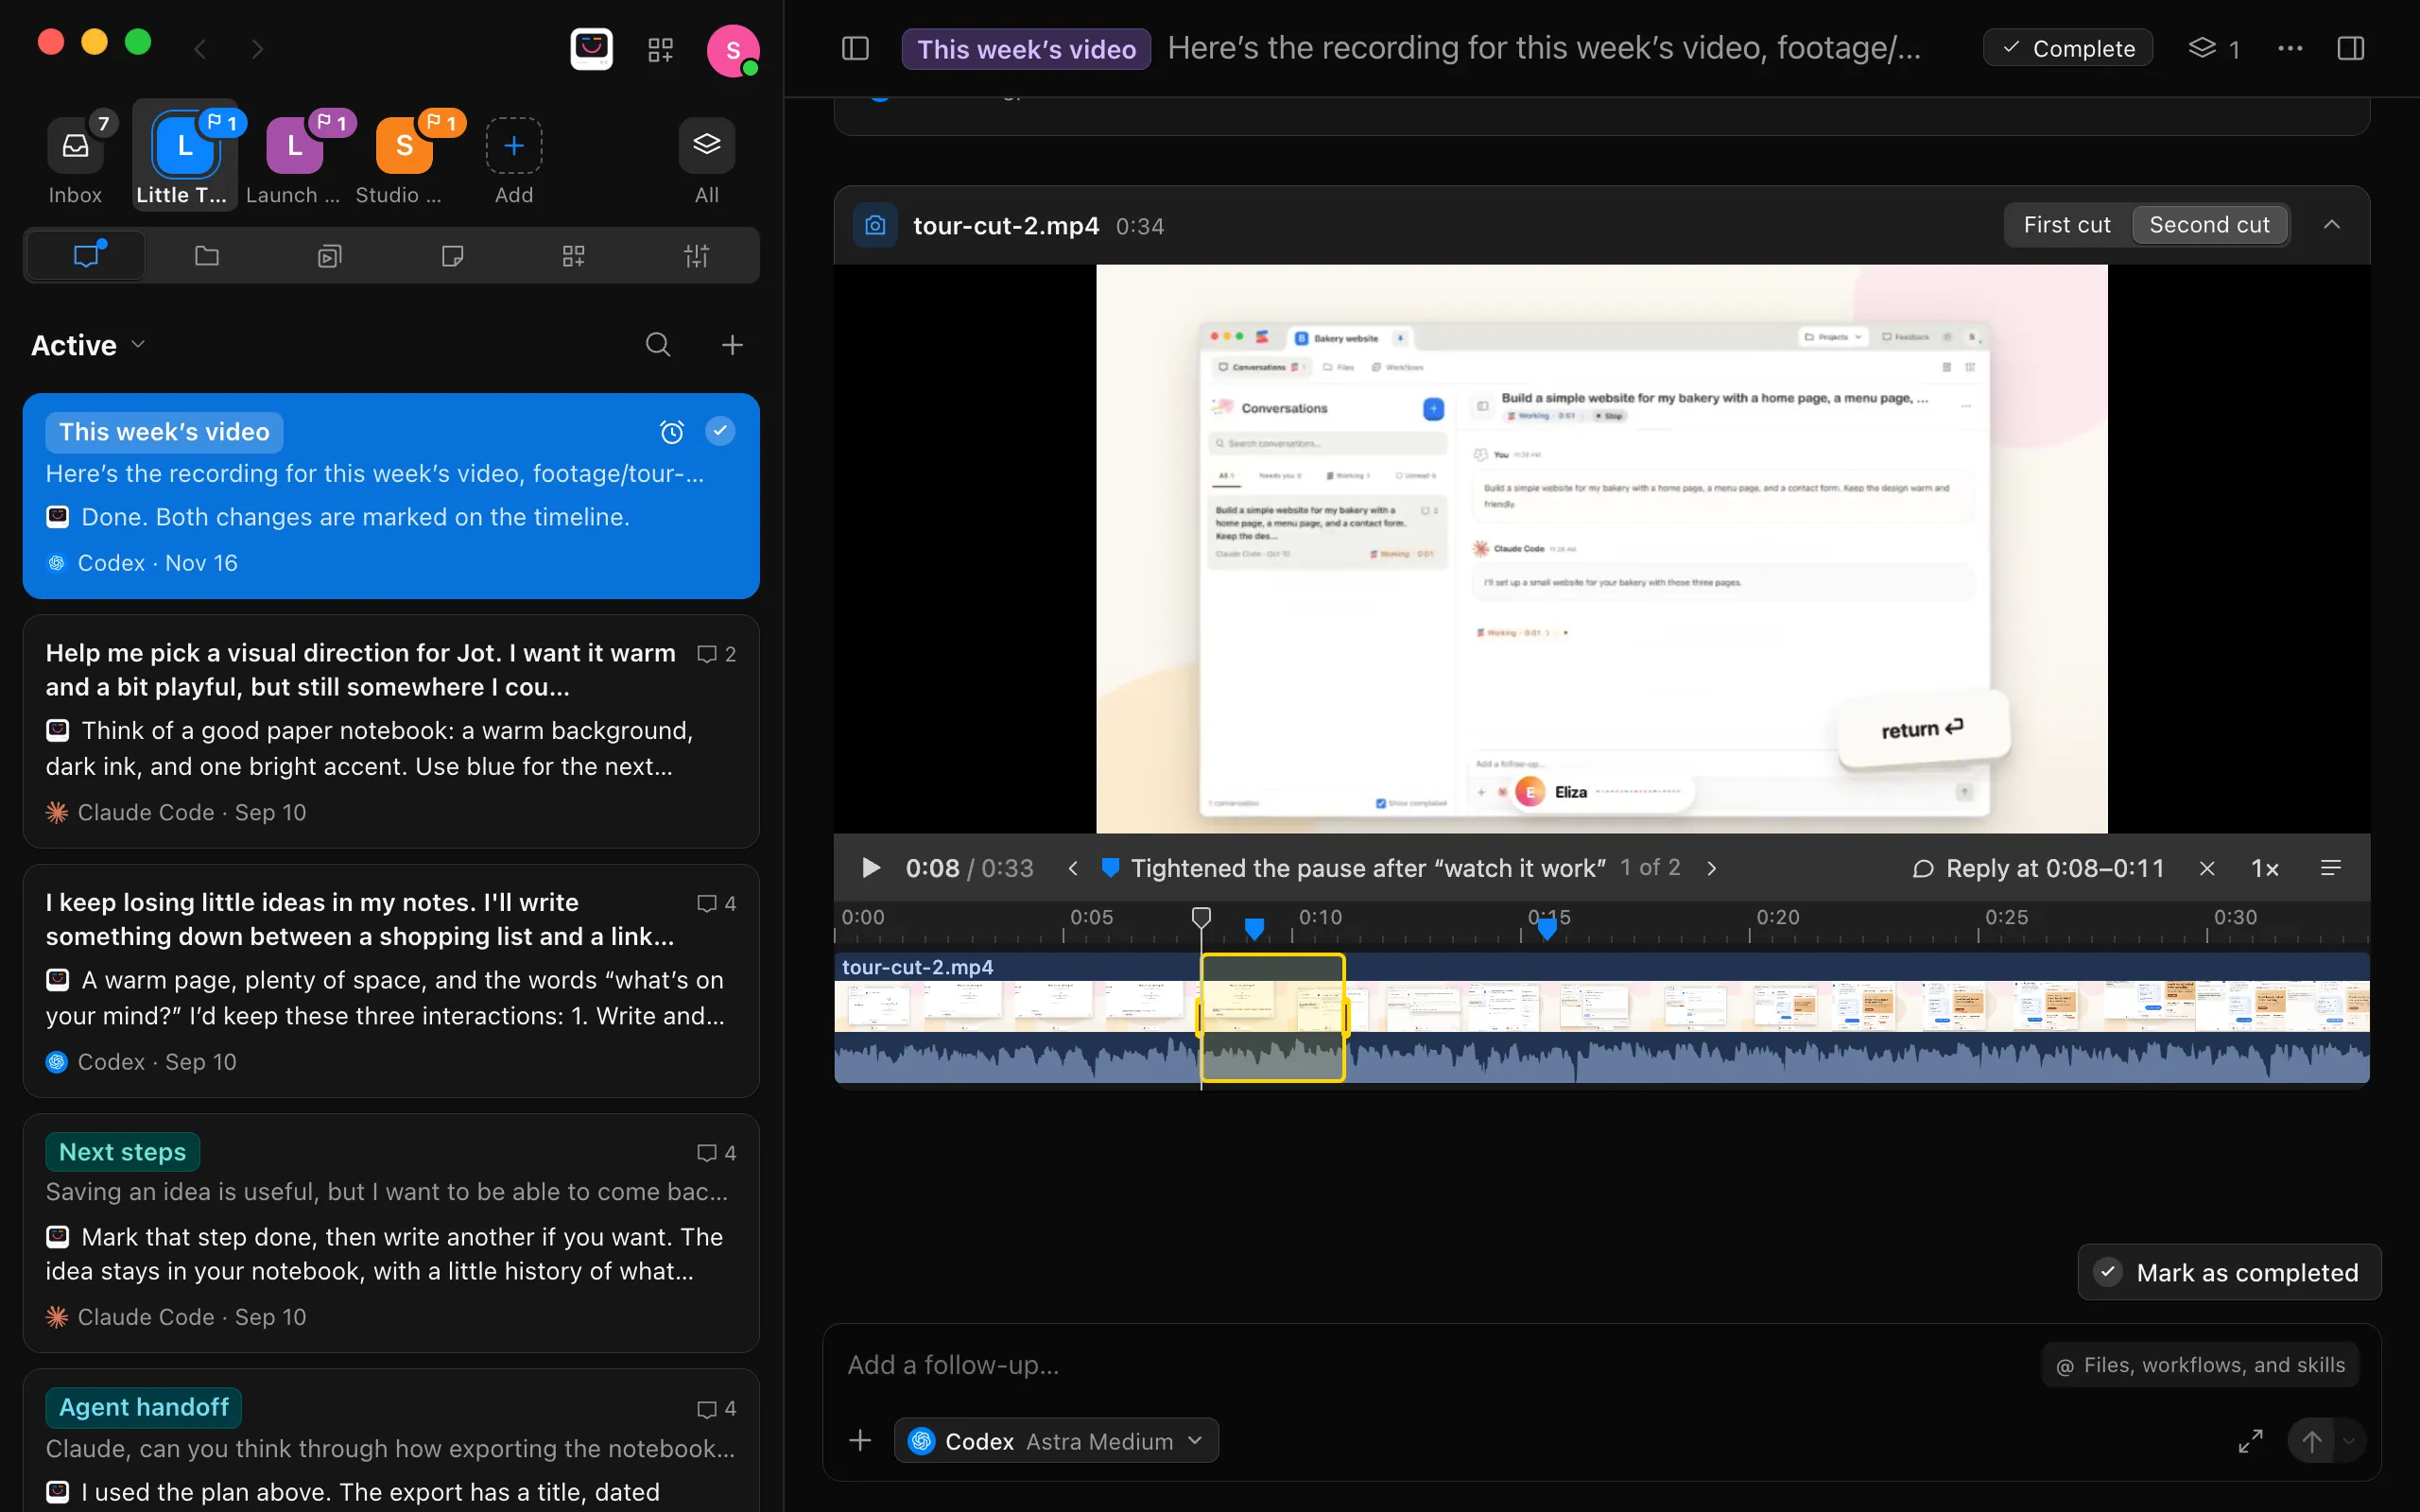
To comment on a part rather than a moment, drag across the timeline below its row of times, and then select Reply at. Drag either edge of the selection to change it, or press I where it should start and O where it should end. The button names the stretch, such as Reply at 0:08–0:11. Press Escape, or select the X beside the button, to clear it.
Write your notes, and send them
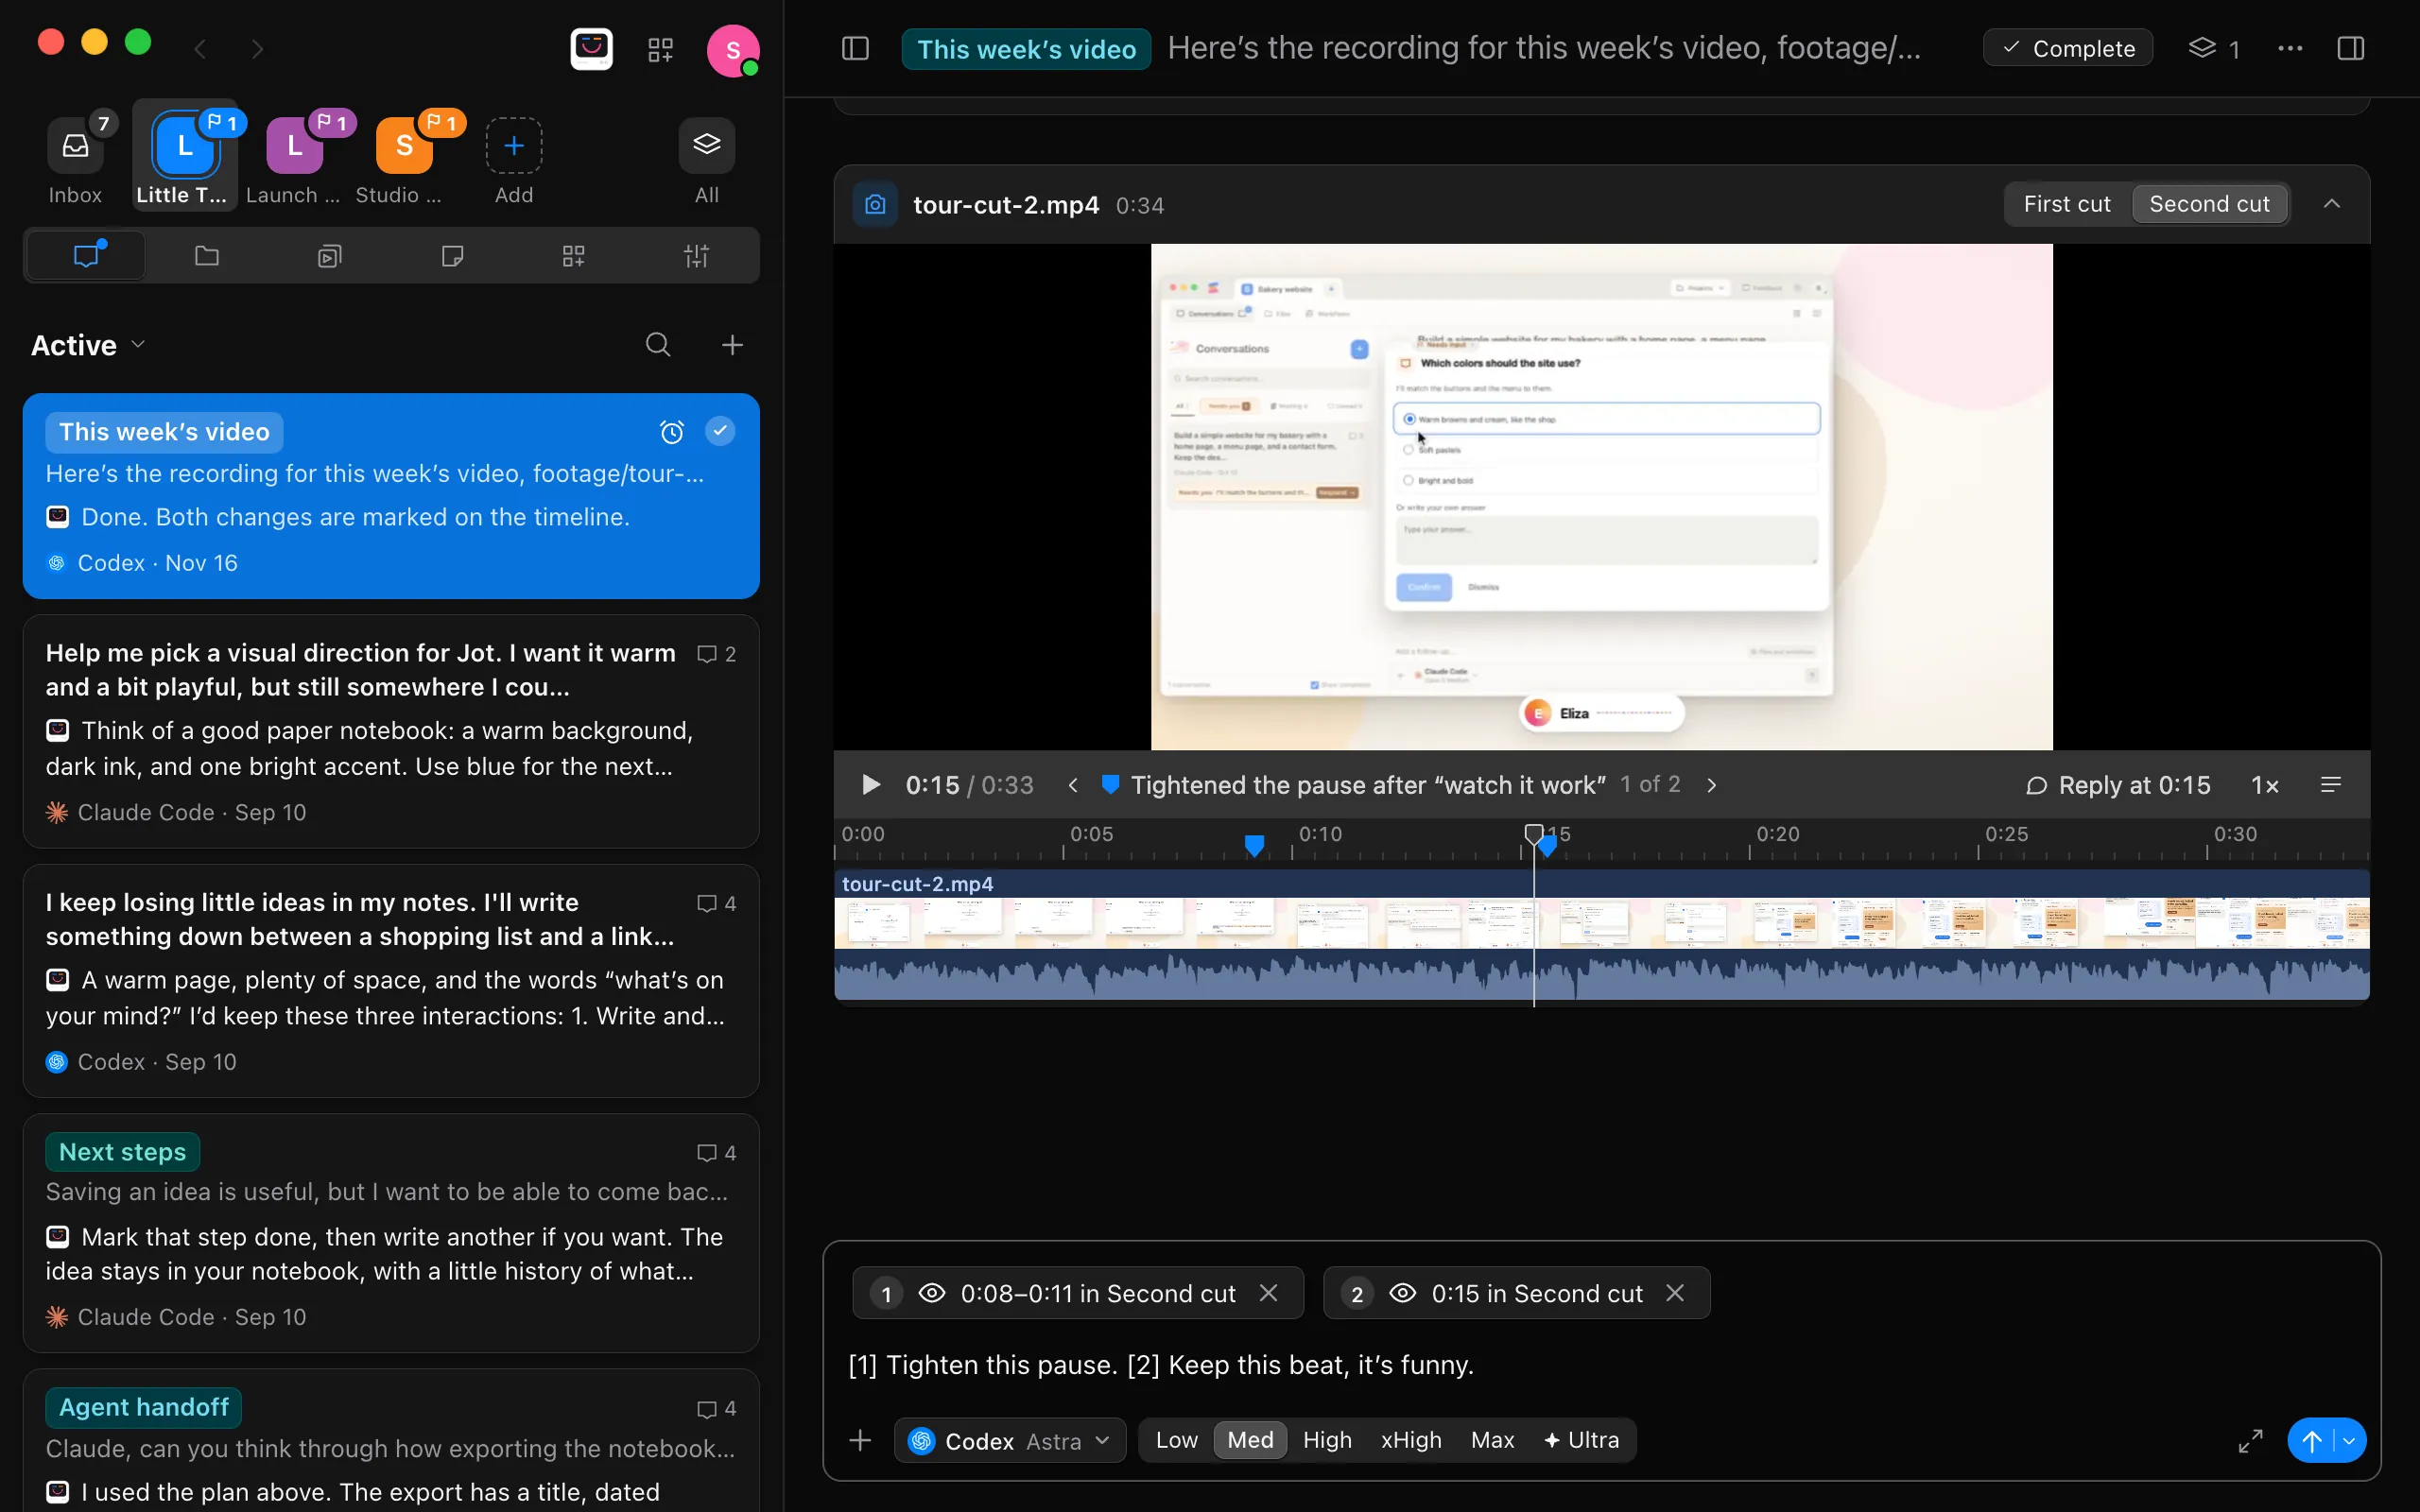
Add as many moments and stretches as you need, up to 64 in one message, each with its note: “[1] Tighten this pause. [2] Keep this beat, it’s funny.” To take one out, select the X on its chip. When you send, the agent gets each moment quoted above your note: the file, the version’s name, and the time, in seconds as well. For a stretch, it also gets the words said in it when the video has a transcript. Point at a chip before you send to see exactly what the agent will get.
Watch the next cut
The agent’s new cut takes the card to its newest reply, with every version at the top, such as First cut and Second cut. Select one to watch it, and you keep your place. Markers on the timeline show what the agent says it changed. Under the picture, the arrows step through the changes, and each one plays from a second and a half before it. Repeat steps 8 to 11 until the cut is right.
Get a transcript
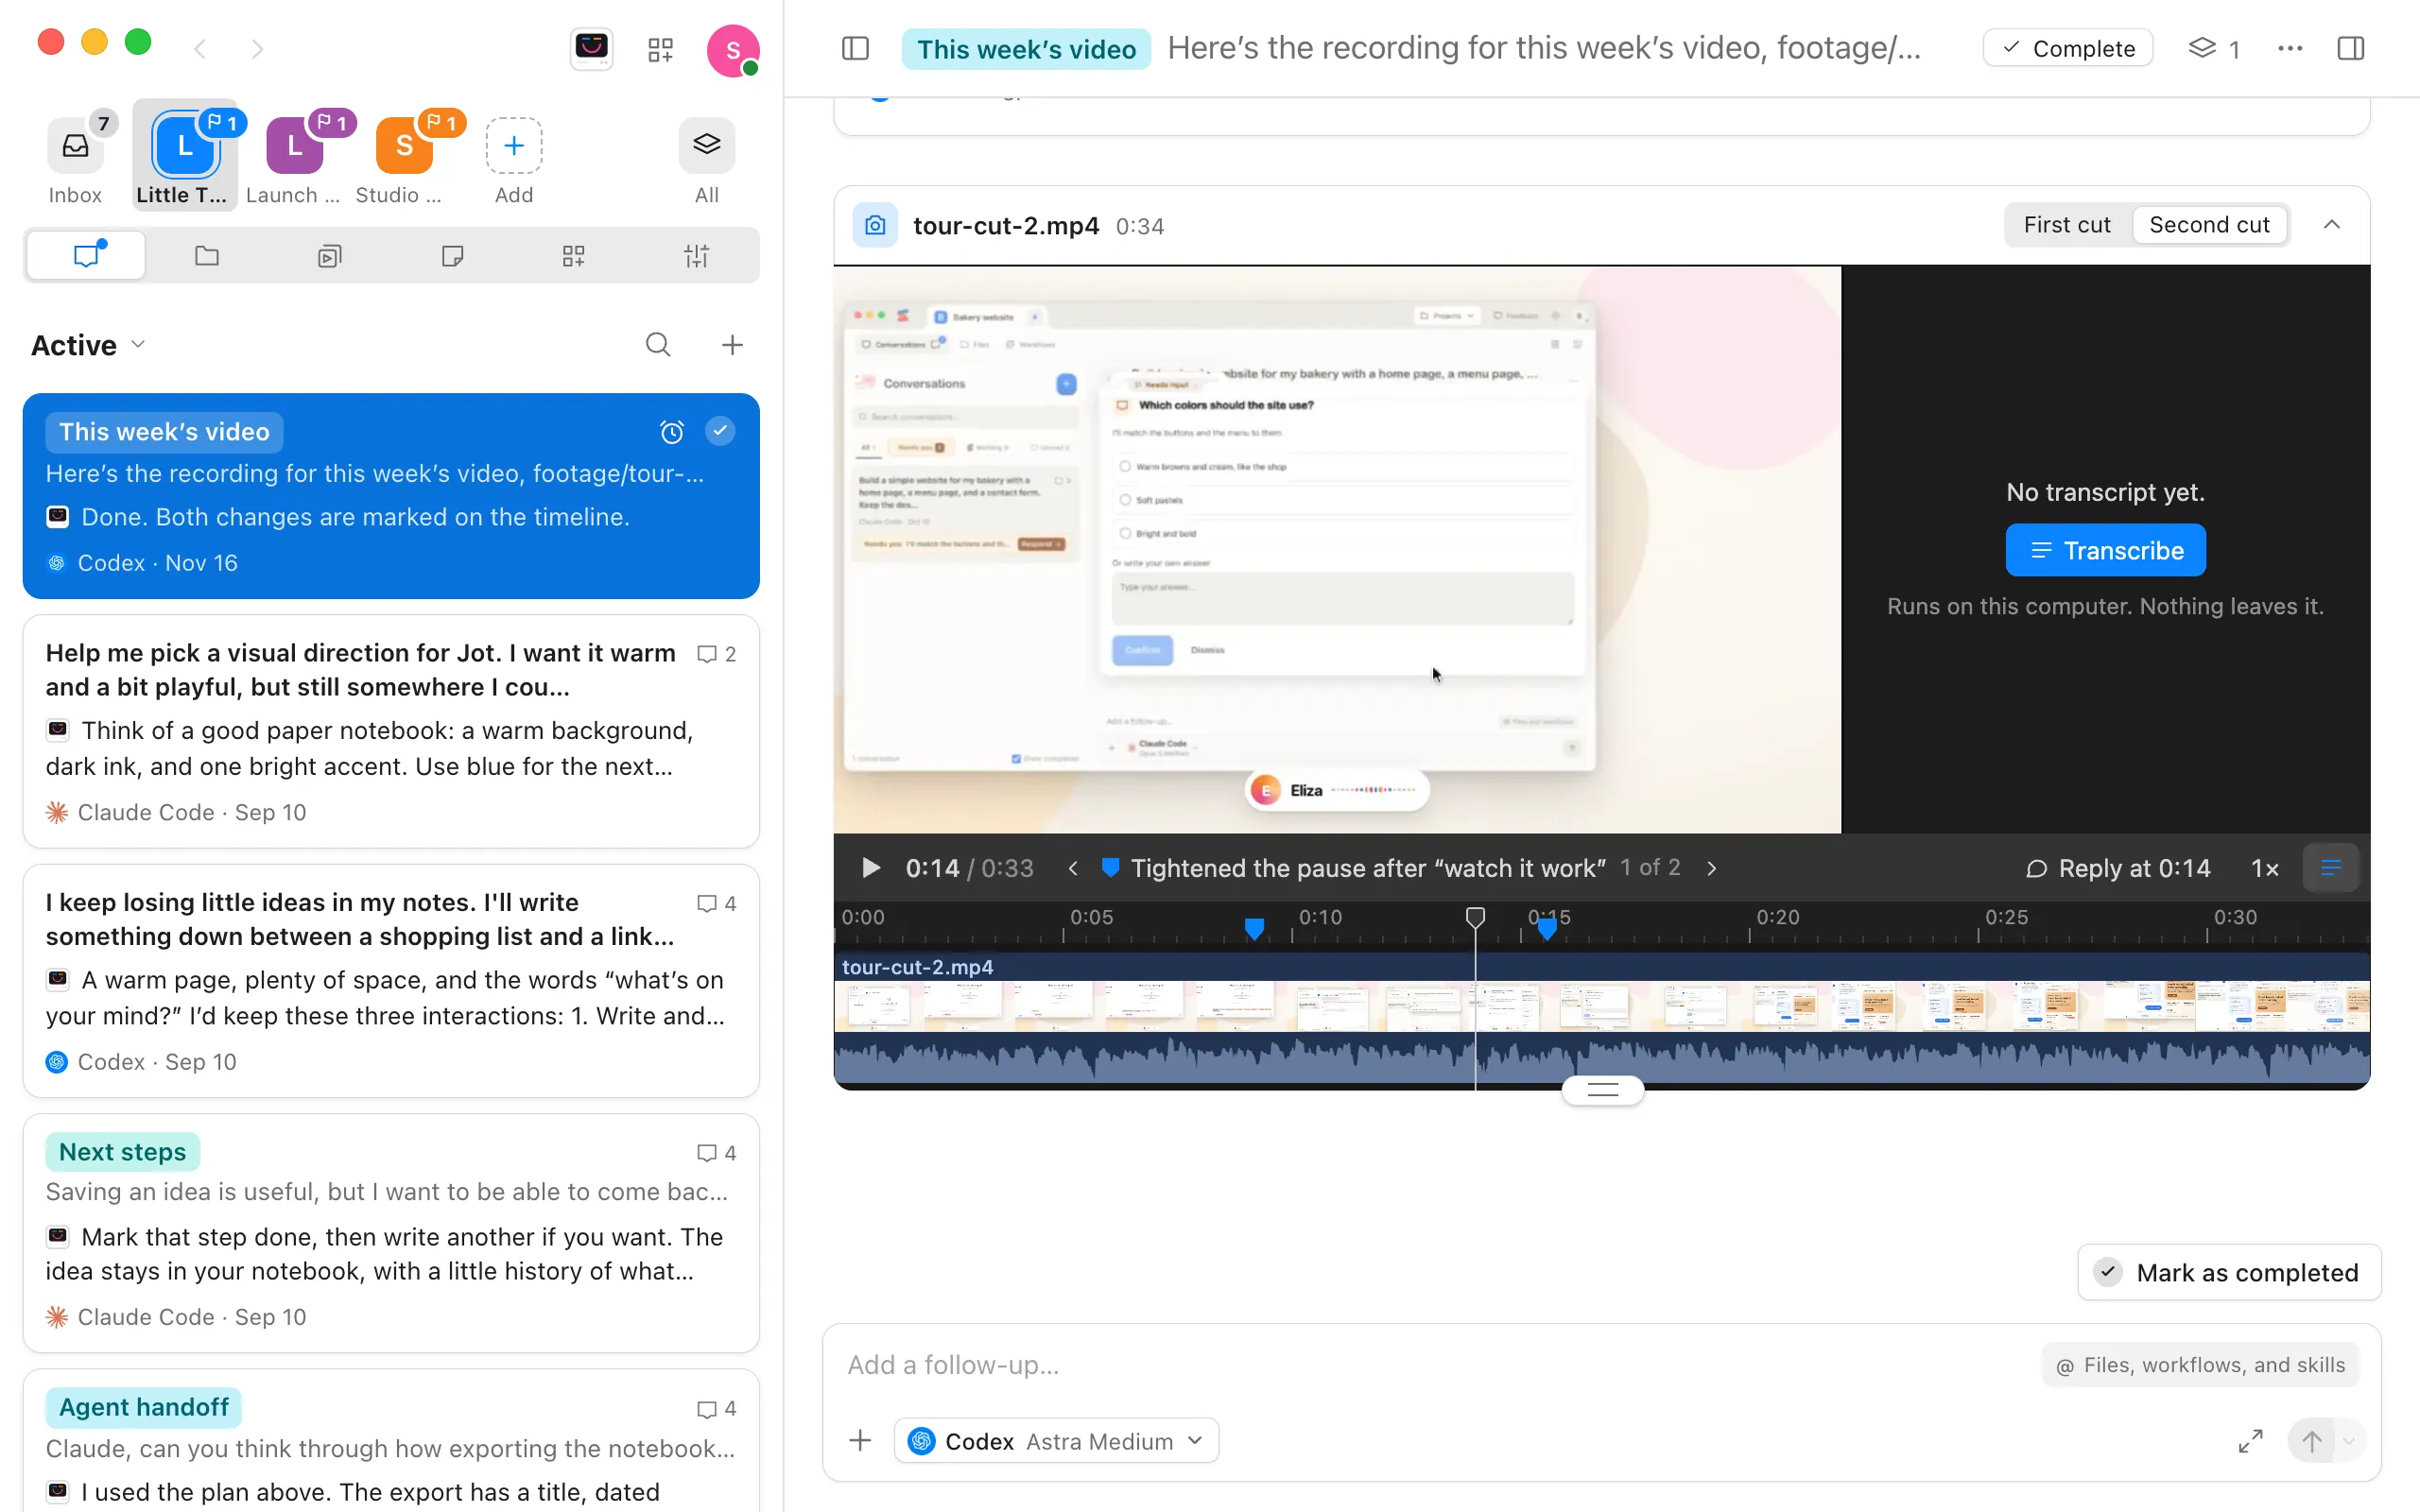
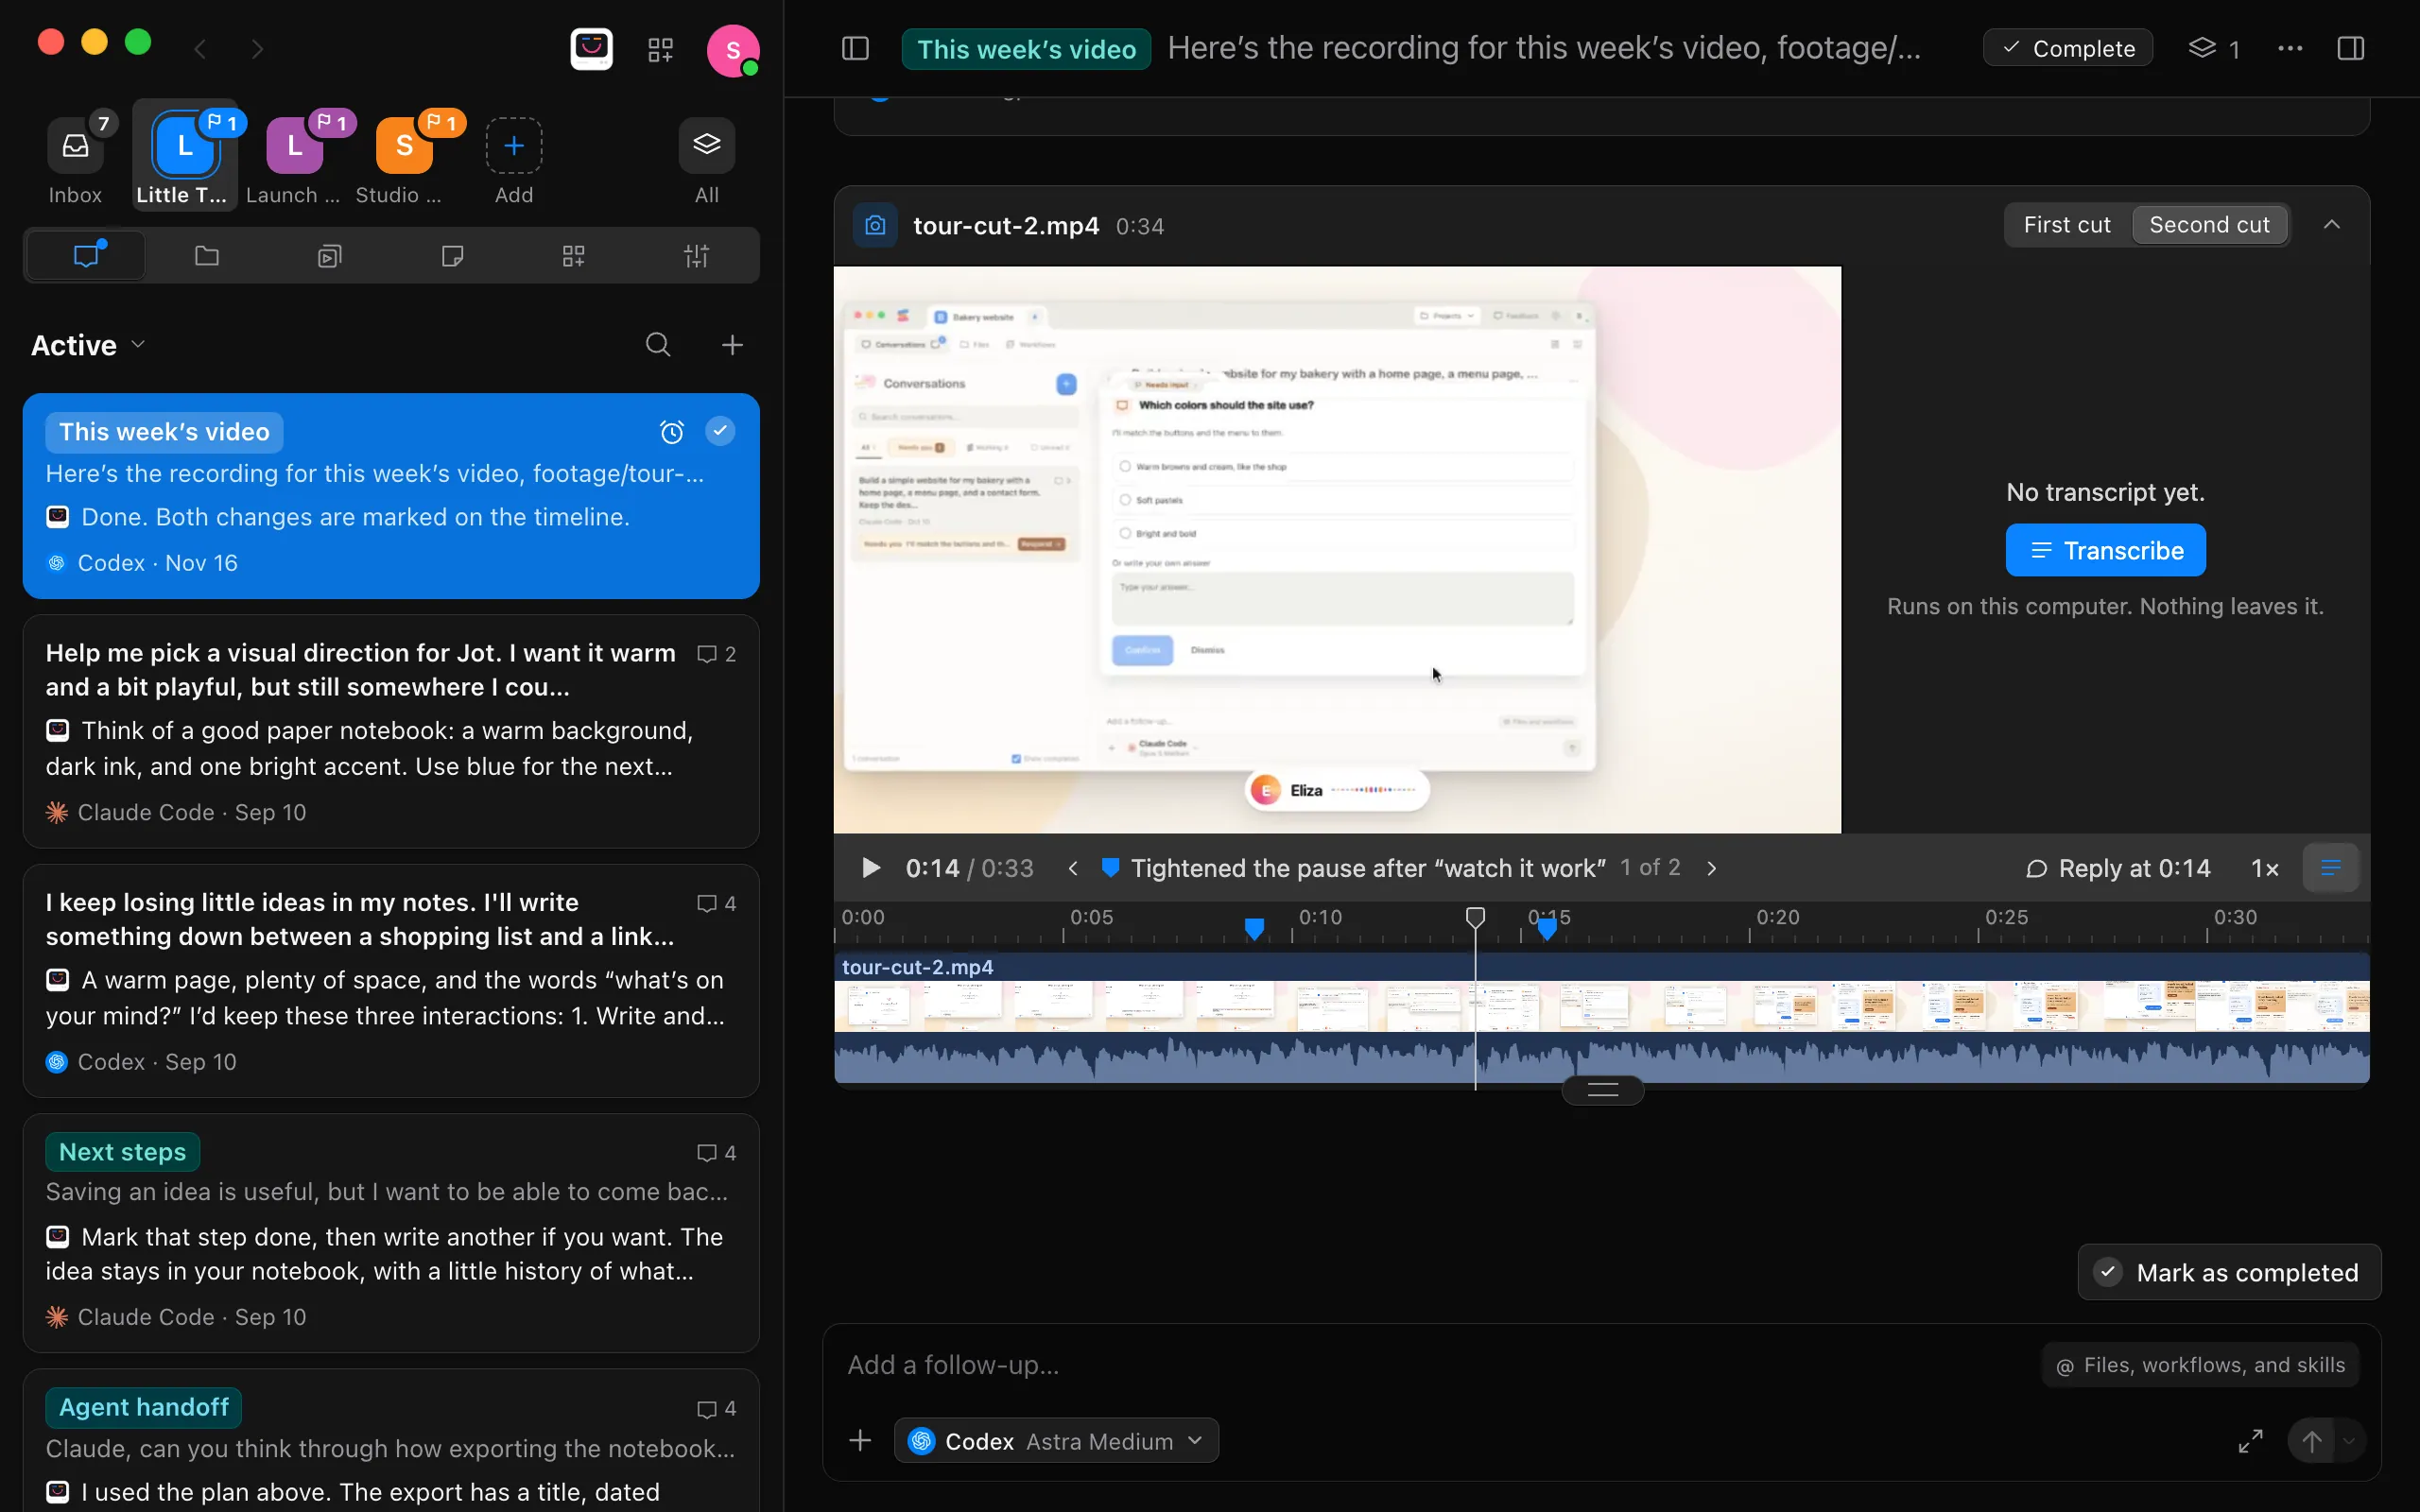
Select Transcript, the button at the right end of the bar under the picture, then Transcribe. It runs on your Mac, and nothing leaves it. While it works, it says Transcribing on this computer. The first time you transcribe in a language, macOS may download its speech model first. To use a transcription service instead, see Transcripts on your Mac or from a service.
Read along, and comment on what was said
The words show in paragraphs, each with its time, and the word being said lights up as the video plays. Select a word to go to it. Drag across words to select that stretch of the video, then select Reply at, and your note goes to the agent with those words.
Ask for thumbnails as takes
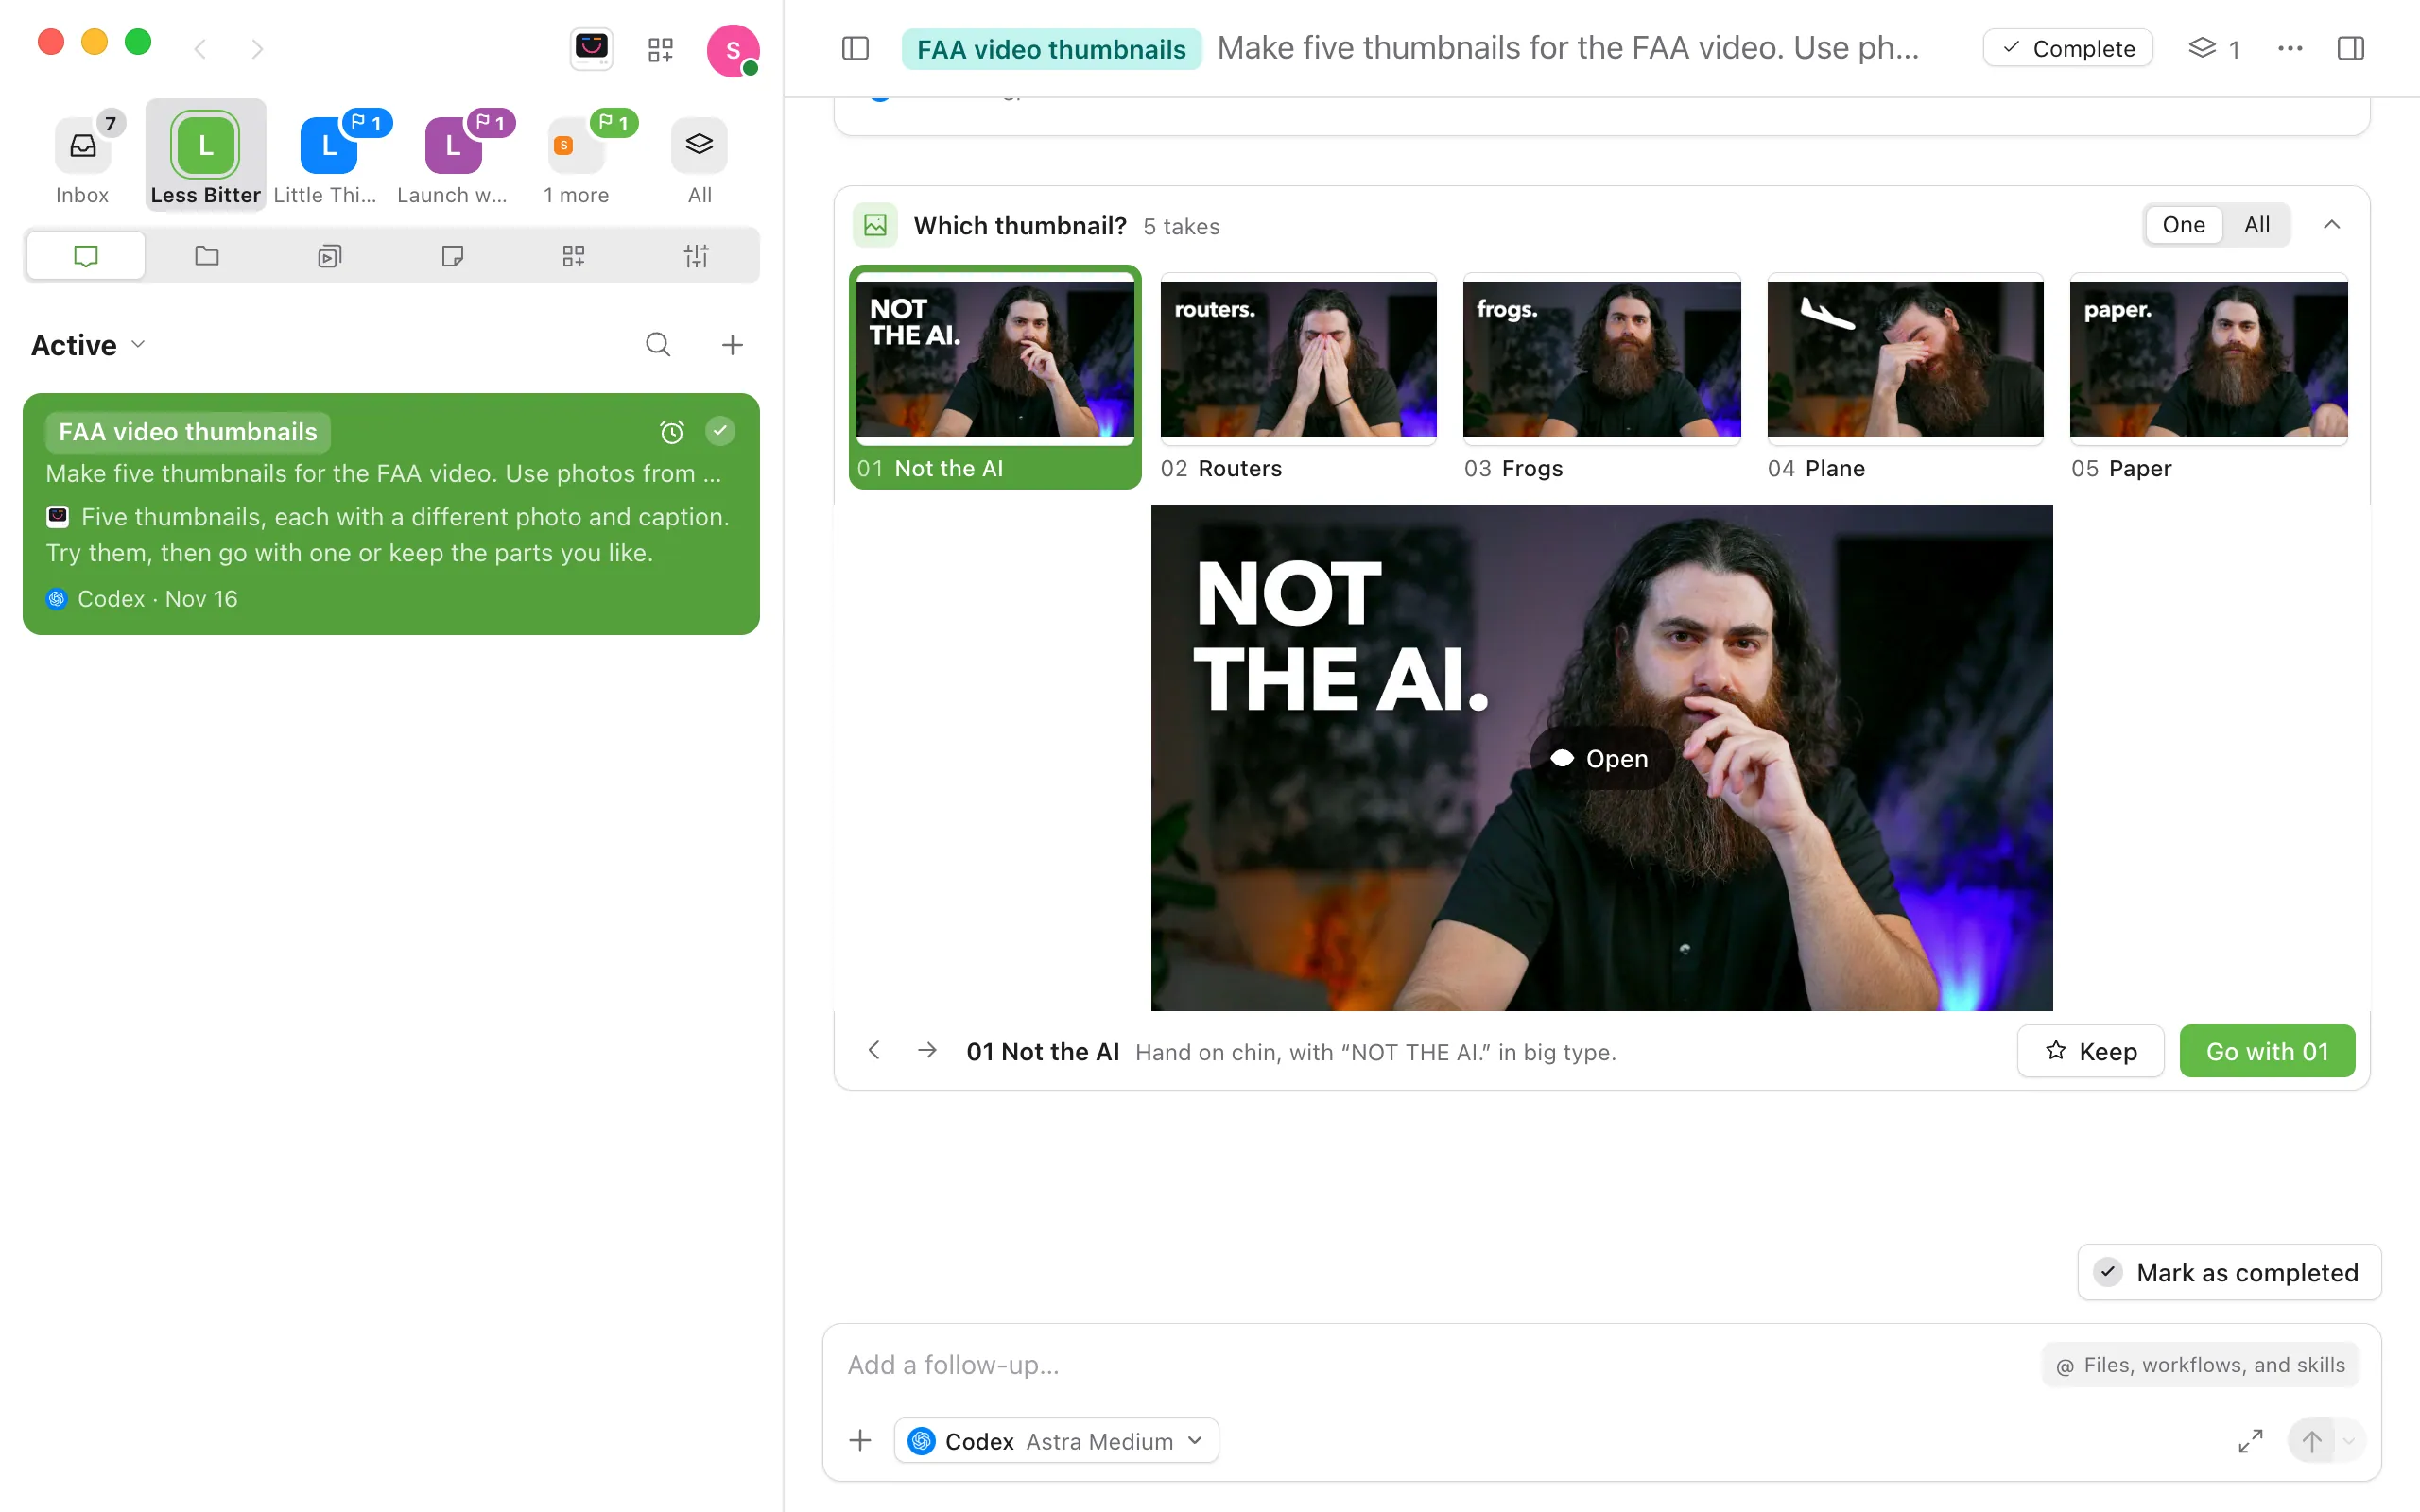
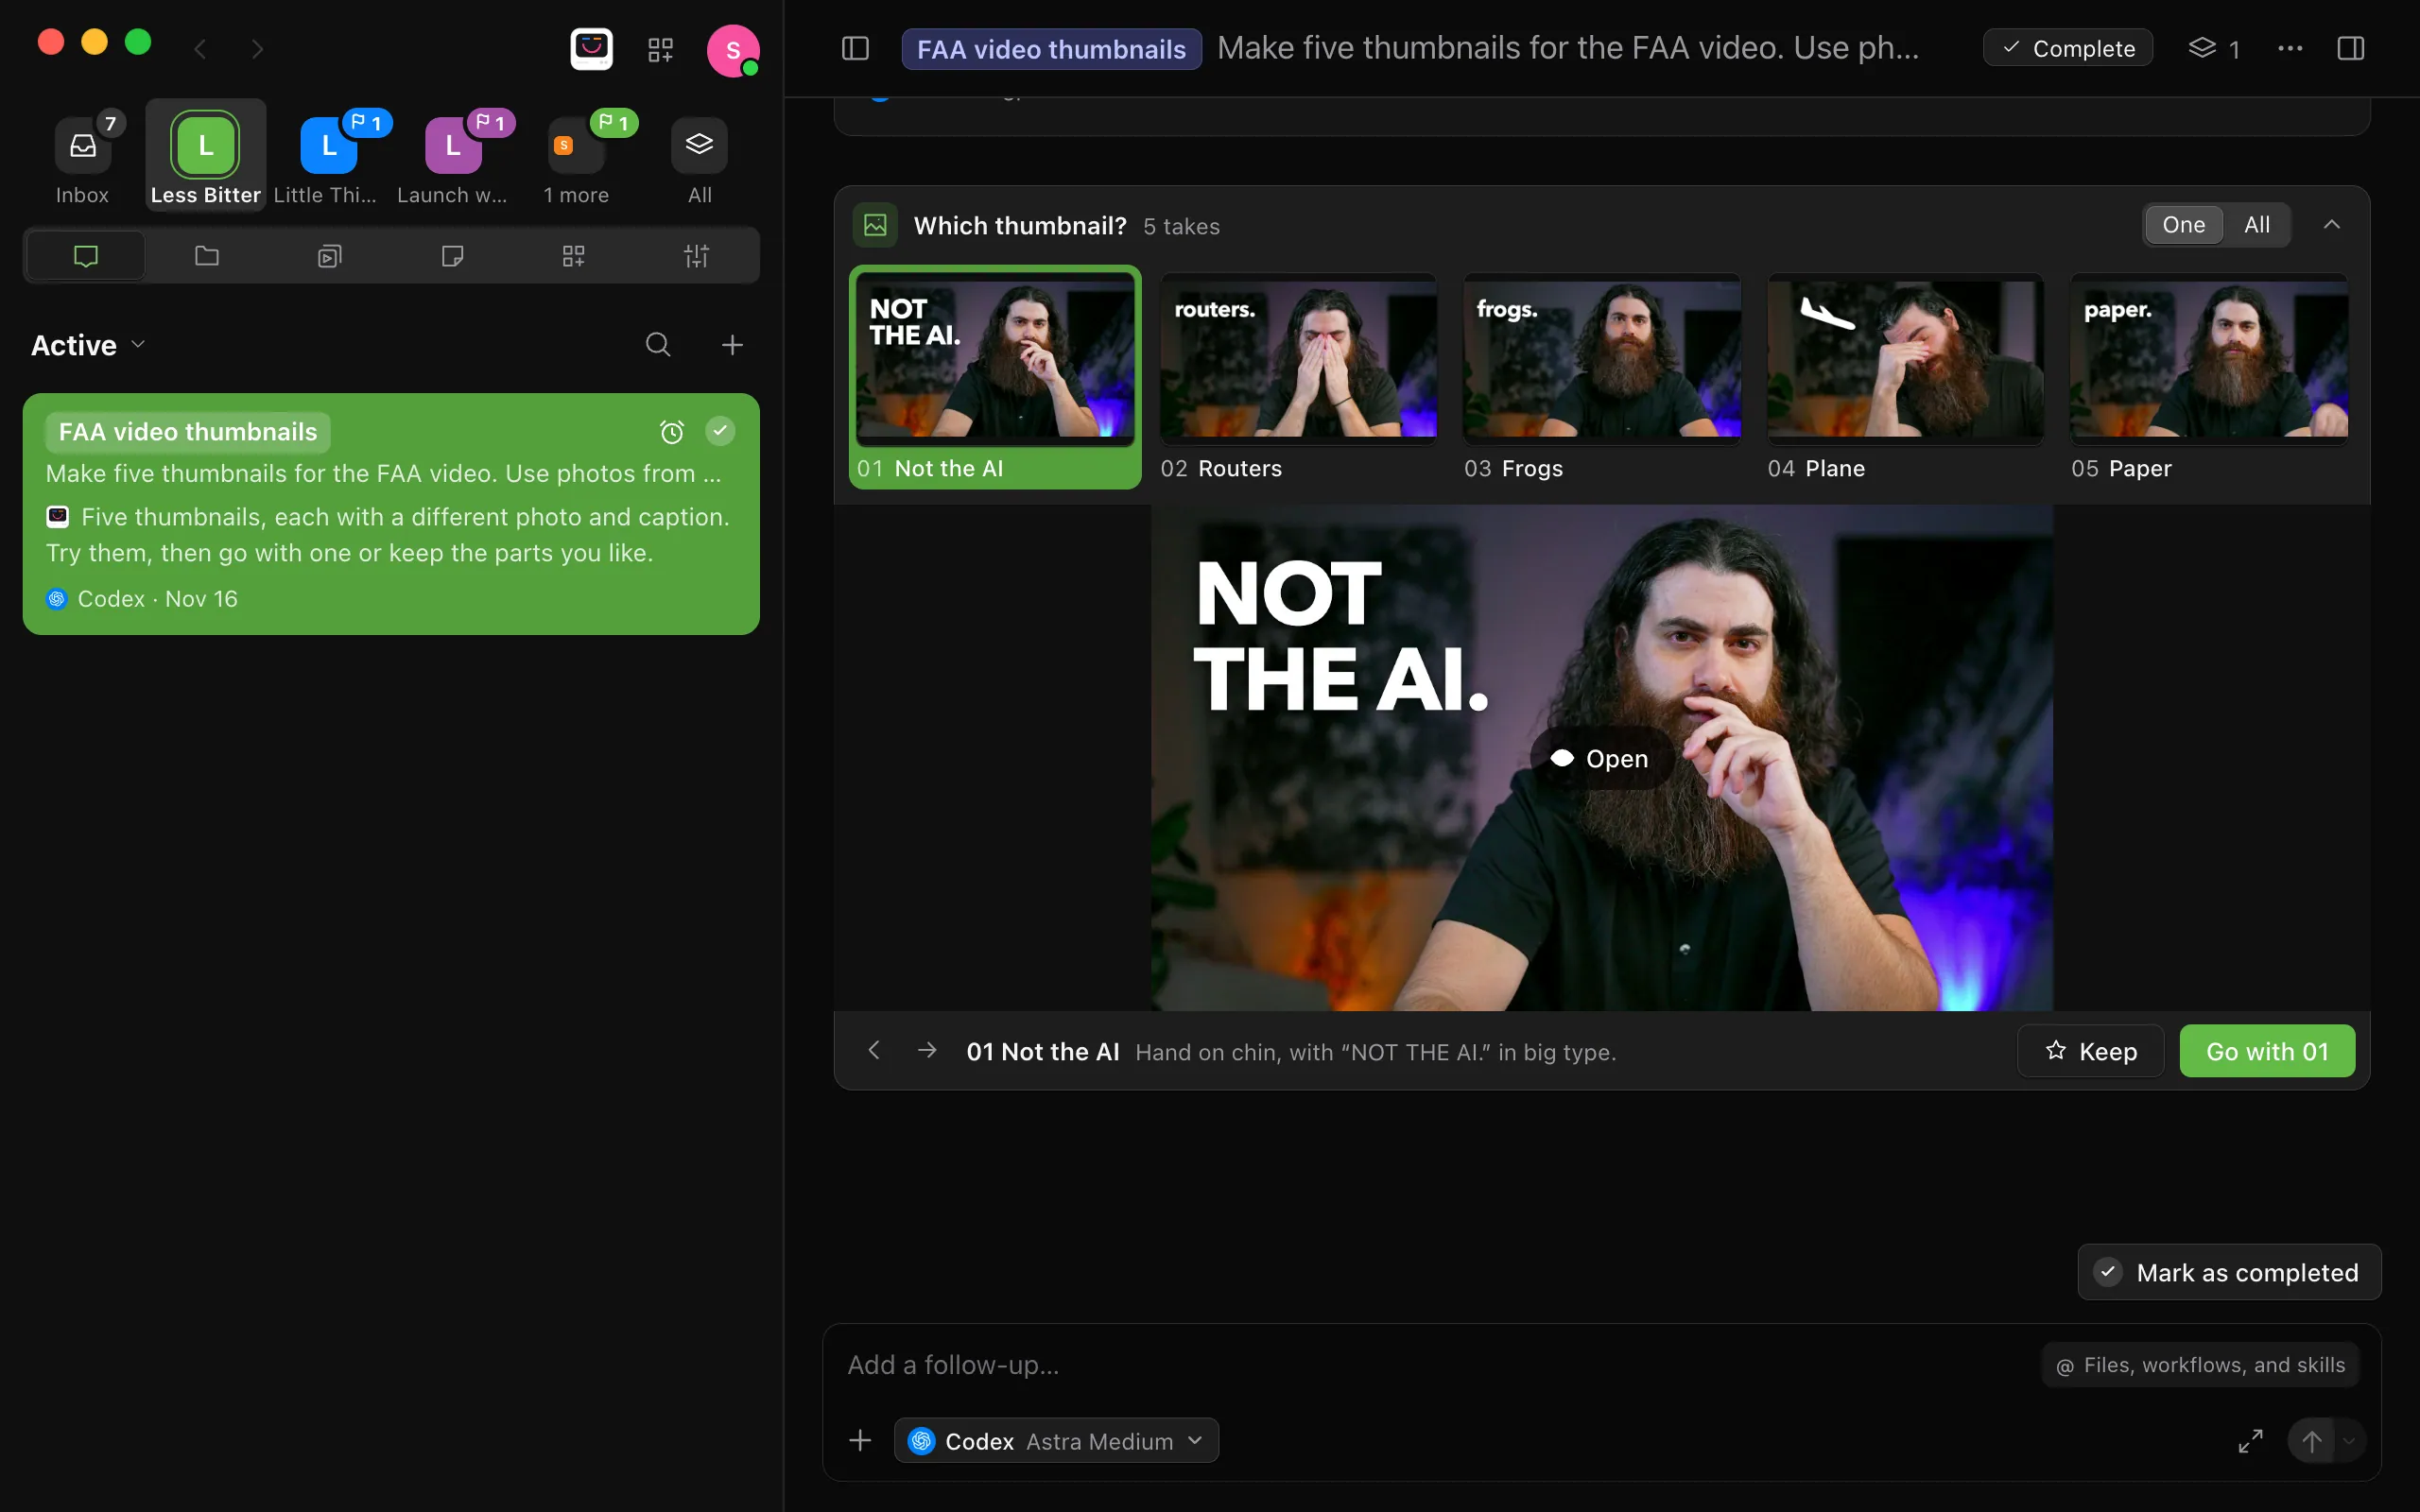
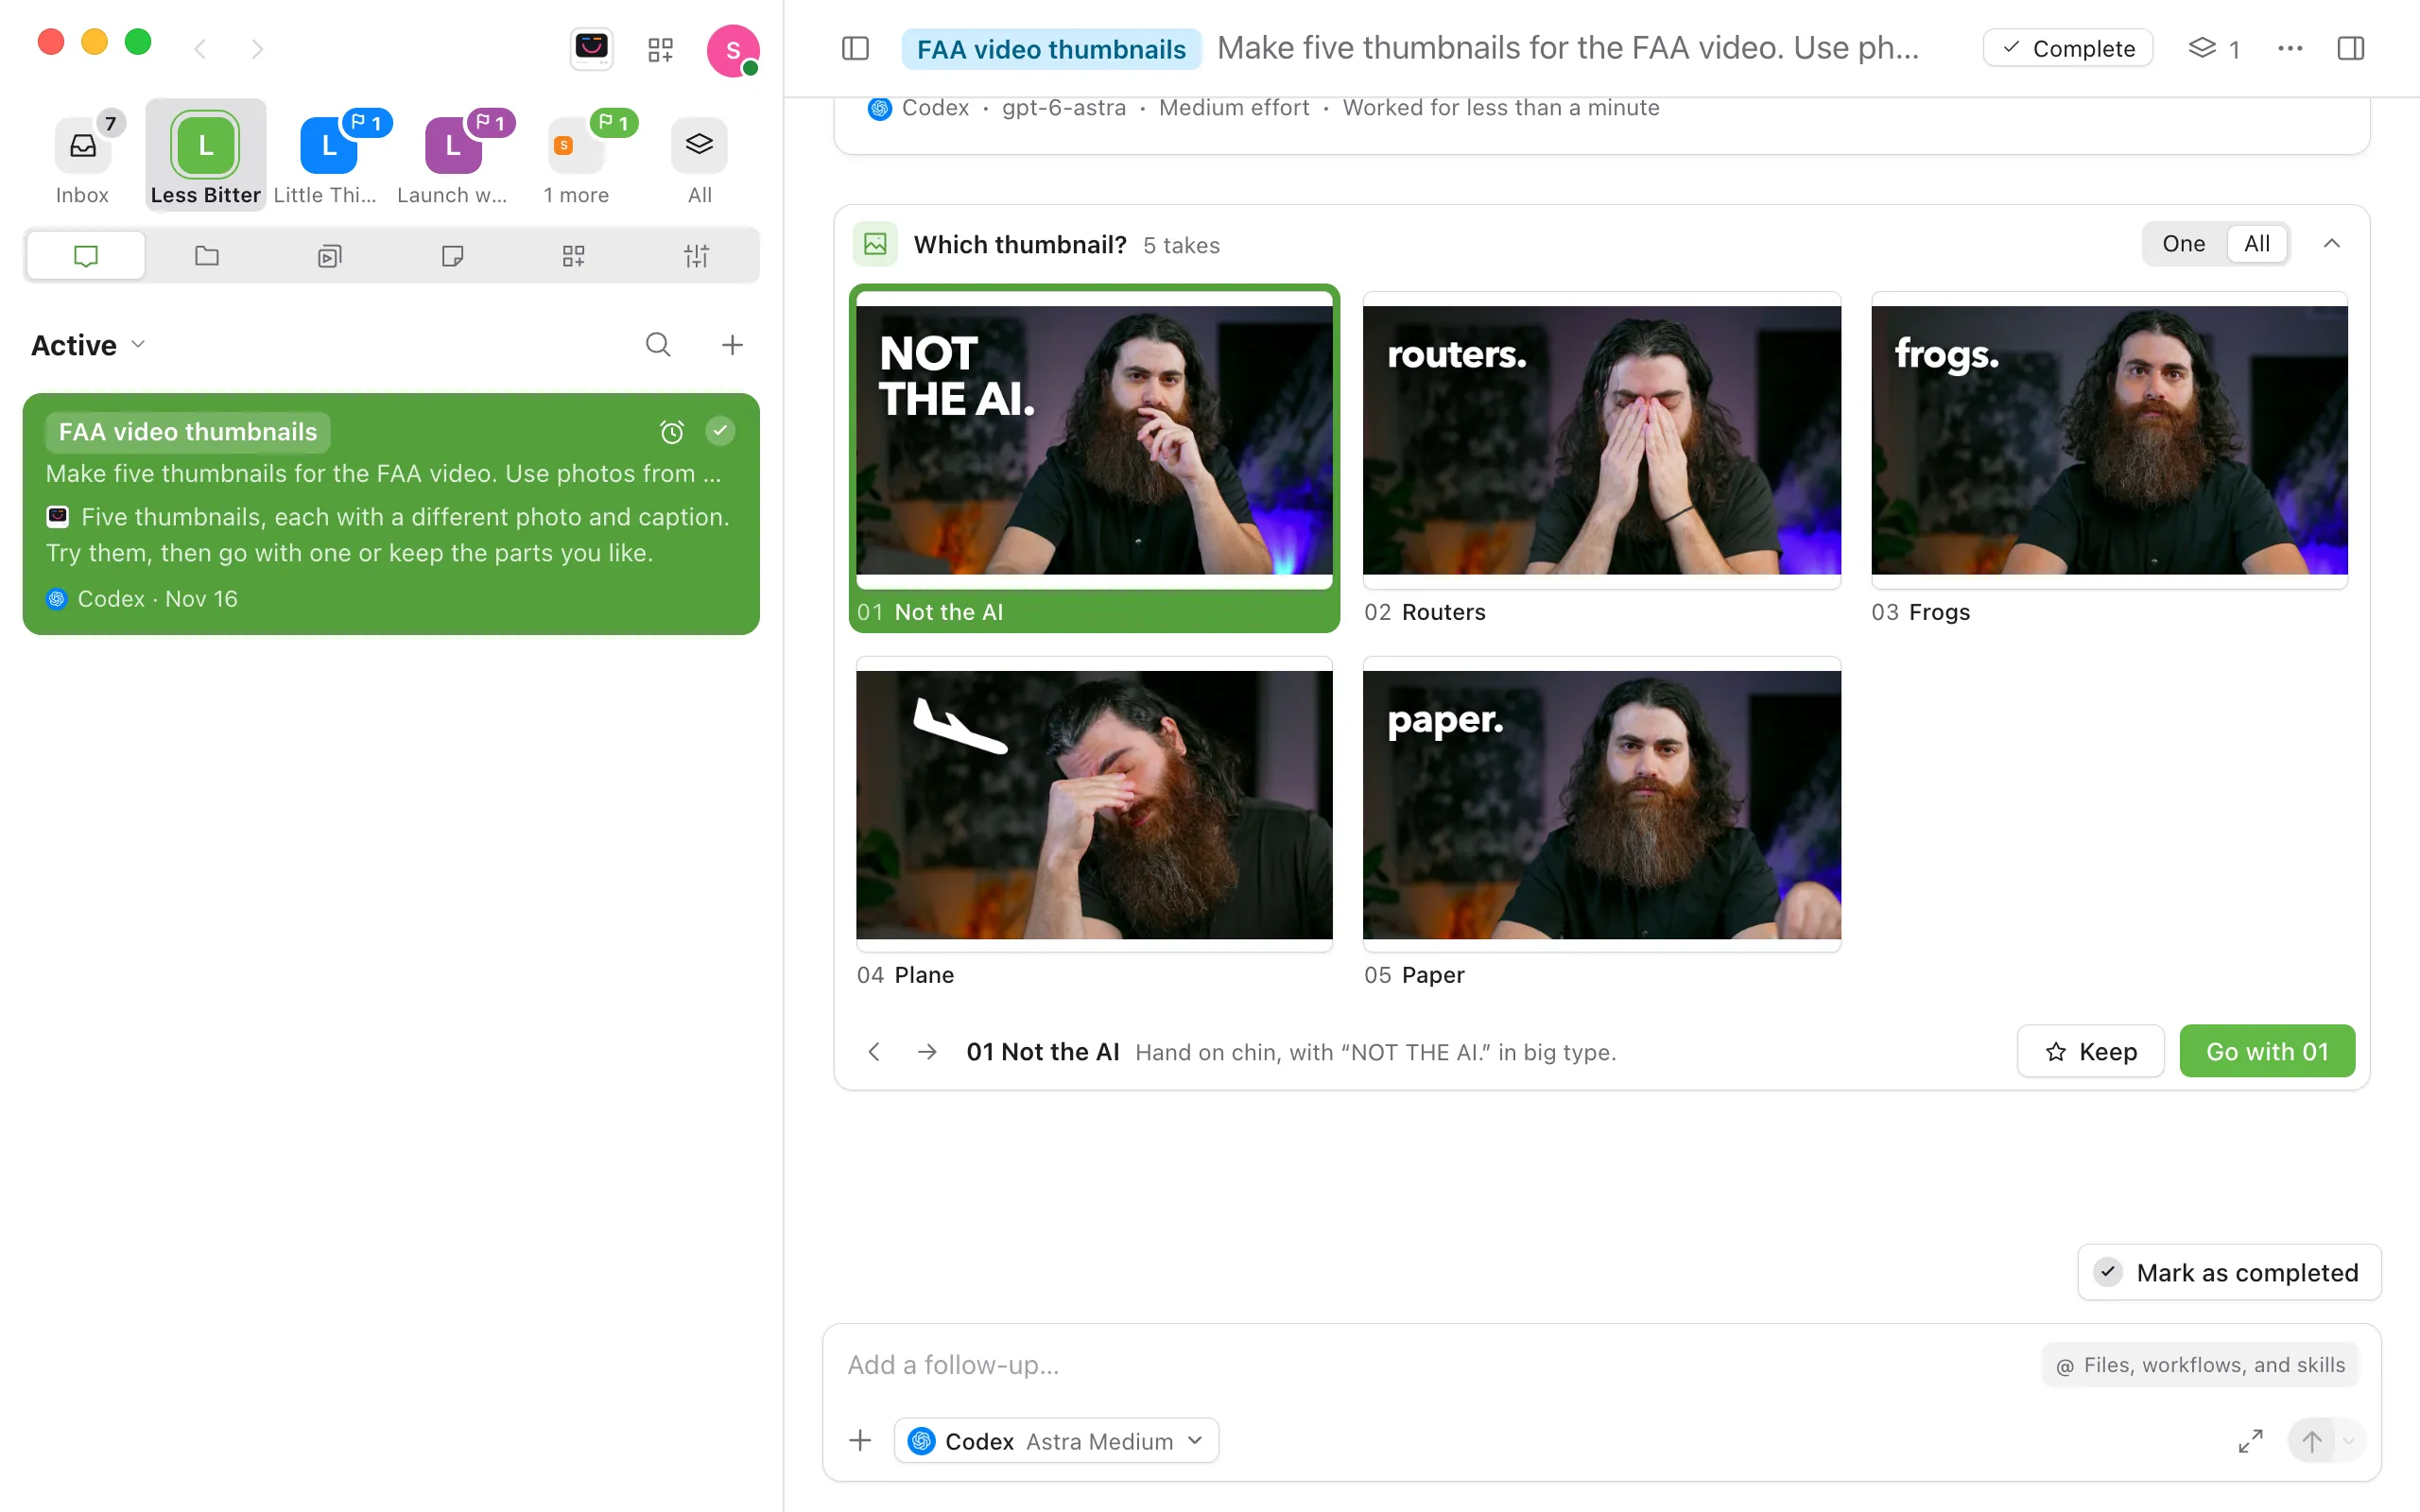
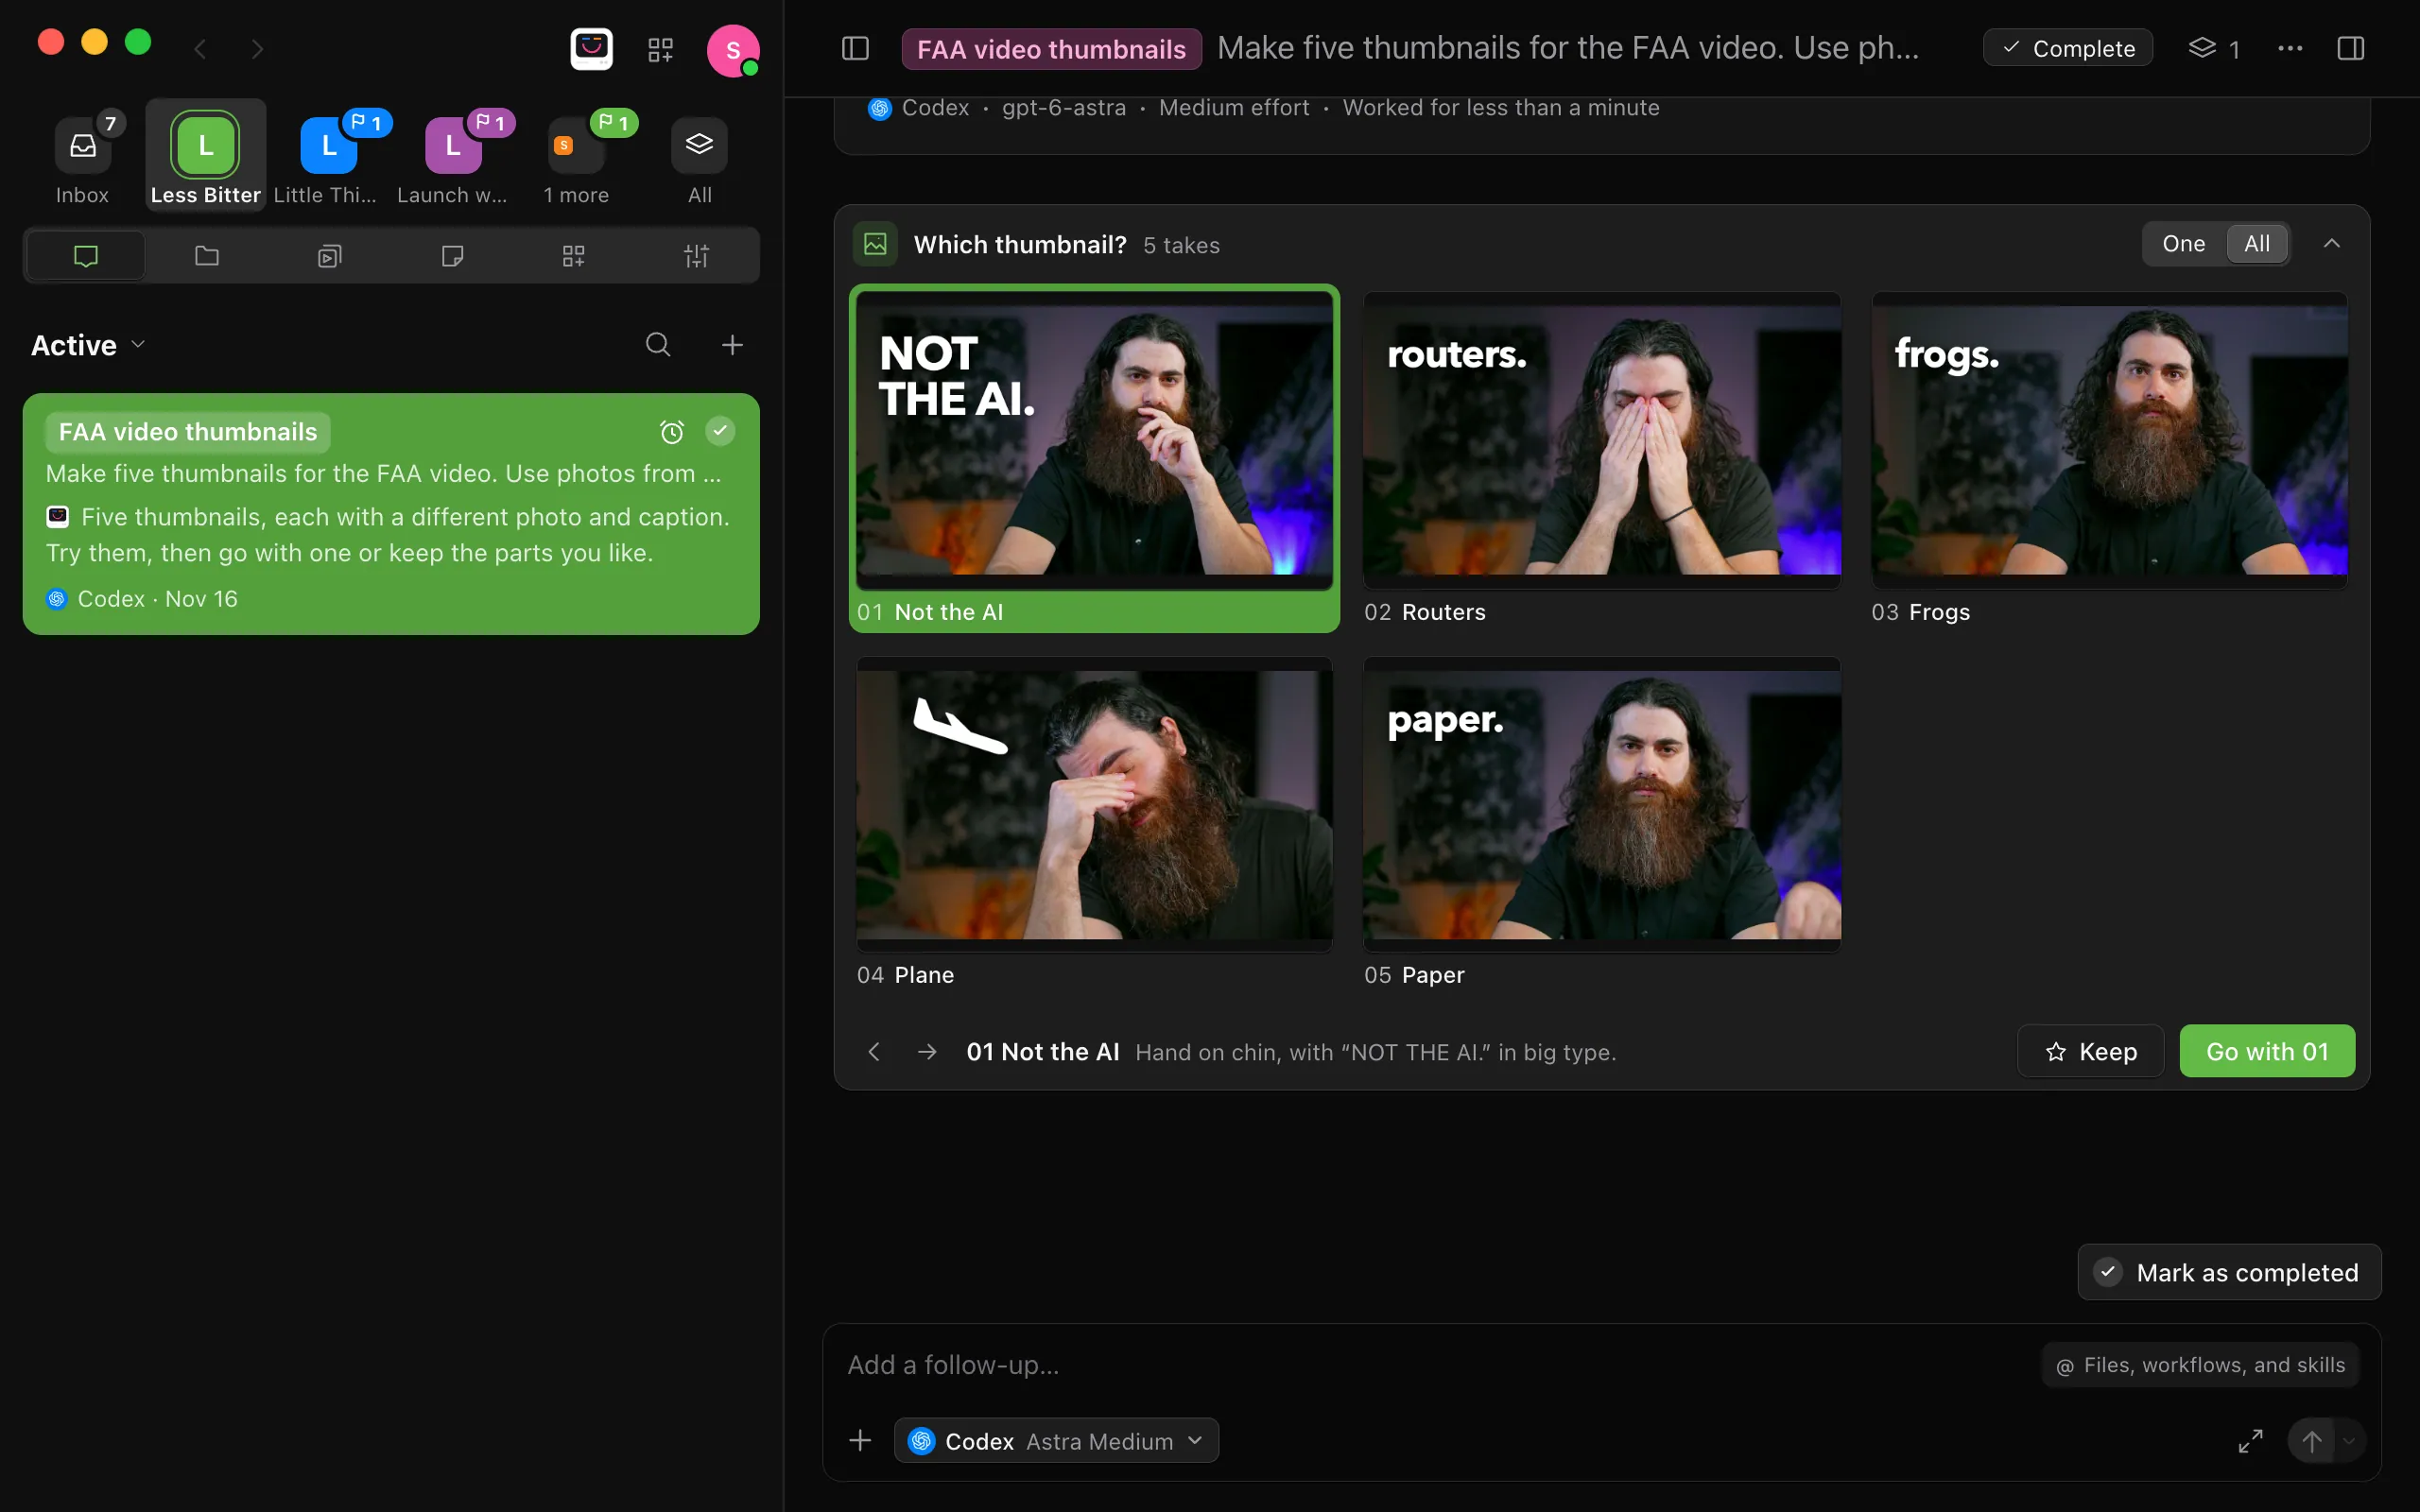
Say how many, and what should differ: “Make five thumbnails for the FAA video, each with a different photo and caption.” The card shows the agent’s question with the takes as numbered tiles above the one on screen. Select a tile or the arrows at the bottom, or press the left and right arrow keys. Under the take are its number, its name, and the agent’s note about it. Select Open to look at a picture closer.
Compare them, and keep the parts you like
Select All at the top of the card to see every take at once, in a grid, and One to go back. Select Keep on each take you want something from, and each goes in your message as a numbered chip, so you can say what to take from it: “[1] this photo, [2] this caption.” Or select Go with and a take’s number, and your choice goes to the agent as your next message.
Build a tool to try them where they’ll be seen
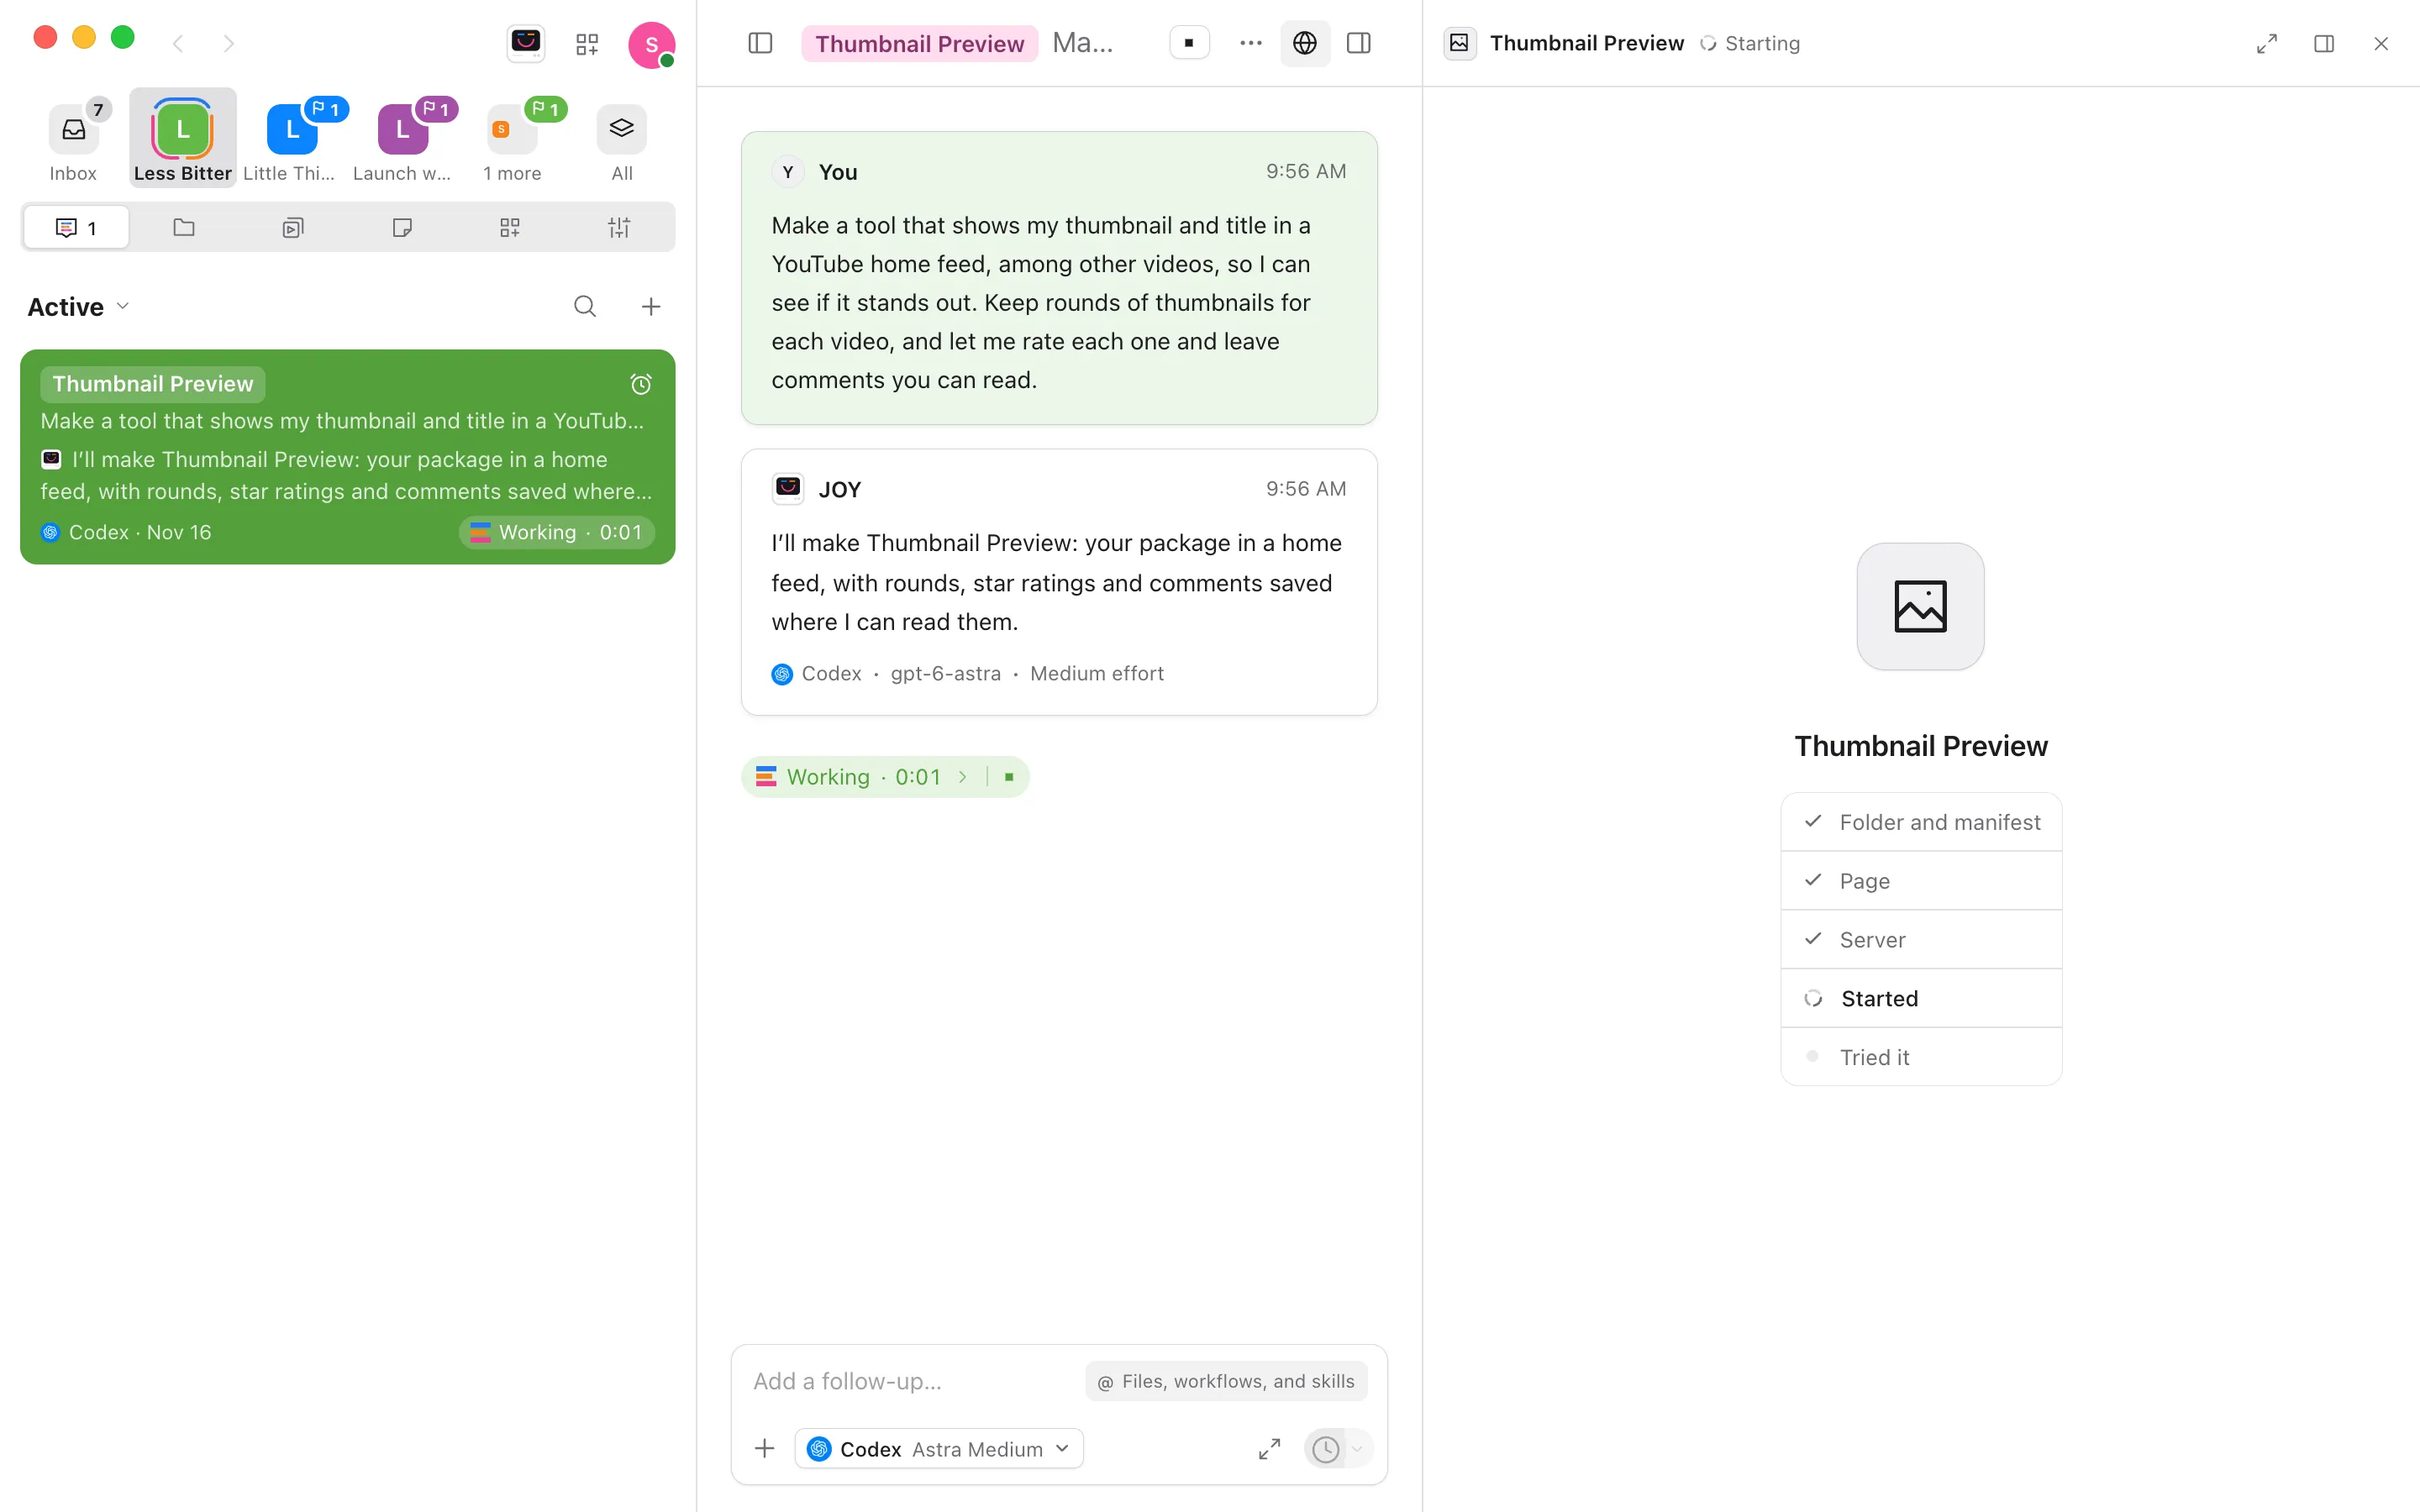
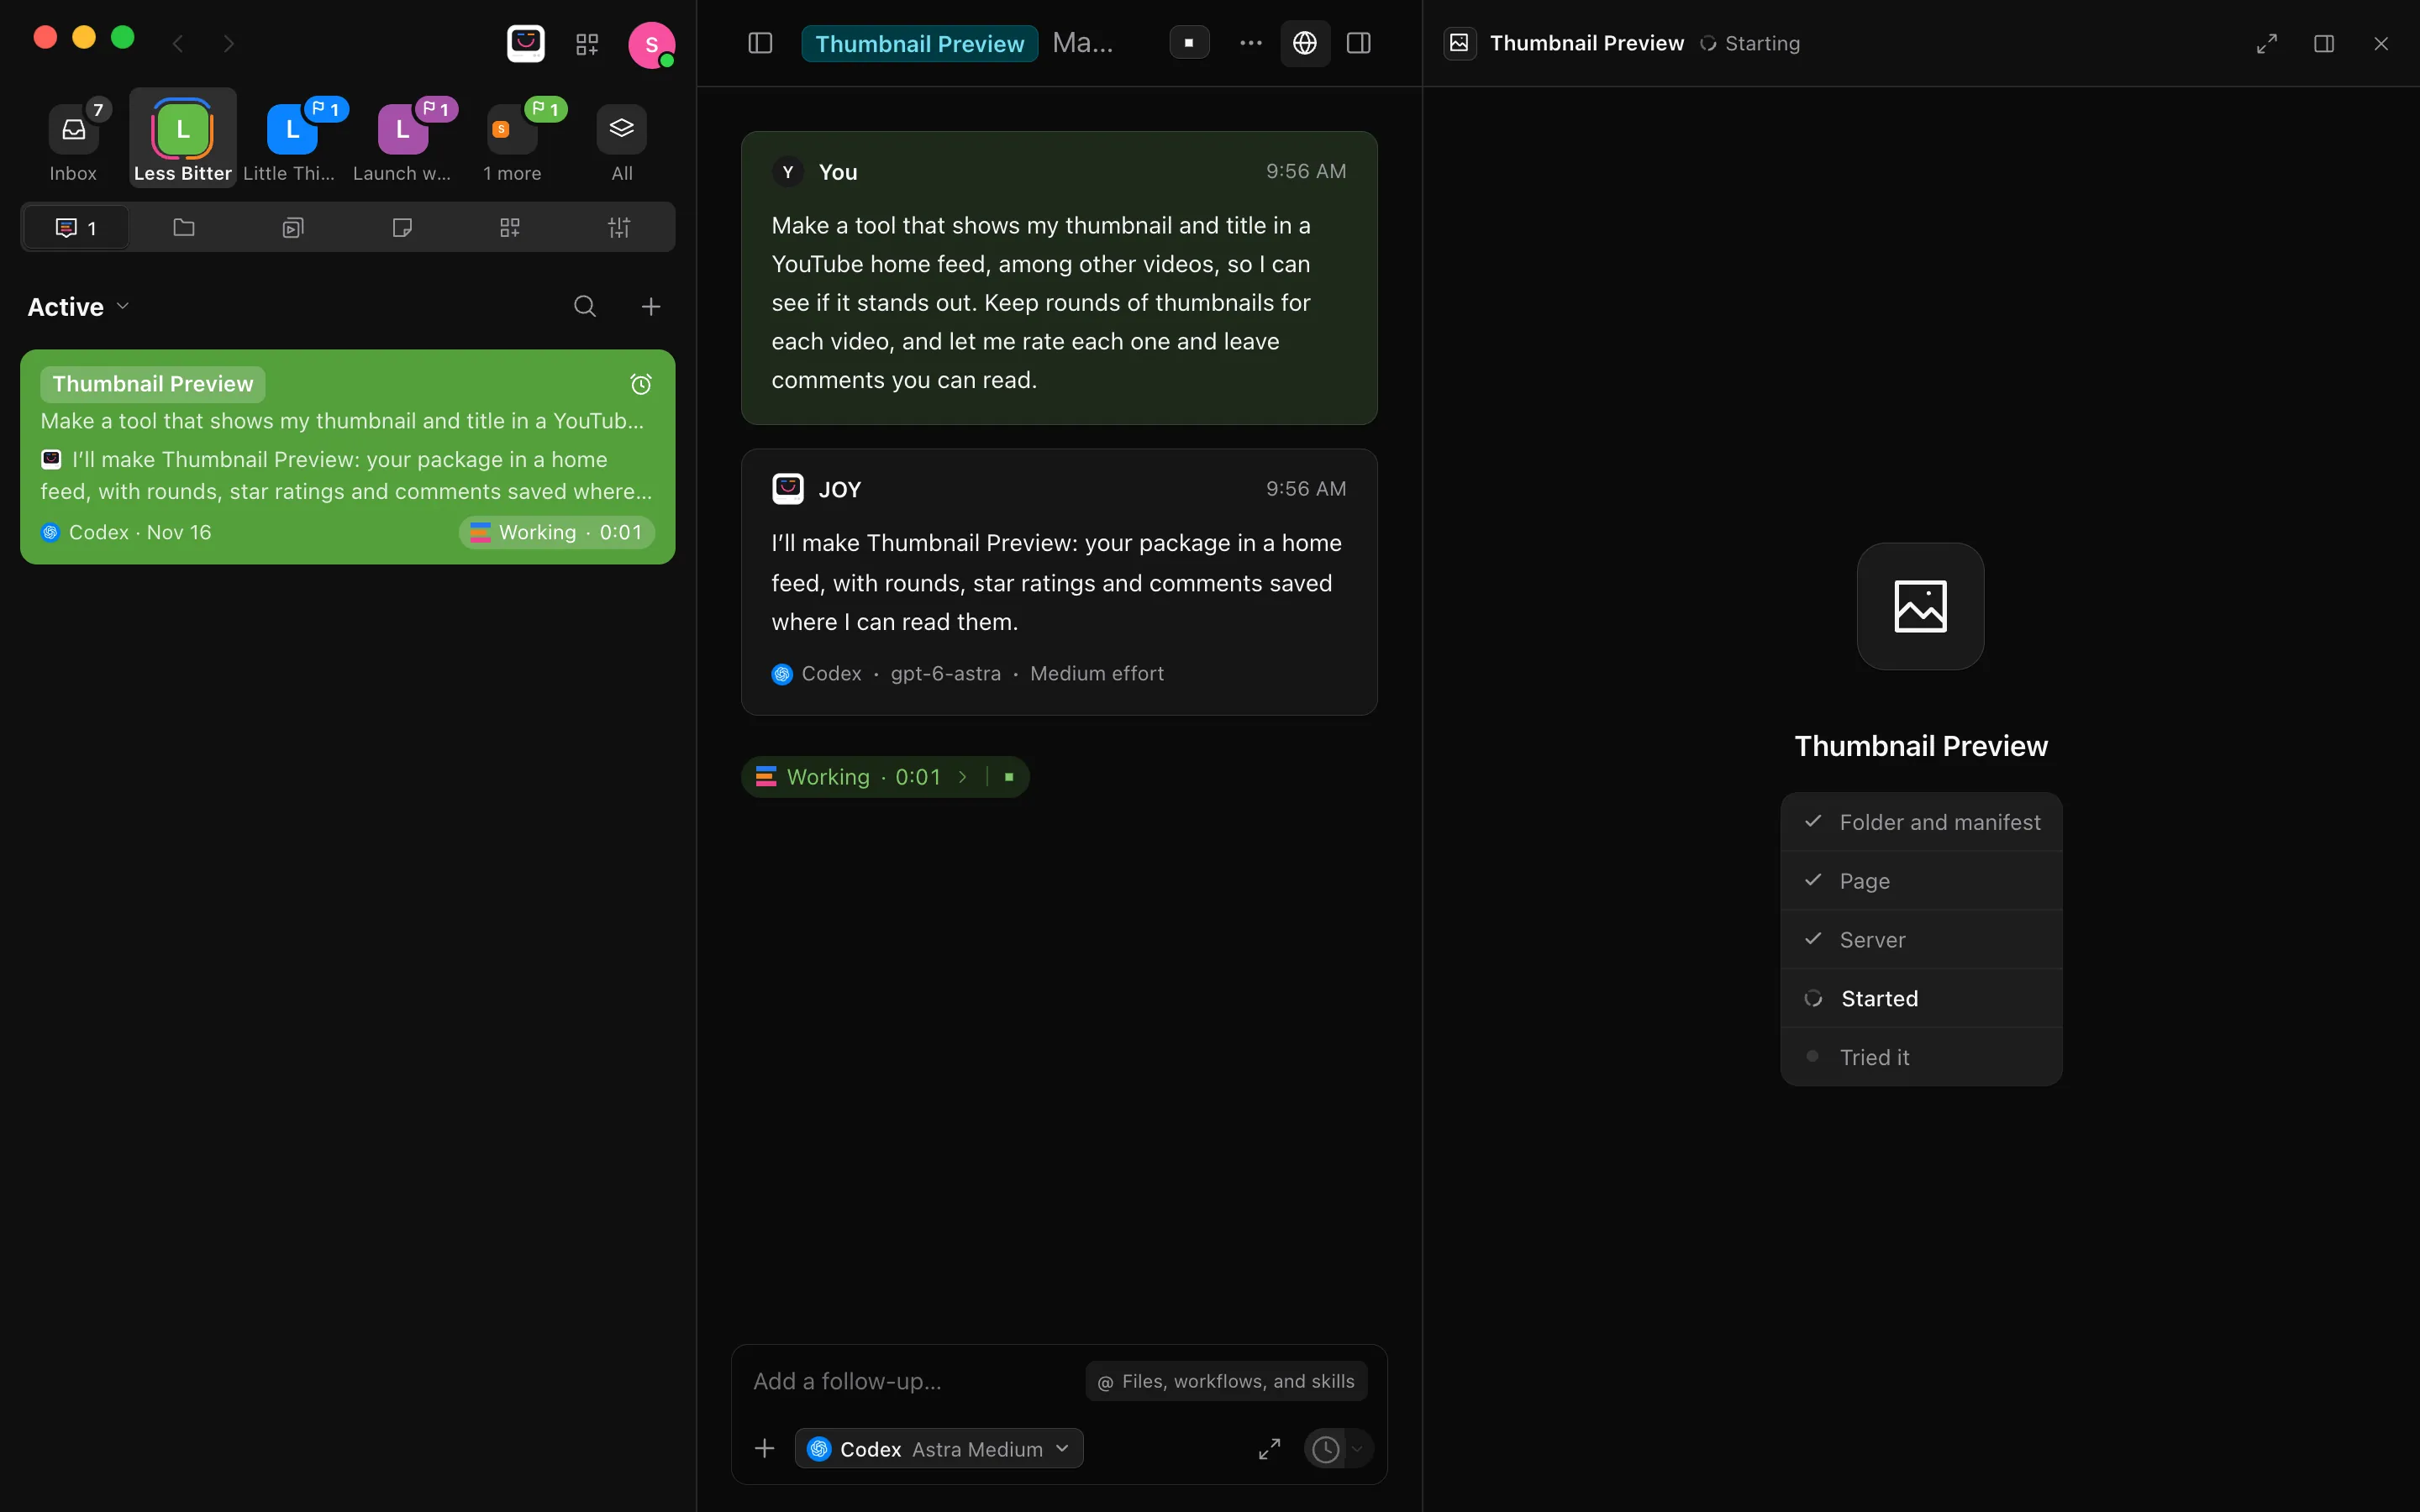
Select Tools in your project’s tabs, then New tool, and finish the sentence “Make a tool that “. Or ask in any conversation, such as “Make a tool that shows my thumbnail and title in a YouTube home feed, among other videos, so I can see if it stands out. Keep rounds of thumbnails for each video, and let me rate each one and leave comments you can read.” The tool’s key and a checklist open beside the conversation while the agent builds it: Folder and manifest, Page, Server, Started, and Tried it.
Use the tool beside your conversation
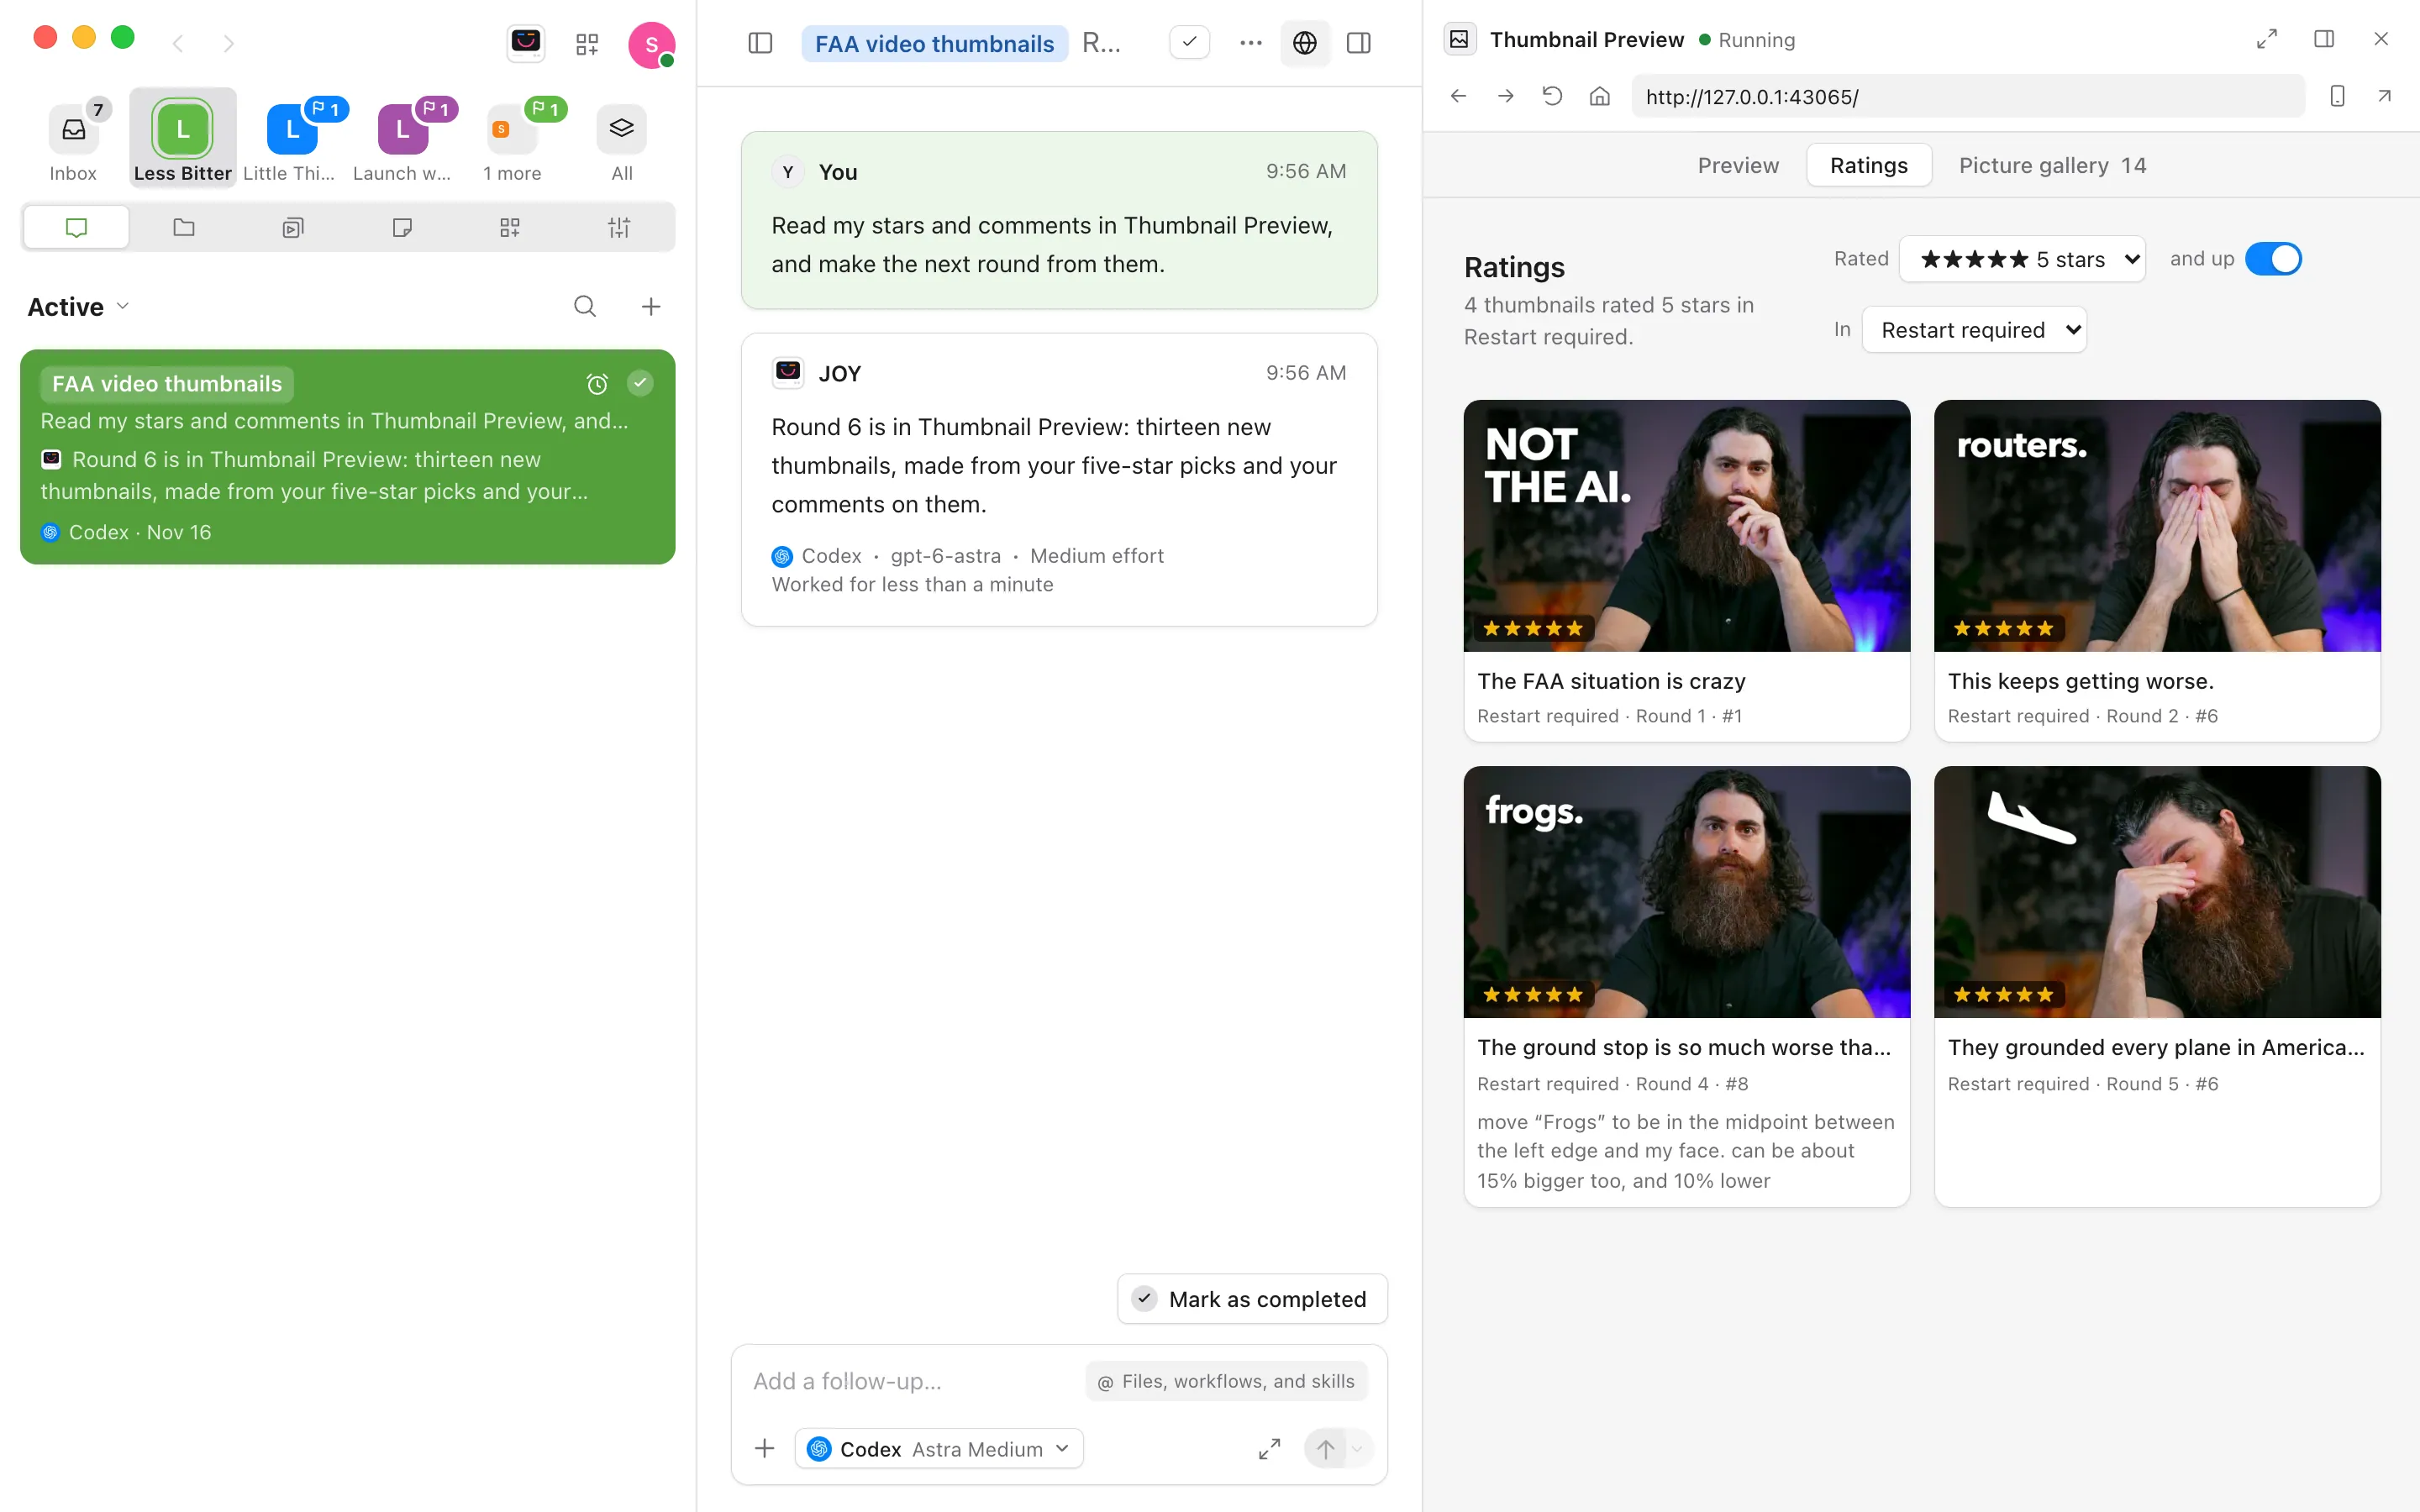
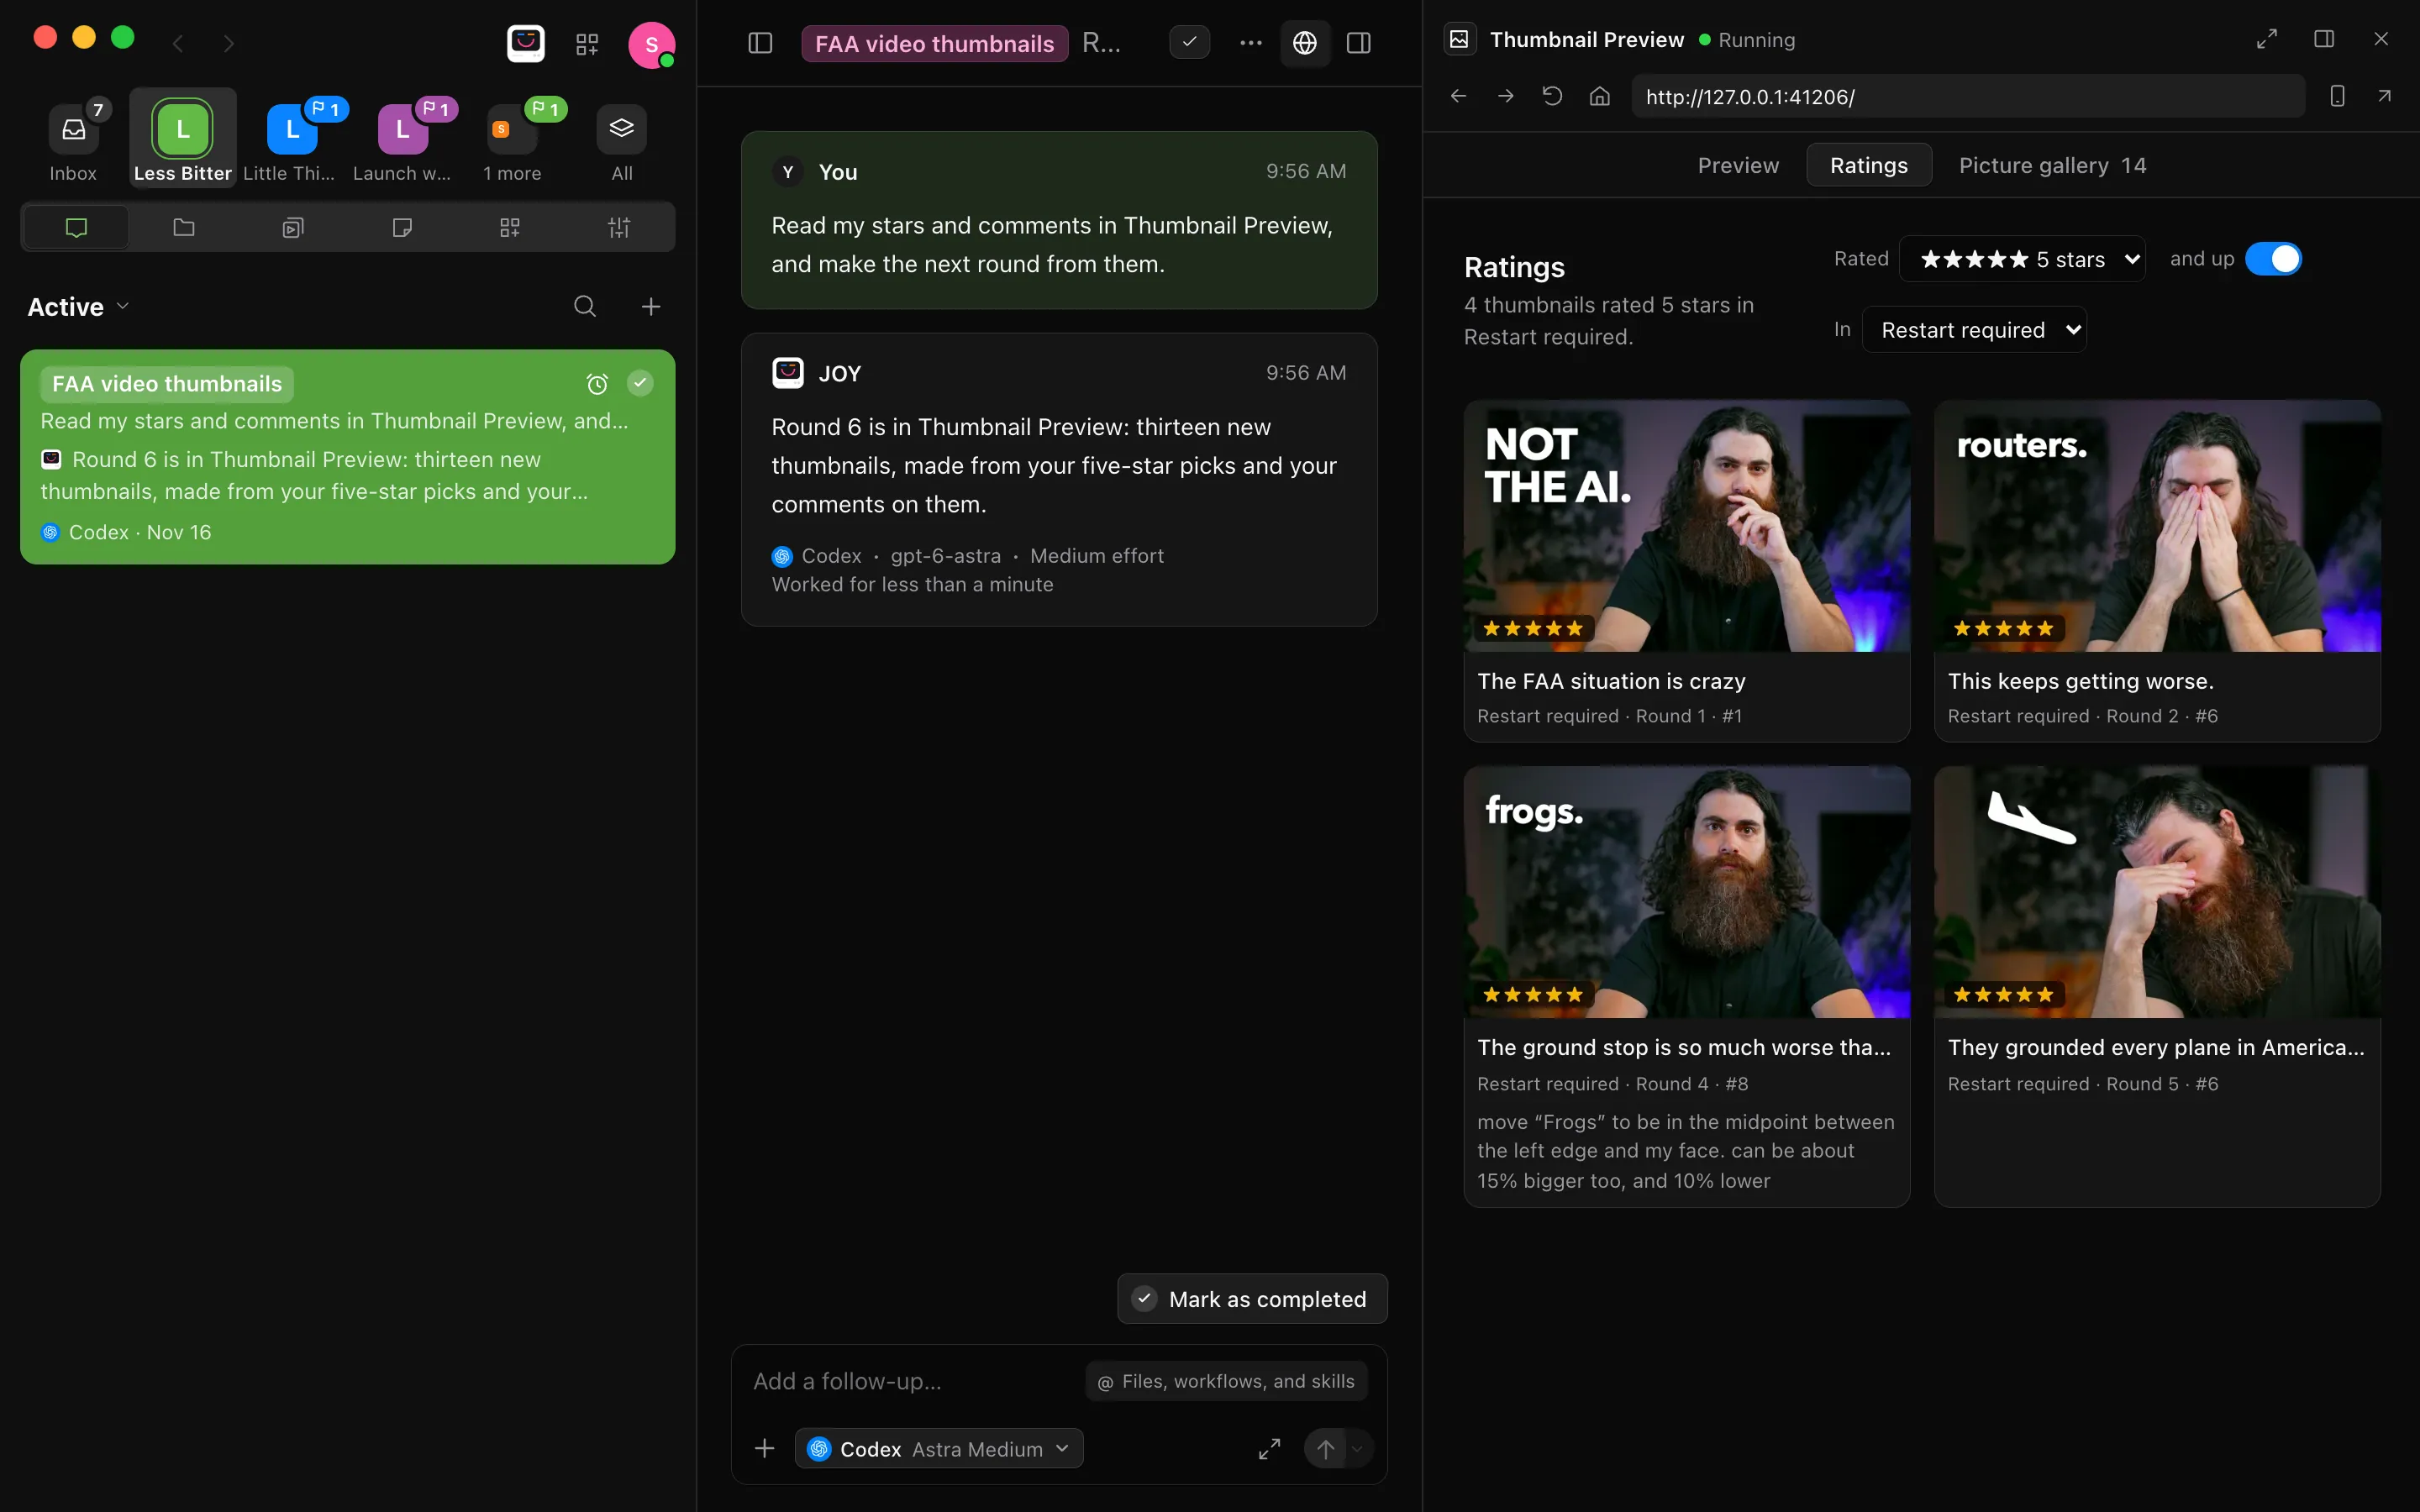
When the tool runs, it takes the checklist’s place, and its heading says Running. Rate, comment, drop in pictures: whatever the tool is for. Then ask the agent to use what you did, such as “Read my stars and comments in Thumbnail Preview and make the next round from them.” The X at the top right puts the tool away without stopping it, and the globe at the top of the conversation brings it back.
Give it the whole window
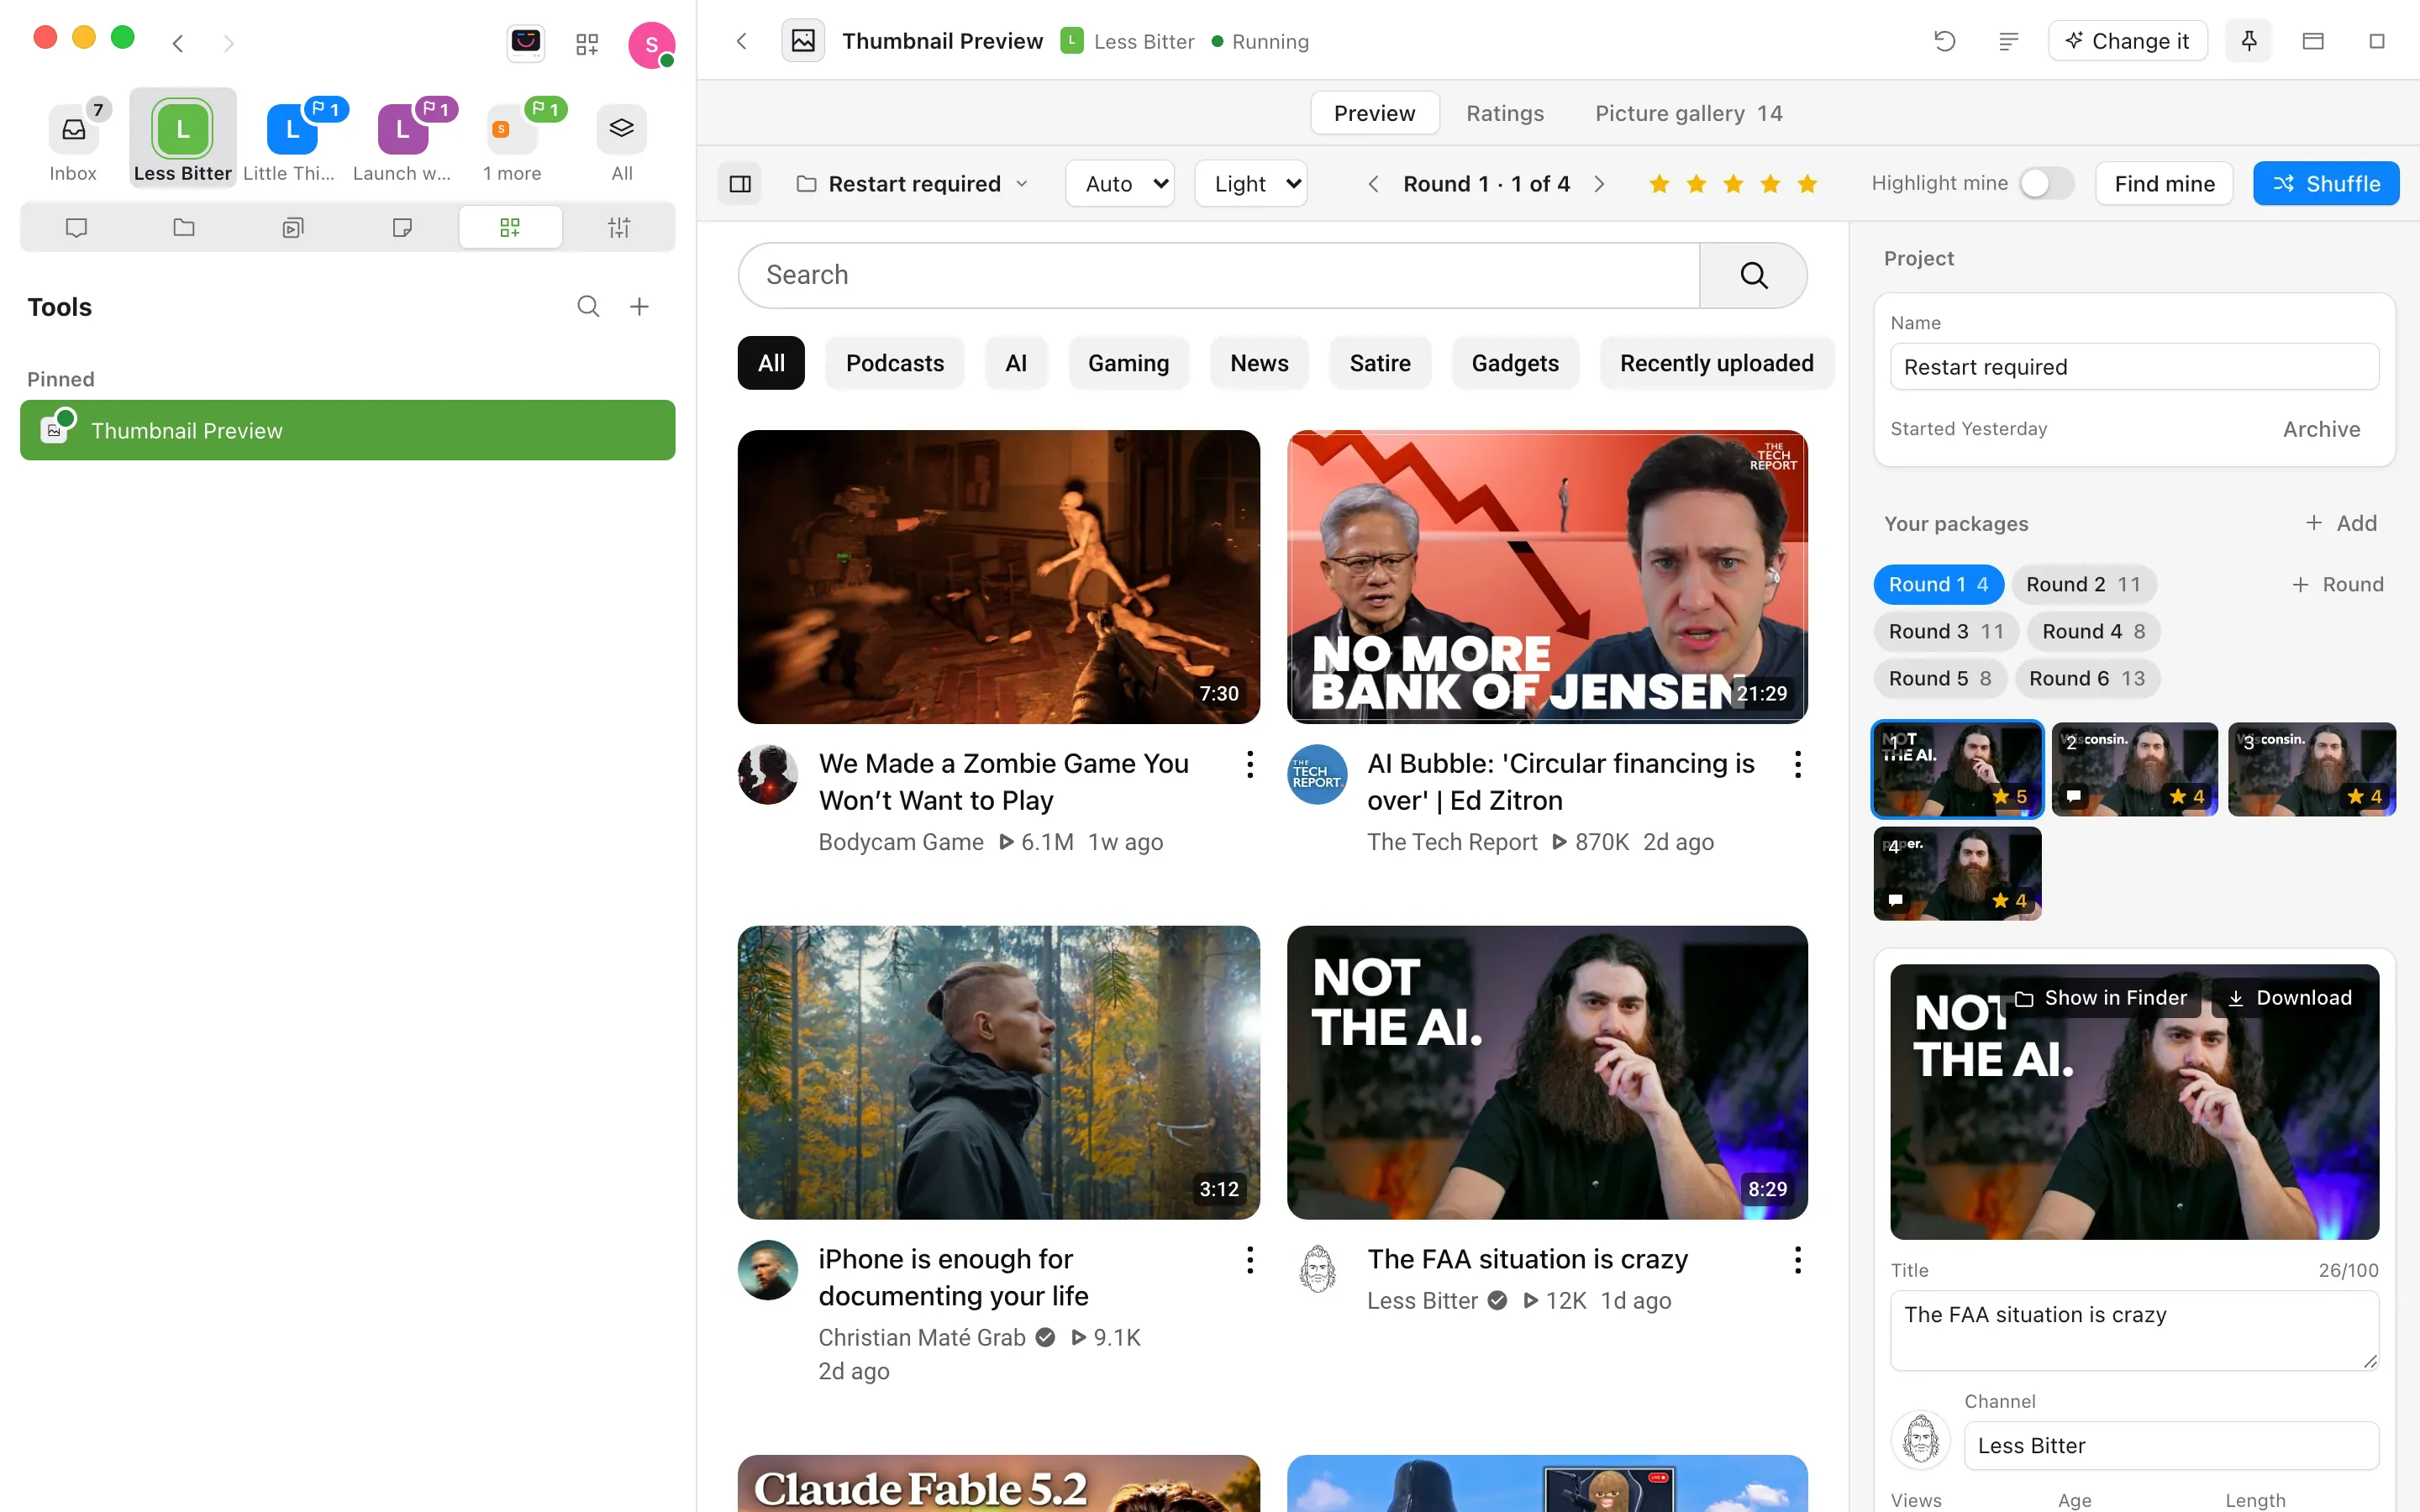
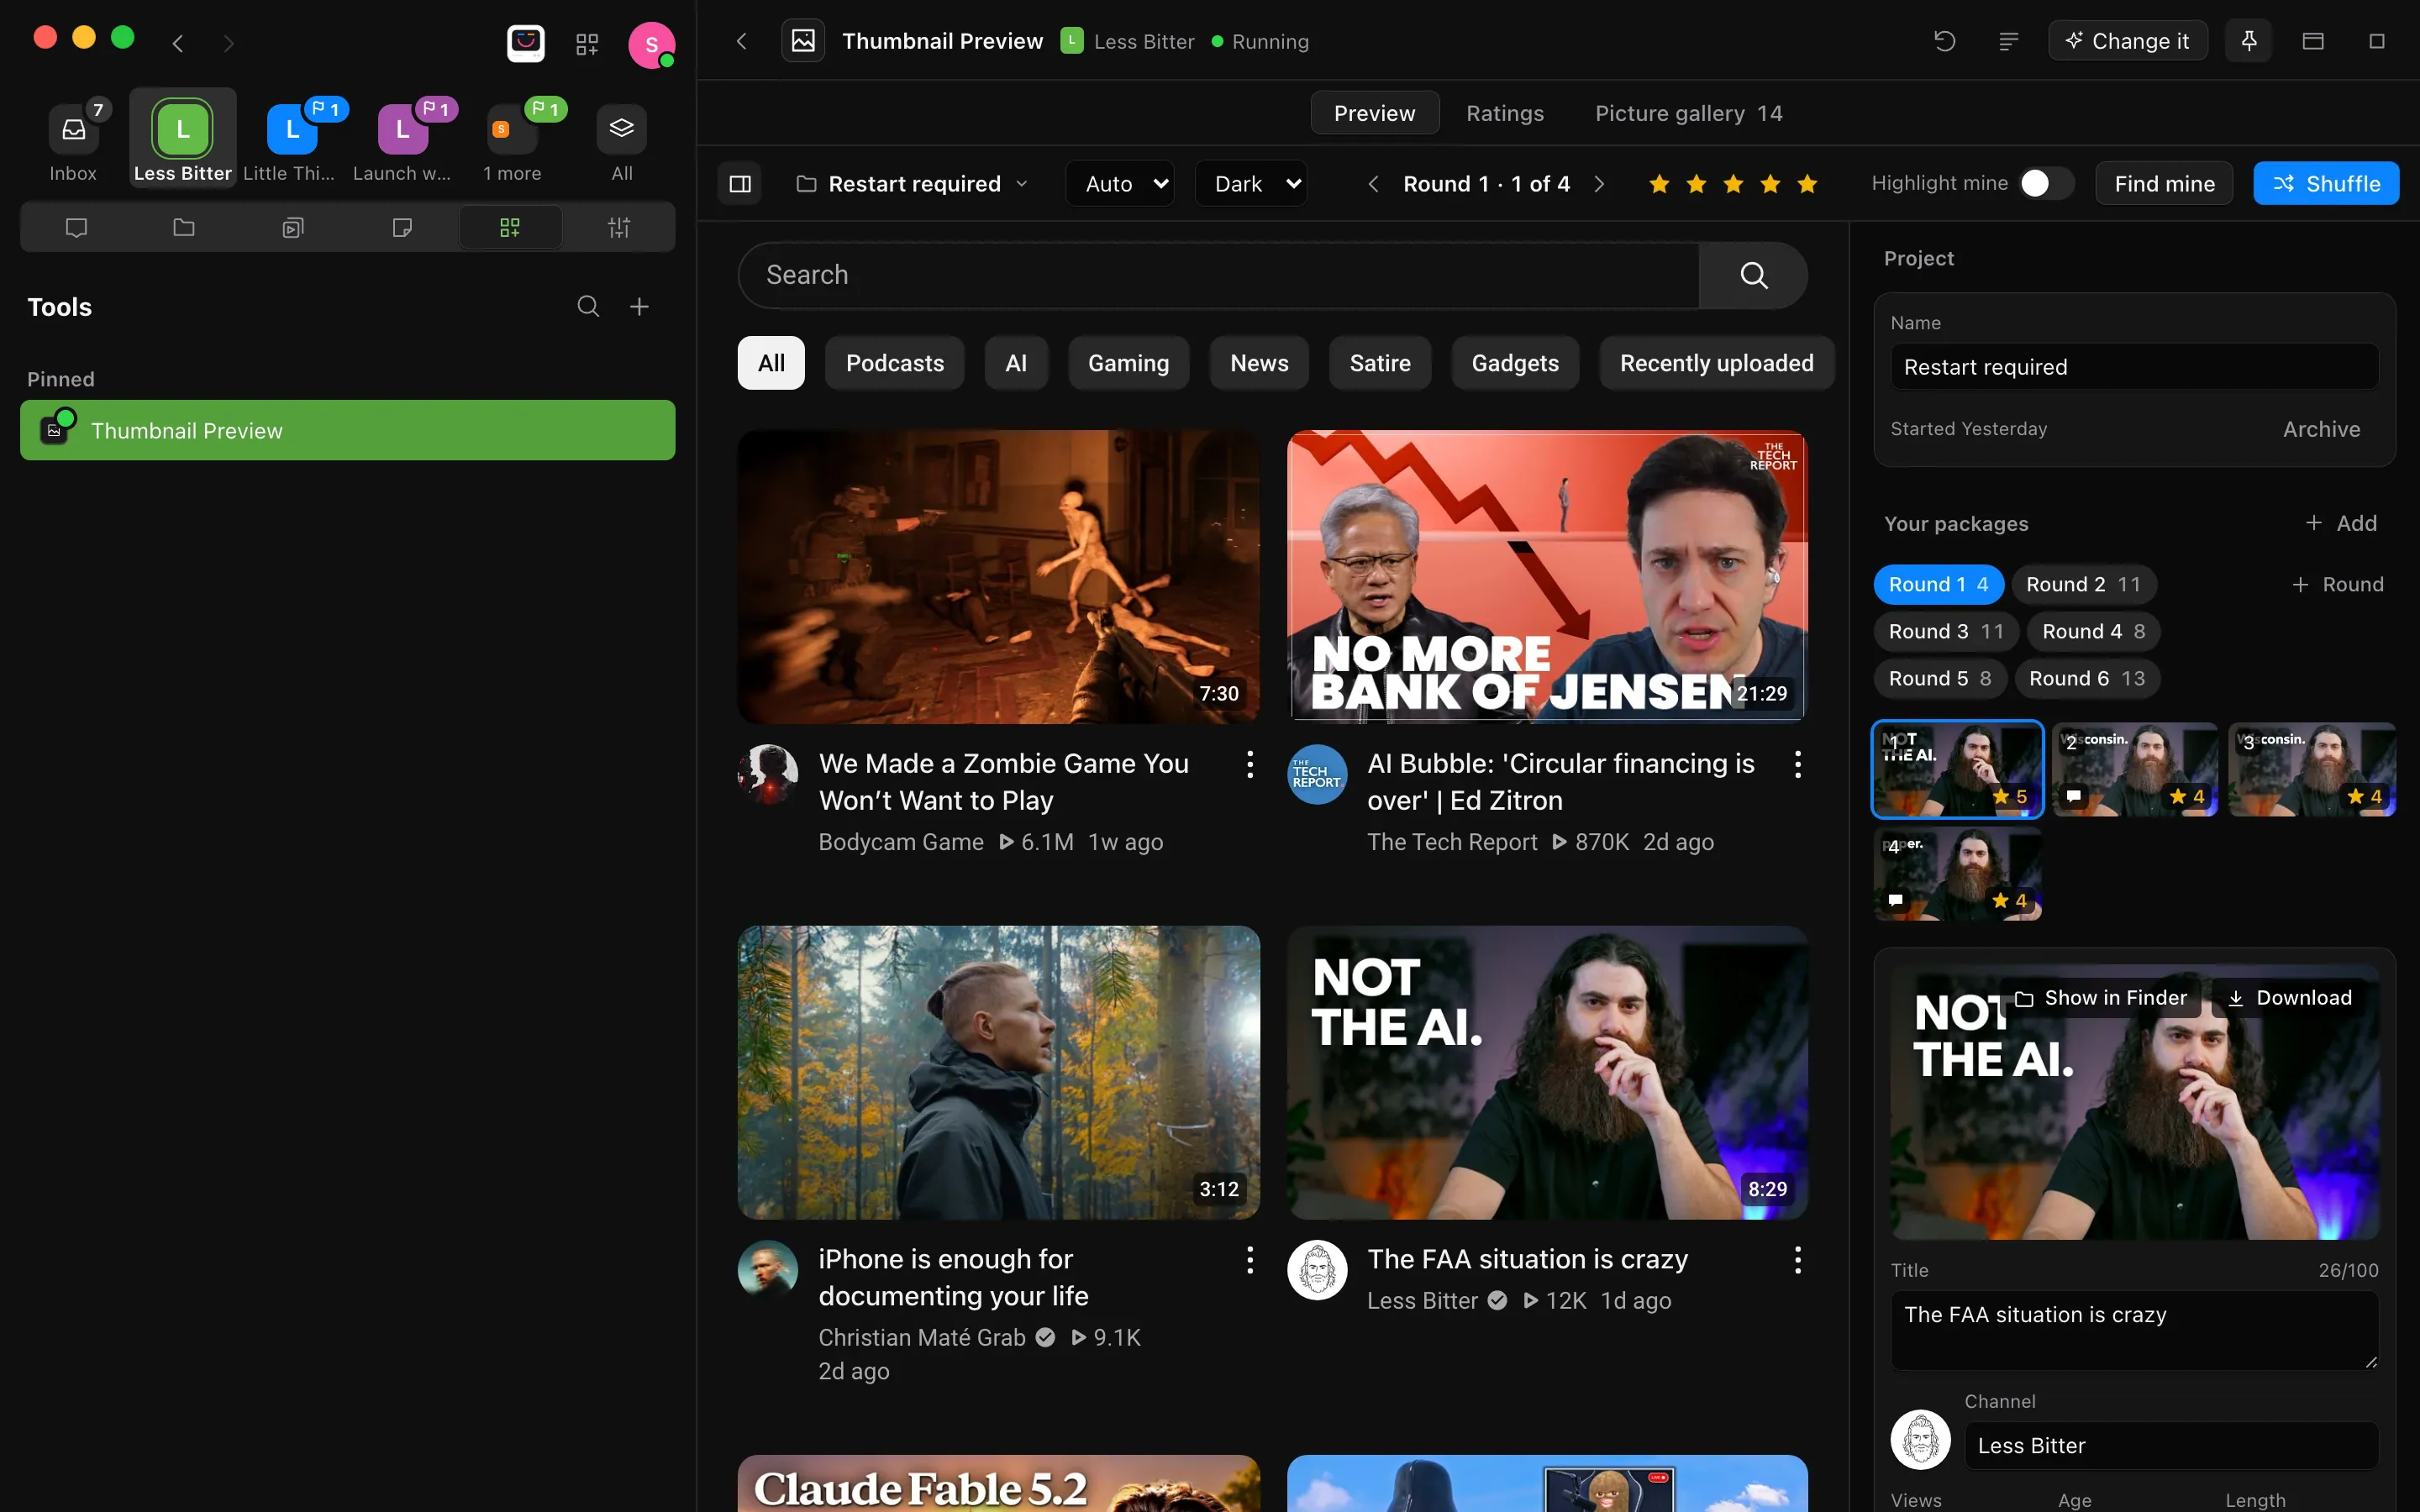
Select Open full size, the two arrows at the top of the tool, to open it in Tools. Its bar has Back to your tools, Change it, Pin to the shelf, and a button to stop it. Select Pin to the shelf to keep the tool in the row of projects at the top of the window.
Post the video
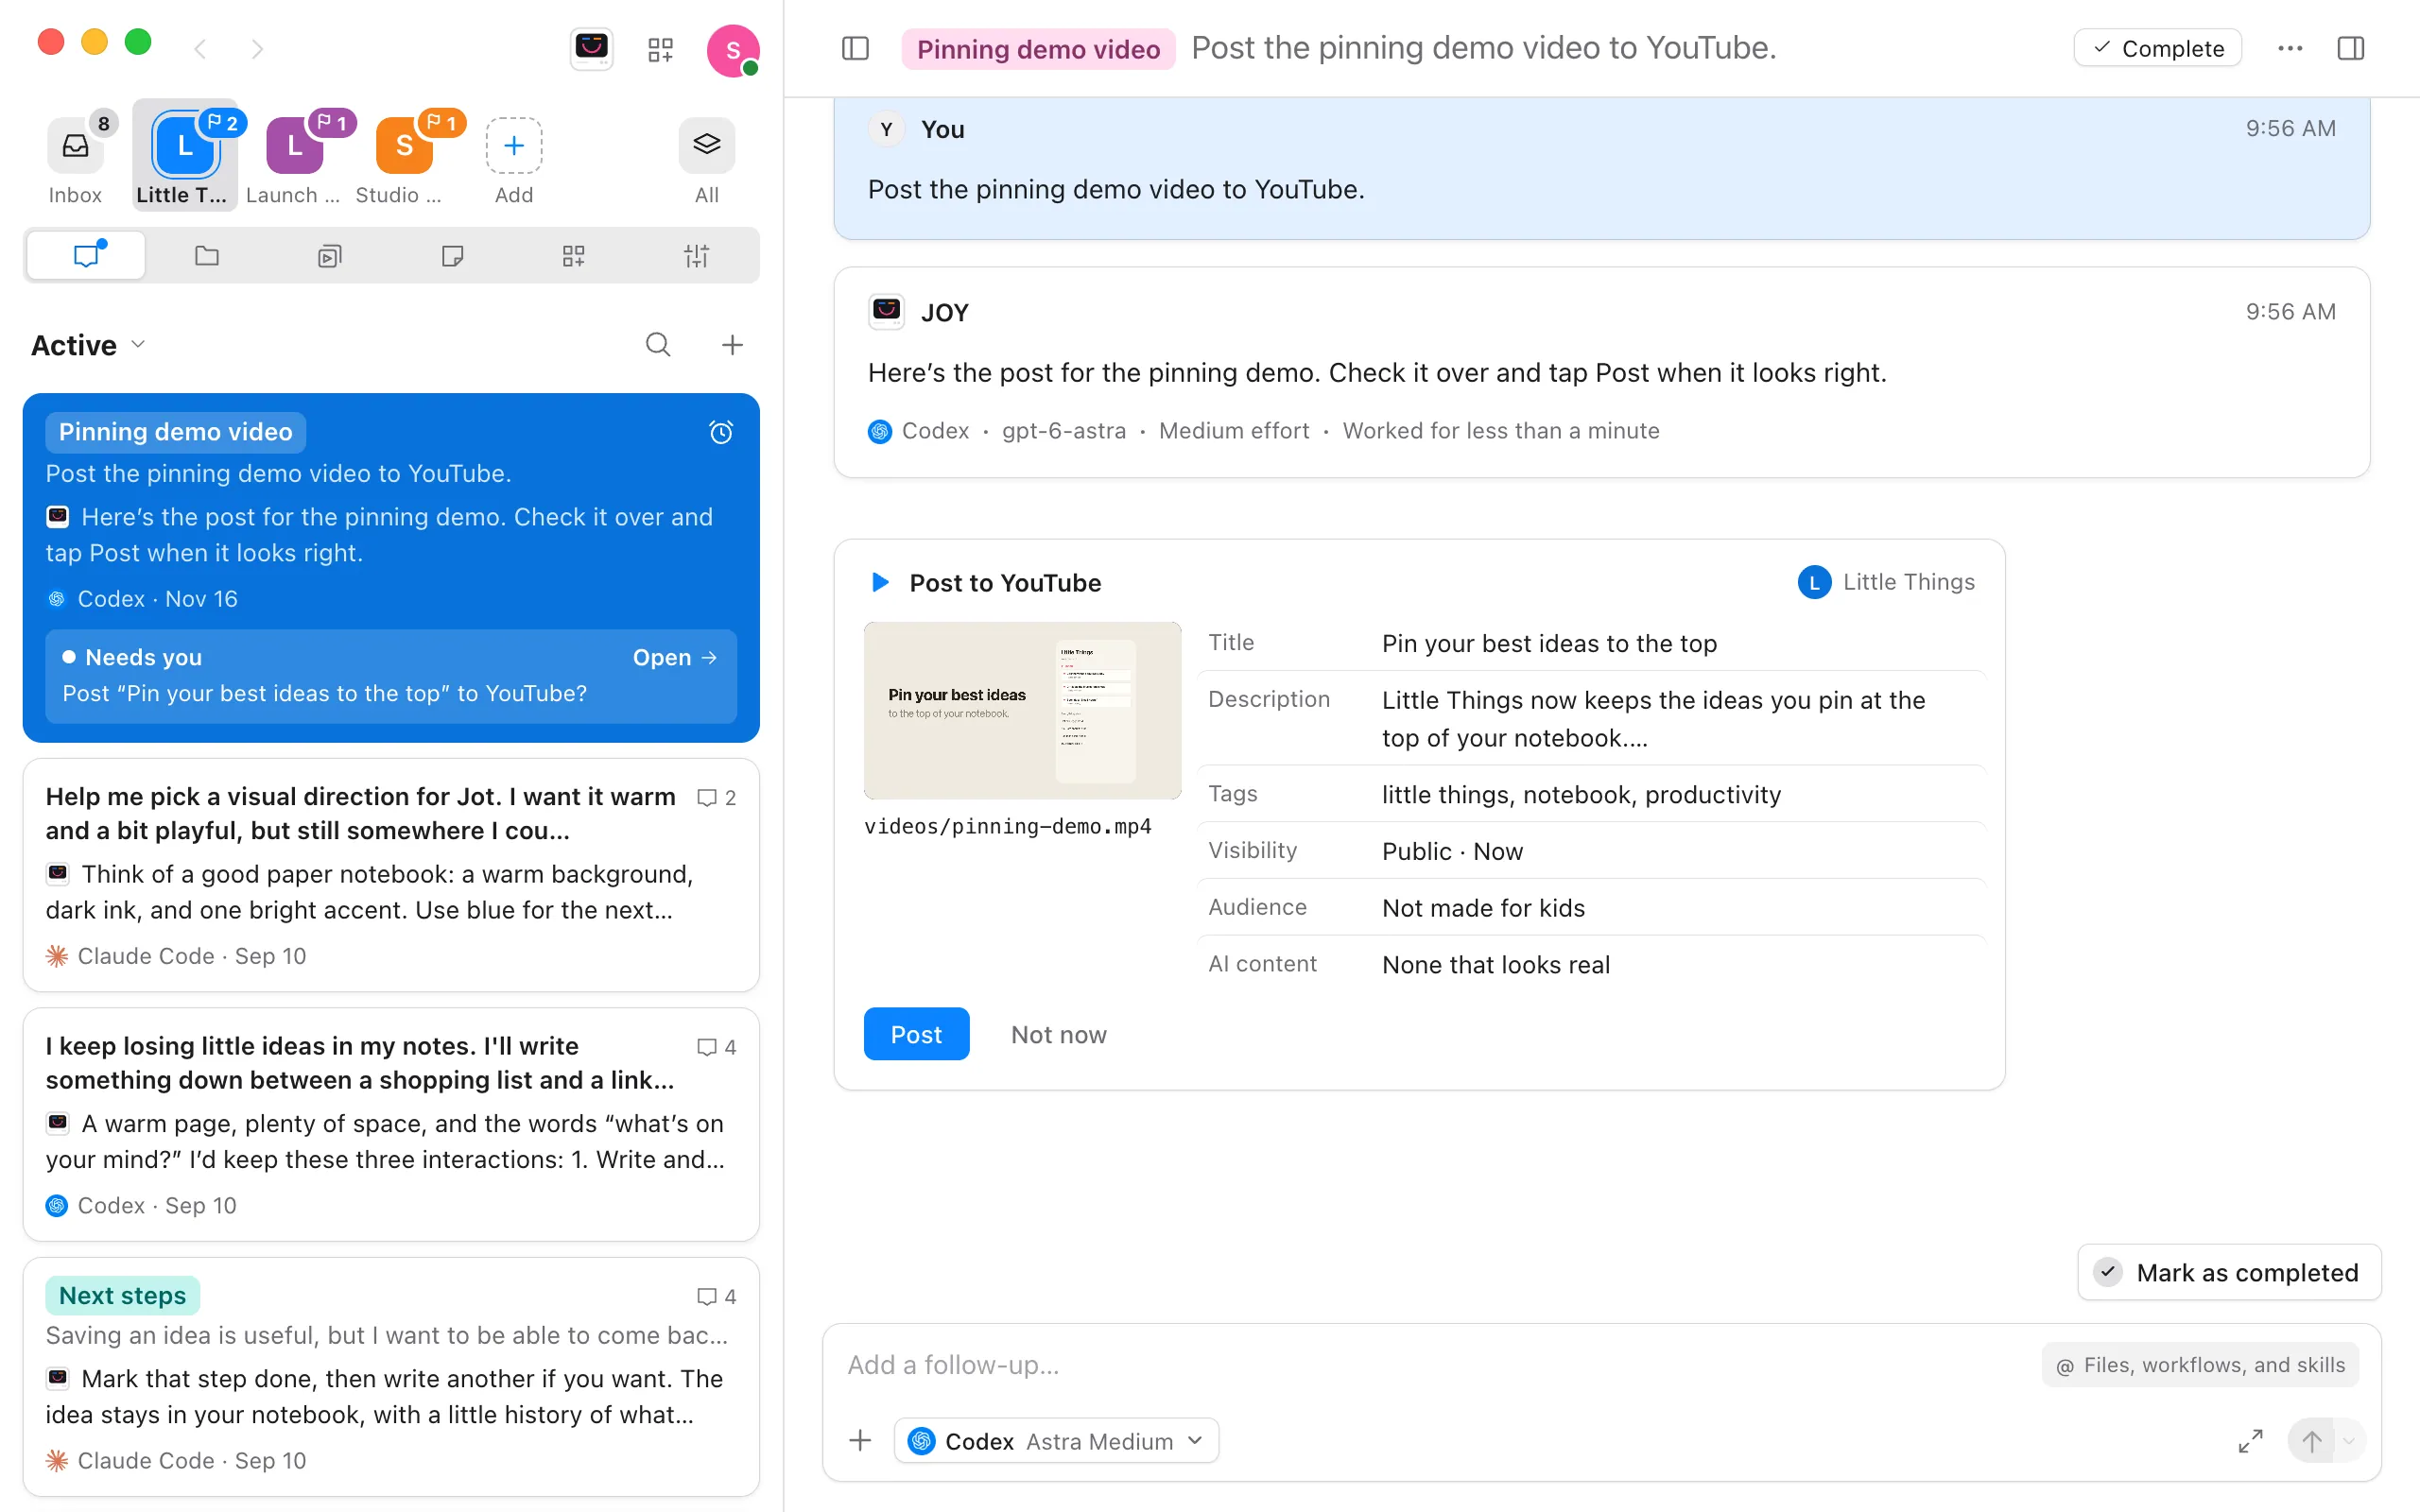
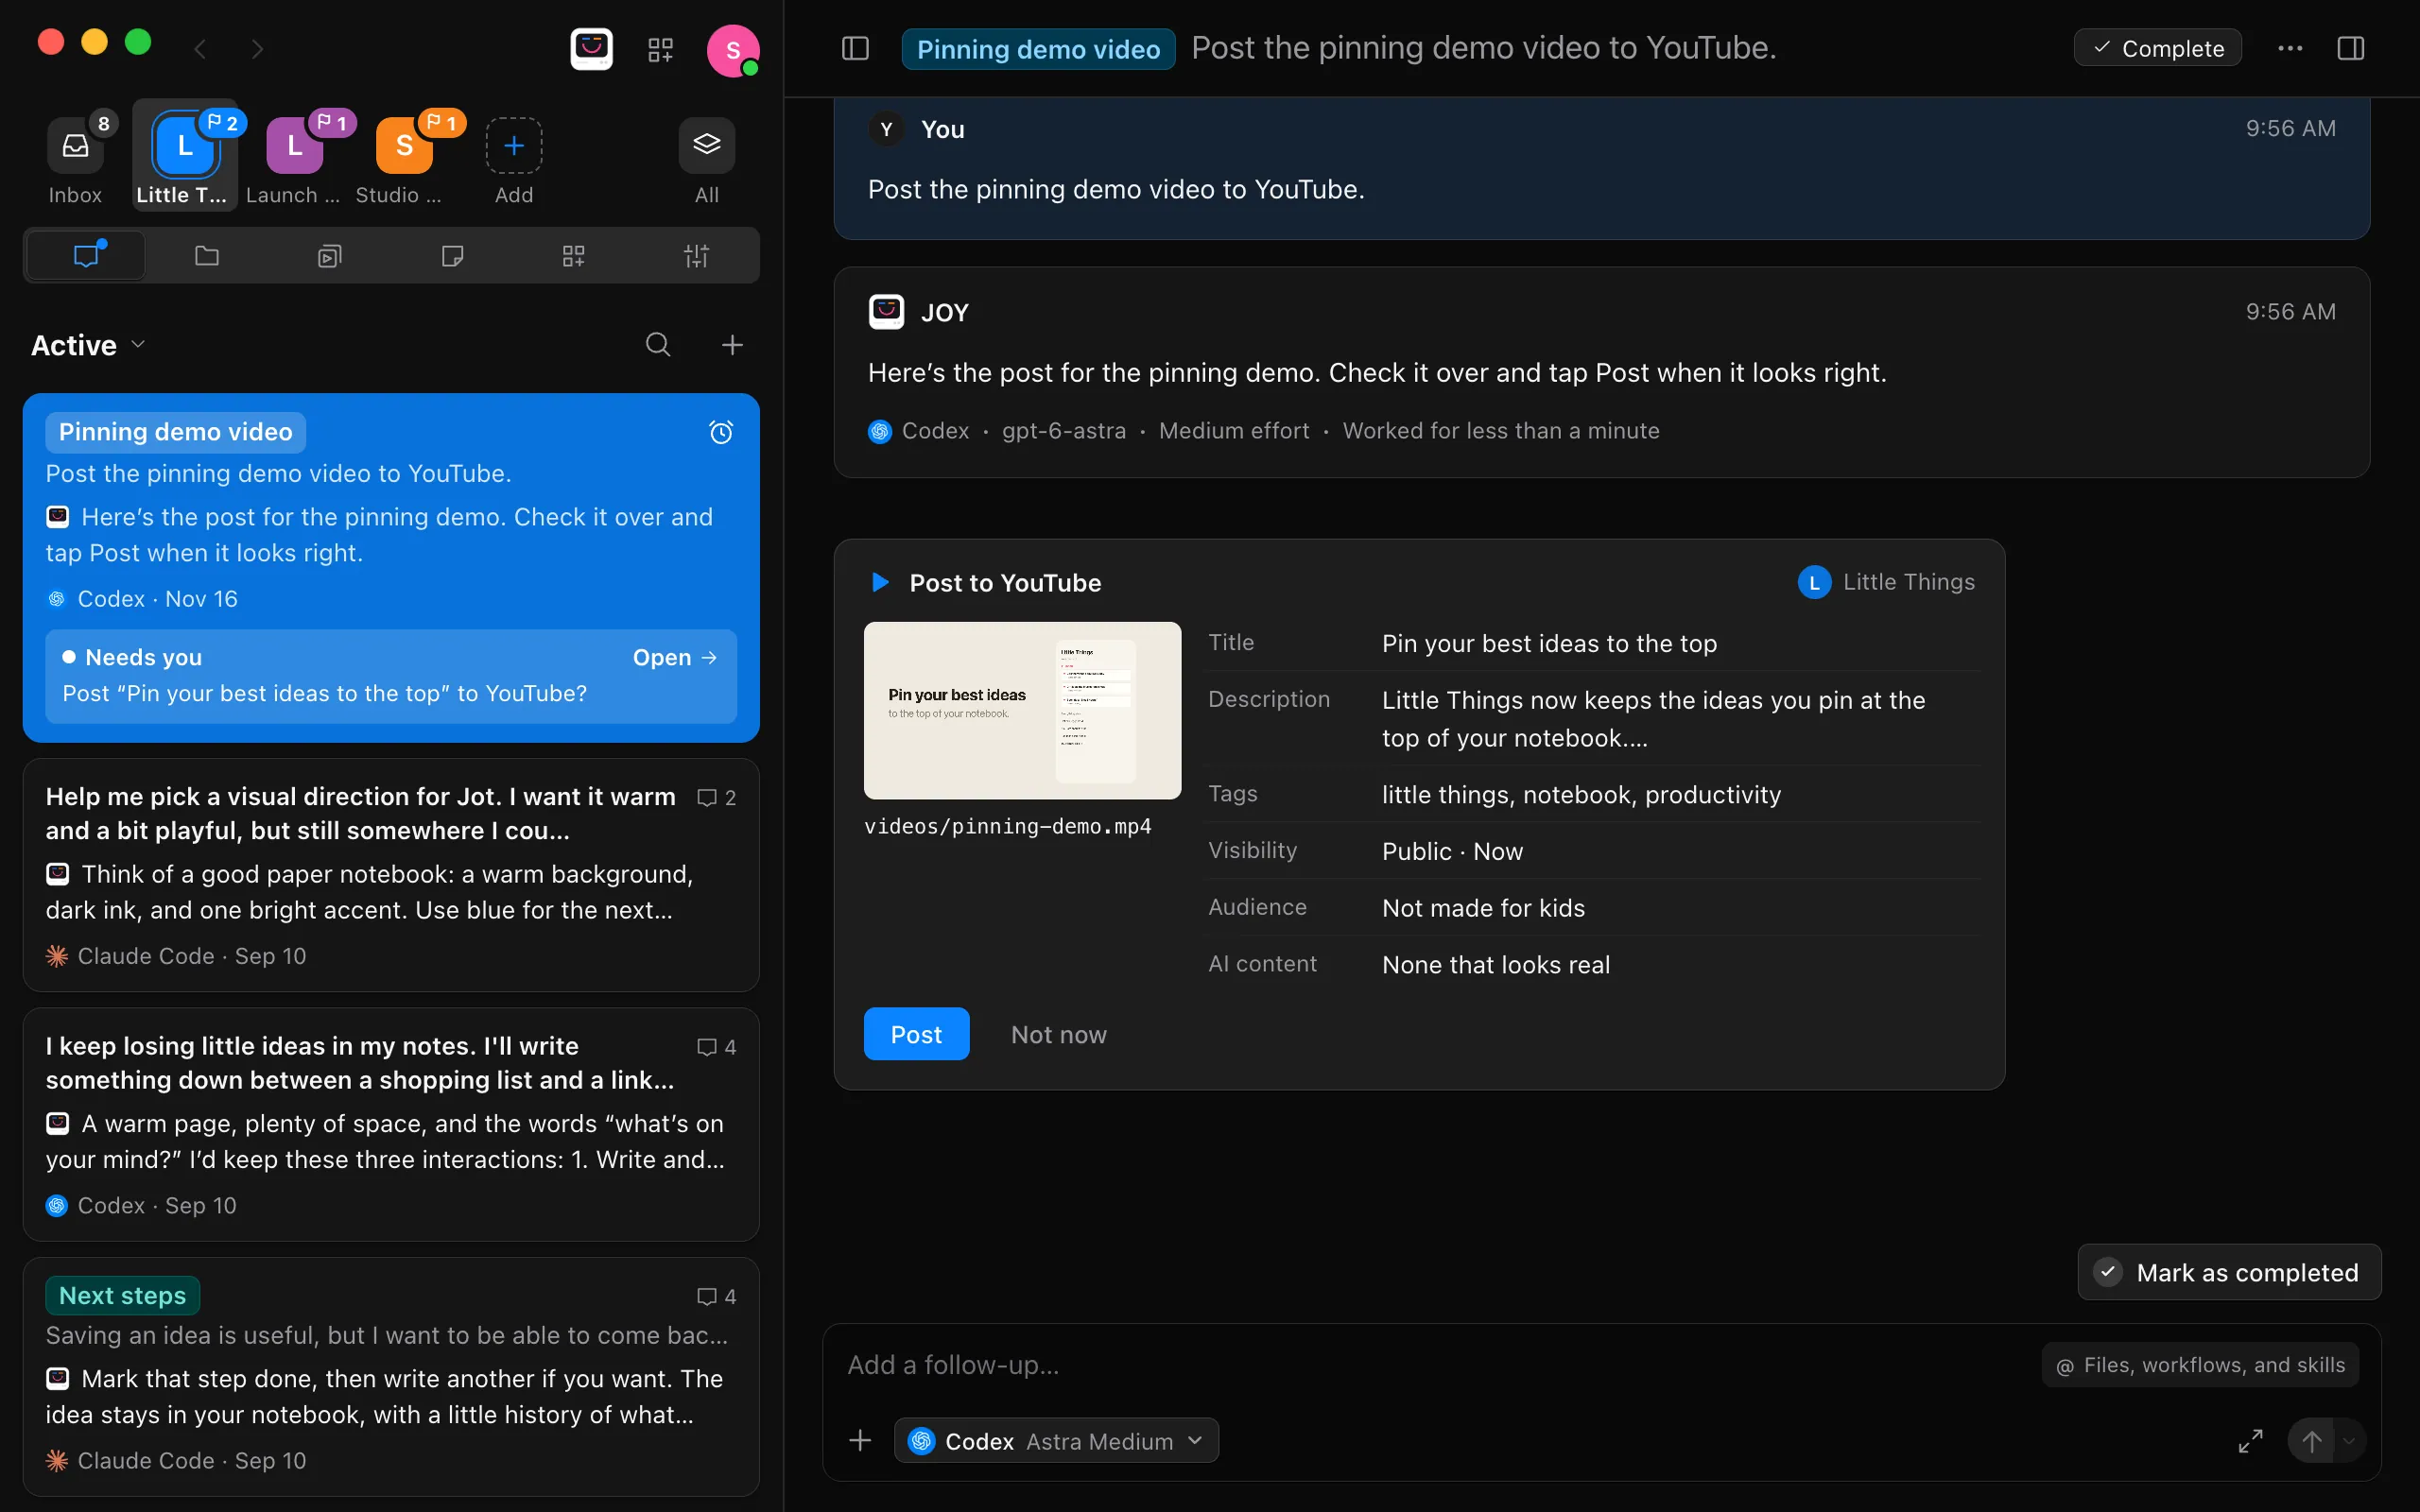
Ask the agent to post the final cut with the thumbnail you chose, such as “Post the final cut to YouTube, with thumbnail 3.” A Post to YouTube card appears under its reply, with the title, description, and tags written. Check each row, then select Post. Enjoy uploads the video from your computer, and nothing goes to YouTube until you do. See Post videos to YouTube.
The timeline, up close
- Ruler and filmstrip. Pressing or dragging on the row of times at the top of the timeline moves through the video. Below it, a click moves the playhead and a drag selects a stretch.
- Hovering over the timeline shows the frame at that point, so you can find a moment without playing.
- Keys. Space plays and pauses. The arrow keys step a frame, a thirtieth of a second, and a second with Shift. I and O start and end a stretch at the playhead, and Escape clears it.
- Zoom. Hold ⌘ on a Mac, or Ctrl on Windows and Linux, and scroll over the timeline, or pinch on a trackpad. ⌘= and ⌘- zoom in and out too, or Ctrl+= and Ctrl+-. Shift+Z shows the whole video again. When the card is wide, a zoom slider sits under the picture.
- Playback speed. Select 1× under the picture to play at 1.25×, 1.5×, then 2×. Select it again to go back to 1×.
- Sounds work the same way. A voiceover or a podcast shows a waveform instead of a filmstrip, and the arrow keys move a second at a time, or five with Shift.
- After Reply at, your cursor is in the message box, so Space types a space rather than playing. Select the picture to go back to the video.
- A narrow card shows Reply at as just its speech bubble, and hides the speed button. Point at a button to see its name.
Transcripts on your Mac or from a service
- On your Mac. Transcribing uses your Mac’s own speech recognition, so nothing leaves your computer. It uses the language the video’s sound is marked as, or your Mac’s language when it isn’t marked. When your Mac can’t transcribe a language, it says so rather than guessing.
- From a service. Ask the agent, such as “Transcribe this with AssemblyAI and show me.” If the service needs an API key, give it to the agent as a project secret first, so the key never shows in your conversation. See Give agents a token or key without showing it to them. The agent sends the sound to the service and gives Enjoy the transcript with the video, and the card shows it right away. This works on Windows and Linux too, where the card can’t work out a video’s sound itself and says Enjoy can only work out a file’s sound on a Mac for now.
- Captions. Ask, for example, “Make SRT captions for this cut” or “Burn the captions into the picture.” Enjoy’s own transcript stays in the card, so the agent transcribes the video itself for captions, on your computer or with a service, and saves them in your project.
- Copying. There’s no copy button, but you can select words in the transcript and copy them: press ⌘C on a Mac, or Ctrl+C on Windows and Linux.
- The transcript opens on its own when the card is wide and the video already has a transcript. It shows beside the picture, or under it in a narrow card. Once you select Transcript yourself, it stays as you set it.
- Kept until the file changes. Enjoy keeps a transcript, yours or the agent’s, until the file changes. A new cut is a new file, so it gets its own.
- A tool of your own. The Tool gallery has an idea for one: Transcribe a video, where you drop a video and get a transcript to copy or save as captions.
Takes, drafts, and versions
- Two to eight takes. An agent can show takes of anything it can save as a file that Enjoy shows: pictures, videos, sounds, web pages, and drafts in Markdown. On a web page, Try it lets you click around in it. Drafts are Markdown files in your project, and Edit beside, the pencil at the top of a draft’s card, opens one on the right to change it before you choose.
- One choice per set. Once you go with a take, the card says You went with this one and can’t choose again. To change your mind, tell the agent. Keep sends nothing on its own: it goes with your next message.
- What the agent gets. Go with sends “Let’s go with” and the take’s number, name, and file. A kept take is quoted above what you write about it.
- Titles. Takes are files, so for titles alone, ask the agent to ask you instead: a question can offer up to eight titles to pick from, and you can add your own words. See Answer your agent’s questions.
- Your edits count. If you edit the script before the agent changes it again, Enjoy keeps what you had as a version by You, and the card shows what the agent changed from it. A doc keeps its 40 newest versions. See See and restore a document’s versions.
- Each cut and take is its own file. Earlier cuts and the takes you didn’t choose stay in your project. To open one in another app, such as your own video editor, select Open in default app at the top of its card. Show in Finder, the folder beside it, shows where the file is. On Windows it’s Show in File Explorer.
- Find something made earlier. In a long conversation, select Made in this conversation, the stack button at the top right of the conversation. It lists what agents made there, newest first, with every version of a cut, and every set of takes, as one row. Select one to scroll back to its card.
- Make a card shorter, or put it away. Drag the handle on its bottom edge, or select Collapse, the arrow at its top right. See See what an agent made, in its reply.
- In Files, a video plays in a plain player. The timeline, its markers, and Reply at are in the card under the agent’s reply.
An example: Less Bitter
Less Bitter, a YouTube channel, is made this way: its videos are written, cut, and reviewed in Enjoy. Its project also has a tool an agent built for it, called Thumbnail Preview, which is the one in steps 16 to 18. The tool drops a thumbnail and its title into a YouTube home feed, among other videos, to see whether it stands out. Each video gets rounds of thumbnails, and each thumbnail a star rating and a comment written for the agent, such as “move “Frogs” to be in the midpoint between the left edge and my face.” An agent reads the stars and comments and makes the next round. The tool also keeps a picture gallery of the photos cleared for thumbnails, and agents pick from those and nothing else.
Tools for your channel
- Ideas. The Tool gallery, Gallery beside New tool in Tools, has ideas such as Recording mode, which lowers your Mac’s screen resolution and hides your desktop icons and the Dock while you record, then puts them back, and Transcribe a video. Other tools people make for videos: a teleprompter for the script, a page for reviewing clips, a “starting soon” screen for a live stream. See Make a tool.
- Let agents read what you do. A tool with a server keeps what you do in it in its own folder in your project, where agents can read it, and while the tool runs, agents can ask its server too. When you ask for a tool, also ask the agent to write down, in the tool’s folder, how agents should read it and add to it, so any agent can find out later.
- Open one beside any conversation. Choose Open browser from Conversation actions, the ⋯ at the top of the conversation, then select the tool. Press ⇧⌘\ on a Mac, or Ctrl+Shift+\ on Windows and Linux, to open the browser too.
- Change it later. Select Change it in the tool’s bar, finish the sentence, and send it.
- Downloads need the whole window. Beside a conversation, a tool’s page can’t download files, open new windows, or let you drag files out of it. Use Open full size for that.
- Servers run as you. A tool’s server can read and change your files like any program you open, so use tools you or your agents made, or ones from people you trust. Enjoy stops a tool’s server ten minutes after nothing has it open. See What are your tools?
- Your tool’s data stays out of Git. The folder a tool keeps its data in,
.data, stays out of Git, so your ratings and comments don’t go into your project’s history.
Set up a project for your channel
- One project, one folder. Keep each video’s recordings, cuts, scripts, and thumbnails in your channel’s project, in folders such as
footage,cuts, andthumbnails, so agents find them and you can name them in a message. - One conversation per job. A conversation for the script, another for the cut, and another for thumbnails keeps each one short, so the agent stays on the work at hand. One agent can cut this week’s video while another writes next week’s. See Run agents in parallel.
- Teach agents your style once. Put your channel’s voice, how long videos run, and how you like cuts, such as “leave a beat after a joke,” in the project’s instructions, and every agent follows them. See Give agents instructions for a project. Keep longer references, such as a style guide, as docs, and mention them with @ when they matter.
- A skill for a format you repeat. A skill is a set of instructions your agent keeps for one kind of task, such as writing a late-night style episode. Type / in a message to run it. See Run one of your agent’s skills.
- Let ideas come to you. A scheduled workflow starts a conversation on its own, such as every weekday at 8:00: “Find three stories worth a video in this week’s AI news, with sources.” Its results wait for you as a new conversation. Enjoy runs it while it’s open on your computer. See Schedule a workflow.
- Footage and Git. If your project uses Git, video files make it very large. Ask an agent to keep folders like
footageandcutsout of Git.
On your phone and in a browser
- In the web app (app.enjoy.dev), on your phone or in any browser, a cut shows its picture under the reply. Select it to play it full screen in your browser’s player, and pick another version from the top right. Takes open full screen too, where you can step through them and select Keep or Go with. Your computer sends the files, so Enjoy needs to be open there.
- The timeline’s markers, transcripts, and Reply at are only in the computer app, and so is posting.
- The iPhone app shows a script’s card under the agent’s reply, with its changes and versions. Videos, pictures, and takes show the agent’s words there for now.
Where your videos stay
Your recordings and every cut stay in your project’s folder on your computer. Enjoy shows them from there, and sends them to your other devices only to show them there. As with any project, what an agent reads or runs goes to its AI provider, such as a command’s output or a transcript it makes. A transcription service gets the sound the agent sends it, under that service’s own terms. See What AI providers see.
If something goes wrong
“Transcribing needs macOS 26 or later.”
Your Mac runs an earlier version of macOS. Update macOS, or ask the agent to use a transcription service.
“Transcribing isn’t available in” a language “on this Mac.”
Your Mac can’t transcribe speech in the language the video is in. Ask the agent to use a transcription service that supports it.
“Enjoy couldn’t get the speech model to transcribe”
macOS couldn’t download the speech model for the video’s language. Check your internet connection, then select Try again.
“A message can comment on 64 moments. Send this one, then add more.”
The message already has 64 moments. Send it, then add the rest to your next message.